Instant Connection for Pixel Streaming
— New Feature Automated Setup

Best Editing Cuts Every Editor Should Know
Best Editing Cuts Every Editor Should Know
Best Editing Cuts Every Editor Should Know
Published on July 19, 2022
Updated on February 6, 2023
Table of Contents
Video editors take raw footage and combine the clips using cuts, color correction, and special effects. In this blog post, we share pro tips for using editing cuts in programs like Adobe After Effects, Premiere Pro, and Final Cut Pro. Having a variety of tried-and-true video editing cuts in your editing “tool belt” can make it a breeze to put together a polished final video.
The more editing cuts that you know how to use, the more creative options you will have for editing amazing videos. Editing cuts are important for creating a cohesive narrative, showing the passage of time, and holding the audience’s attention. We hope that these essential cuts for editors will be a useful asset to our readers for their future video editing projects!

Photo by KAL VISUALS on Unsplash
1. Standard Video Editing Cut
What is a standard video editing cut? A standard cut is simply moving two video clips together in an editing program to combine them into one video.
A standard cut often includes trimming the footage to preserve only the best part of the video clip. Removing unusable footage is one of the initial steps in post-production. Then the video clips are combined to play as one video rather than separate clips.
Special effect transitions can be rendered in programs like Adobe AE to upgrade a standard editing cut to a dynamic one.
2. Match Cut
A match cut is when an editor combines video clips to make the action seem continuous. This editing cut works by aligning the motion, colors, or composition of video clips to create a continuous scene.
When the clips are expertly matched, the audience will not notice the cuts because they are focused on the scene rather than the transition between clips.
Color correction is an important component of successfully executing a match cut. Inconsistent lighting and color from one video clip to the next can destroy the illusion of a continuous scene.
One of the tricks for editors that professionals recommend is to color correct the footage before combining the clips. DaVinci Resolve is one of the best programs for professional editors because it enables creatives to complete standard editing, color correct, and render special effects all in one place.
3. Jump Cut
One essential editing cut that has gained popularity in recent years is the jump cut. This cut is frequently used to edit fast-paced social media videos and commercials because the approach helps hold an audience’s short attention span.
While a match cut creates a linear timeline of events by carefully matching the footage up, a jump cut does the opposite.
This editing cut “jumps” the video directly into another scene or angle, usually set in the future, without any sort of transition. Jump cuts can be used to show the passage of time to engage the audience’s attention.
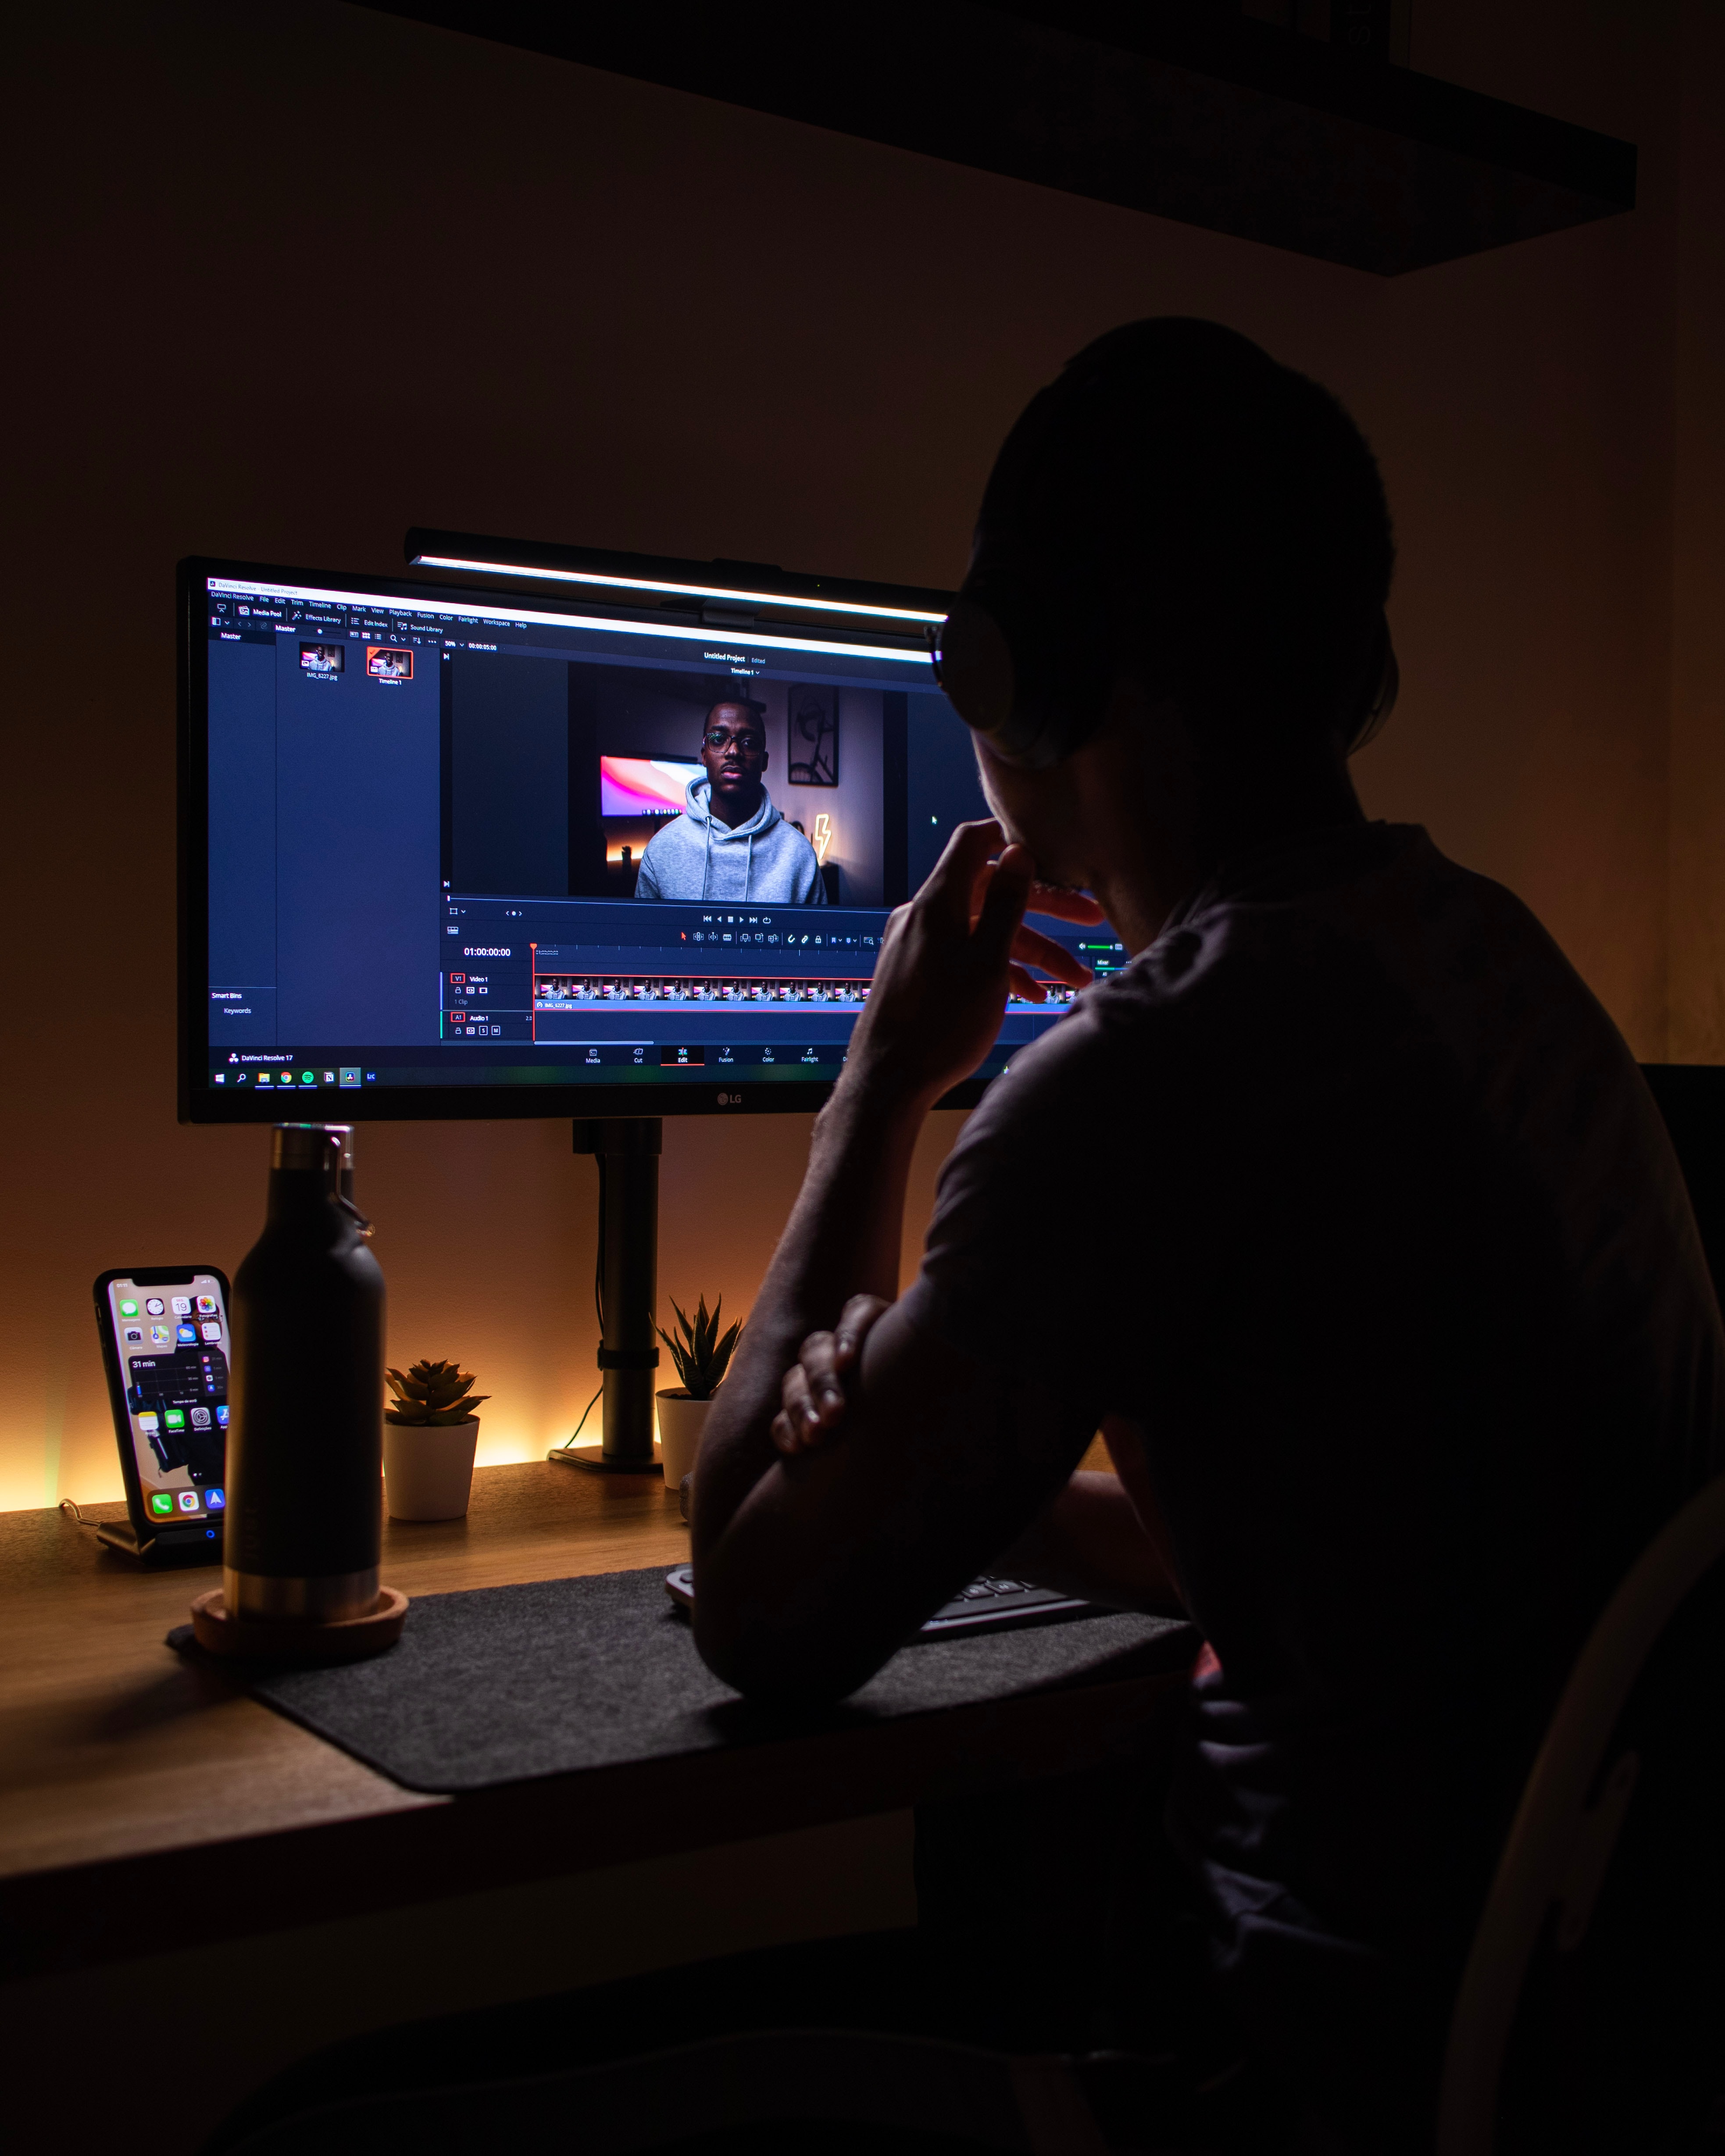
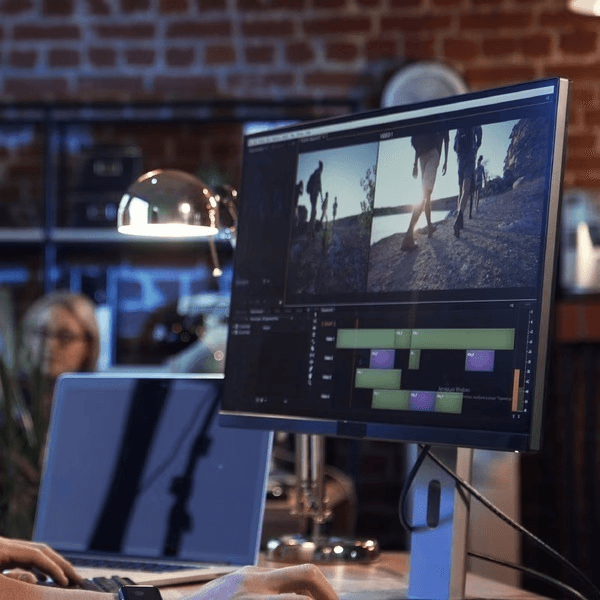
Photo by Nubelson Fernandes on Unsplash
4. Cutaways
In video editing, a cutaway shot means that the video cuts to a different perspective of the same thing to make the scene more visually engaging. Cutaways can also be used to create additional visual context through details that add to the plot.
An example of a cutaway shot would be a character in a movie holding an object and then cutting to show a close-up of the object. Cutaways can be used to add B-roll or to transport the viewer to another place/time (such as with a flashback scene). Layering context clues with cutaway shots can help add supporting context to the film’s narrative.
5. L Cuts and J Cuts
“L” cuts and “J” cuts are used by video editors to smoothly transition between clips by overlapping audio and video. These editing cuts are often used in documentary interviews to add B-roll shots. If you are having trouble combining two clips in a way that makes visual sense, try overlapping audio using an L or J cut.
An L cut is when the audio from the first clip continues to play as the video transitions to a second clip. This provides context for the viewer that ties multiple clips into a cohesive and continuous scene.
One example of an L cut is a video interview that cuts away from the speaker to a correlating clip of B-roll, but the audio of the speaker continues to play.
J cuts are the opposite of an L cut. With a J cut, the audio from the second clip begins to play while the first clip is still rolling. This cut can be very dynamic in a film when used masterfully. Just like an L cut, J cuts create continuity by layering the audio and visuals of multiple clips into a cohesive narrative.
The methods that video editors use to sequence video clips together can have a huge impact on the success of the final video. Next time you tackle a video editing project, try incorporating some of these tricks for editors to splice the clips together like a pro!
These five editing cuts are essential for professional video editors to know how to use. Once you have mastered the basics of using these video editing cuts, you can get creative with how to apply them in post-production. Making expert cuts can transform raw footage into something spectacular!
Video editors take raw footage and combine the clips using cuts, color correction, and special effects. In this blog post, we share pro tips for using editing cuts in programs like Adobe After Effects, Premiere Pro, and Final Cut Pro. Having a variety of tried-and-true video editing cuts in your editing “tool belt” can make it a breeze to put together a polished final video.
The more editing cuts that you know how to use, the more creative options you will have for editing amazing videos. Editing cuts are important for creating a cohesive narrative, showing the passage of time, and holding the audience’s attention. We hope that these essential cuts for editors will be a useful asset to our readers for their future video editing projects!
Photo by KAL VISUALS on Unsplash
1. Standard Video Editing Cut
What is a standard video editing cut? A standard cut is simply moving two video clips together in an editing program to combine them into one video.
A standard cut often includes trimming the footage to preserve only the best part of the video clip. Removing unusable footage is one of the initial steps in post-production. Then the video clips are combined to play as one video rather than separate clips.
Special effect transitions can be rendered in programs like Adobe AE to upgrade a standard editing cut to a dynamic one.
2. Match Cut
A match cut is when an editor combines video clips to make the action seem continuous. This editing cut works by aligning the motion, colors, or composition of video clips to create a continuous scene.
When the clips are expertly matched, the audience will not notice the cuts because they are focused on the scene rather than the transition between clips.
Color correction is an important component of successfully executing a match cut. Inconsistent lighting and color from one video clip to the next can destroy the illusion of a continuous scene.
One of the tricks for editors that professionals recommend is to color correct the footage before combining the clips. DaVinci Resolve is one of the best programs for professional editors because it enables creatives to complete standard editing, color correct, and render special effects all in one place.
3. Jump Cut
One essential editing cut that has gained popularity in recent years is the jump cut. This cut is frequently used to edit fast-paced social media videos and commercials because the approach helps hold an audience’s short attention span.
While a match cut creates a linear timeline of events by carefully matching the footage up, a jump cut does the opposite.
This editing cut “jumps” the video directly into another scene or angle, usually set in the future, without any sort of transition. Jump cuts can be used to show the passage of time to engage the audience’s attention.
Photo by Nubelson Fernandes on Unsplash
4. Cutaways
In video editing, a cutaway shot means that the video cuts to a different perspective of the same thing to make the scene more visually engaging. Cutaways can also be used to create additional visual context through details that add to the plot.
An example of a cutaway shot would be a character in a movie holding an object and then cutting to show a close-up of the object. Cutaways can be used to add B-roll or to transport the viewer to another place/time (such as with a flashback scene). Layering context clues with cutaway shots can help add supporting context to the film’s narrative.
5. L Cuts and J Cuts
“L” cuts and “J” cuts are used by video editors to smoothly transition between clips by overlapping audio and video. These editing cuts are often used in documentary interviews to add B-roll shots. If you are having trouble combining two clips in a way that makes visual sense, try overlapping audio using an L or J cut.
An L cut is when the audio from the first clip continues to play as the video transitions to a second clip. This provides context for the viewer that ties multiple clips into a cohesive and continuous scene.
One example of an L cut is a video interview that cuts away from the speaker to a correlating clip of B-roll, but the audio of the speaker continues to play.
J cuts are the opposite of an L cut. With a J cut, the audio from the second clip begins to play while the first clip is still rolling. This cut can be very dynamic in a film when used masterfully. Just like an L cut, J cuts create continuity by layering the audio and visuals of multiple clips into a cohesive narrative.
The methods that video editors use to sequence video clips together can have a huge impact on the success of the final video. Next time you tackle a video editing project, try incorporating some of these tricks for editors to splice the clips together like a pro!
These five editing cuts are essential for professional video editors to know how to use. Once you have mastered the basics of using these video editing cuts, you can get creative with how to apply them in post-production. Making expert cuts can transform raw footage into something spectacular!
Get Beyond Your Computer Performance
Run applications on your cloud computer with the latest generation hardware. No more crashes or lags.
Trial includes 1 hour usage + 7 days of storage.
Get Beyond Your Computer Performance
Run applications on your cloud computer with the latest generation hardware. No more crashes or lags.
Trial includes 1 hour usage + 7 days of storage.
Get Beyond Your Computer Performance
Run applications on your cloud computer with the latest generation hardware. No more crashes or lags.
Trial includes 1 hour usage + 7 days of storage.
Get Beyond Your Computer Performance
Run applications on your cloud computer with the latest generation hardware. No more crashes or lags.
Trial includes 1 hour usage + 7 days of storage.
Get Beyond Your Computer Performance
Run applications on your cloud computer with the latest generation hardware. No more crashes or lags.
Trial includes 1 hour usage + 7 days of storage.

Ready to focus on your creativity?
Vagon gives you the ability to create & render projects, collaborate, and stream applications with the power of the best hardware.

Vagon Blog


Run heavy applications on any device with
your personal computer on the cloud.
San Francisco, California
Solutions
Vagon Teams
Vagon Streams
Use Cases
Resources
Vagon Blog
The Best Render Settings for Blender 3D
Arcware vs Vagon Streams: Best Pixel Streaming Alternatives
How To Use FL Studio on a Cloud Computer
Reducing Latency in Virtual Desktops: 11 Fixes That Actually Work
PureWeb vs Vagon Streams: Best Alternative Pixel Streaming Platform
How To Use Photoshop On iPad
How To Fix Slow & Laggy Performance on AWS Workspaces VDIs?
Arcane Mirage vs Vagon Streams: Best Alternative Pixel Streaming Platform
The Best Unity Shortcuts
Vagon Blog
Run heavy applications on any device with
your personal computer on the cloud.
San Francisco, California
Solutions
Vagon Teams
Vagon Streams
Use Cases
Resources
Vagon Blog