Instant Connection for Pixel Streaming
— New Feature Automated Setup
How to Build Your Own Professional Workstation
How to Build Your Own Professional Workstation
How to Build Your Own Professional Workstation
Published on January 18, 2022
Updated on December 10, 2023
Table of Contents
Assembling a computer by purchasing the components that will compose it one by one allows you to obtain a very high-quality workstation, perfectly corresponding to your needs. Although this procedure is not within everyone’s reach, inquiring a little about the subject and asking for a hand to those who already know a bit of assembly, you can succeed in the enterprise of building a computer independently, thus saving a lot of money compared to the pre-assembled ones available in electronics stores.
Here is the reason why, today, I decided to give you some advice on how to build a PC. Obviously, I do not pretend to make you an expert able to assemble a computer in ten minutes, but you will see that with a little tenacity, following the instructions I am about to give you and consulting the useful resources that I’m about to point out to you in this full guide, you will succeed in this intent.
Preliminary Information
Before moving on to the technical phase, it’s important that you first identify the use for which the computer will be intended. In fact, if you intend to build a computer for graphic design or 3D animation, the hardware components to be purchased must be of medium-high range, consequently facing an expense that can even reach a few thousand dollars.
Cheaper computers, on the other hand, certainly allow you to carry out all the simpler activities, such as working on electronic documents, web browsing and playing multimedia content, for example, by spending less and using less advanced components.
It’s also important to set the budget at your disposal, as this can help you get an idea of the type of computer to be assembled. I also recommend that you compare the prices of different models of hardware components, to see if you can spend a little more to get the best in terms of computer performance.
Components to Assemble a Professional Workstation
So you are planning to put together your own computer, to start off it’s better to clearly know what hardware parts are necessary. That’s why in this article I’ll go through all the components you’ll need and what kind of tools you’re required to have to assemble your professional computer workstation.
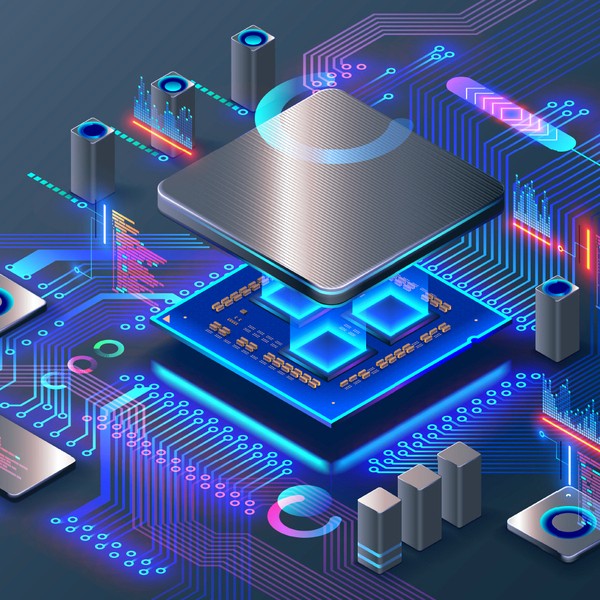
CPU
Among the hardware components of a computer, the processor is one of the most important, as it represents the computing unit that affects the performance of any activity performed on the machine.
Generally speaking, the higher its power, expressed in frequency (GHz), the better the performance. A processor is also divided into several cores, which facilitate its work thanks to the distribution of activities on the different computing units. The more cores there is the better overall performance.
When you buy a processor, you will find yourself having to choose between those from two large companies: Intel and AMD, although Intel’s currently tend to be preferred for overall performance ratio issues. Regardless of the price that a processor may have, I advise you to always choose one of the latest generations, as this guarantees excellent performance and lower consumption, compared to older models.
Another important element, which relates to the next paragraph, is the socket a processor has. The socket is the connection for fixing it on the motherboard. You can’t buy just any processor - it must be compatible with your motherboard. For example, if the latter is compatible with Intel processors with LGA 1151 socket, you must purchase processors with the same socket.
In addition to the processor, consider purchasing a good dissipation system, that is the cooling system used to dissipate the heat produced by the components of the PC: there are those equipped with the classic fan installed on the dissipation grids or the liquid ones, in which a closed circuit carries a liquid-cooled by a system of fans.
Motherboard
The motherboard is that board that is used to manage the controls between all the different components of a computer. There are different brands and different price ranges; however, I recommend that you choose the motherboard compatible with the processor purchased (which I mentioned in the previous paragraph) and check the input ports and the additional components you need.
Just to give you a few examples, a motherboard could have a Bluetooth module or a Wi-Fi antenna. Also, if you’re planning to build a graphics-oriented computer, you might need a motherboard with multiple graphic card support (more PCI slots, so to speak).
So make sure it has several USB ports available (at least 3.0 or higher) and at least one Type-C, which is the new standard that is establishing itself, for its compatibility with the latest generation peripherals. Depending on the monitor you plan to buy, check the type of connection with it, making sure it has an HDMI input or the classic VGA or DVI ports.
In addition to this, the amount and type of RAM supported by the motherboard are also important (I’ll talk about it in more detail in the next paragraphs).
A motherboard of the latest generation must be compatible with the DDR4 RAM format and must support at least 8GB of memory. Always check the maximum supported RAM limit to avoid finding yourself in unpleasant situations, with the impossibility of expanding it.
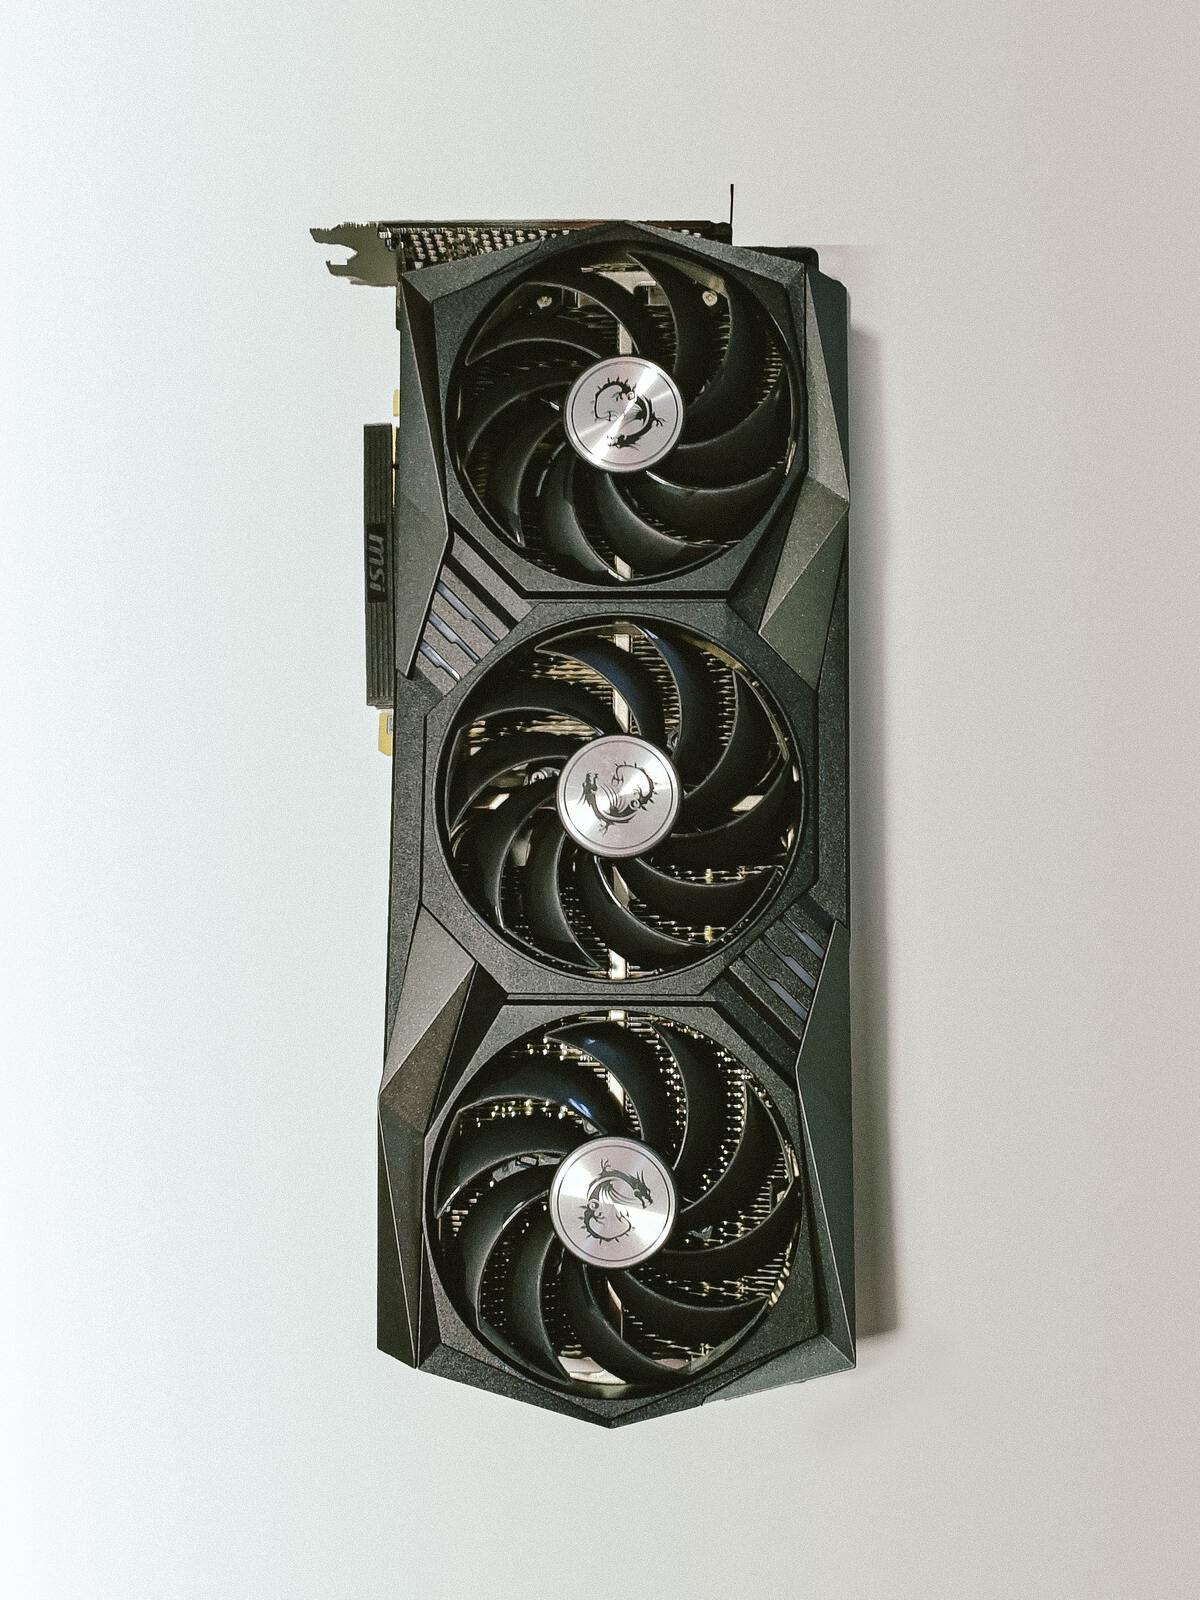
Photo by Bruno Yamazaky on Unsplash
Graphics Card
Another piece of hardware, which depending on the type of computer to be assembled may be crucial or optional, is the dedicated graphic card. Why can its purchase be optional? The answer is that it mainly depends on the use for which the PC is intended: if you use the computer to browse the Internet, you can use the video card integrated into the processor; for a gaming computer or computer intended for 3D design, however, the purchase of a dedicated video card is mandatory, as the latest generation video games and professional software for graphics and video editing require resources that cannot be provided by an integrated card
Graphics card prices are variable and also depend on the brand you buy: the largest video card manufacturers are AMD and NVIDIA. There are many models from the cheapest to the most expensive and the choice depends on the budget available, but above all on the technical characteristics that allow you to play a video game at the highest graphic quality or even in 4K.
Power Supply
Based on the hardware components I mentioned in the previous paragraphs, you may have guessed the fact that higher performance equals higher consumption. In this regard, it is important to purchase a suitable power supply for the components chosen above.
When choosing a power supply, you must consider its maximum power (expressed in Watts) of electricity supply. A powerful computer may require at least 1000W power supplies with construction features (modularity, dissipation, fan speed control) that can accommodate this configuration. For cheaper computers, however, a power supply of 600W or less may be more than enough.
Mass Storage
The choice of internal storage memory is quite simple to make. You can orient yourself on the classic hard disks (those with magnetic disk), which are very capacious and cheap but are also very slow, or on the SSD (Solid-state disk) which, instead, thanks to the flash memories included in them, are enormously faster than mechanical discs, but they also cost more.
The format of the internal hard disks is usually 3.5 ″ with connection via SATA 3 interface. Among the solid-state disks, however, there are the standard ones with SATA attack and those M.2 or NVMe which, unlike normal SSDs, have the appearance similar to a RAM, as they do not need to be connected via cable, but they snap into the appropriate PCIe Gen 3.0 slot on the motherboard.
In addition, there are high-performance hard drives on the market (better than classic ones, but lower than an SSD) which can be a good compromise. However, focus on disks that offer a high transfer rate (expressed in GB / s) and disk rotation (RPM).
As already mentioned, both types of storage units are connected to the motherboard, generally, through SATA 3 cables, which are also compatible with the previous SATA 2 connection. Which allows a theoretical transfer transmission up to 6 Gbps.
RAM
Speaking instead of temporary virtual memory (RAM) the choice is constrained by the motherboard you intend to buy. The latter, in fact, supports specific types of RAM, so you can’t have many choices.
The RAMs are of different types, based on that supported by the motherboard (for example DDR3 or DDR4), the storage capacity, and the data exchange rate. Regarding these last two features, you have to check the maximum memory limit and the frequencies supported by the motherboard.
Furthermore, check also if the RAM supports Dual Channel or Quad Channel technologies which, by adding other memory banks, can respectively double or quadruple the data transmission channels, resulting in better performance. Read the technical specifications of the motherboard, so as not to make mistakes during the purchase.
Case
At this point, you necessarily need a case, that’s generally an aluminum structure that holds all the hardware components together. To choose a good case you have to consider two aspects: aesthetics and utility.
As for aesthetics, choose the one that best suits your needs. Some have transparent panels or even light LEDs. In addition, they may have colors, shapes, or designs that can help in the choice. In case you are not interested in aesthetics, many houses have a “neutral” appearance, with lower prices.
Another important factor is utility. When it comes to computers, for 3D graphic duties, for example, it’s important to evaluate some fundamental factors, such as the size and arrangement of the components inside.
Just to give you an example, if the computer you have chosen involves the assembly of two dedicated video cards in parallel, you will need a very large and spacious case, to also improve the dissipation of the heat that will be generated.
Precisely in terms of dissipation, it’s also important to check if it’s possible to install additional fans that can help to cool. You can find fans of many types and sizes, such as 120mm or 200mm fans. Some cases can also be prepared for mounting a liquid dissipation, to ensure better performance in the heat dissipation of the processor and the dedicated video card.
Monitor
To complete the topic on essential components for a professional workstation, I’ll talk to you about monitors. The choice of a monitor is, most of the time, tied to subjective tastes. Some prefer small screens (15 or 17 inches) while others choose larger ones starting at 27 inches and up. Furthermore, other relevant factors are the image refresh rates, response times, the maximum resolution supported (we tend to prefer 2K or 4K), as well as the image format (for example 16: 9 or 21: 9).
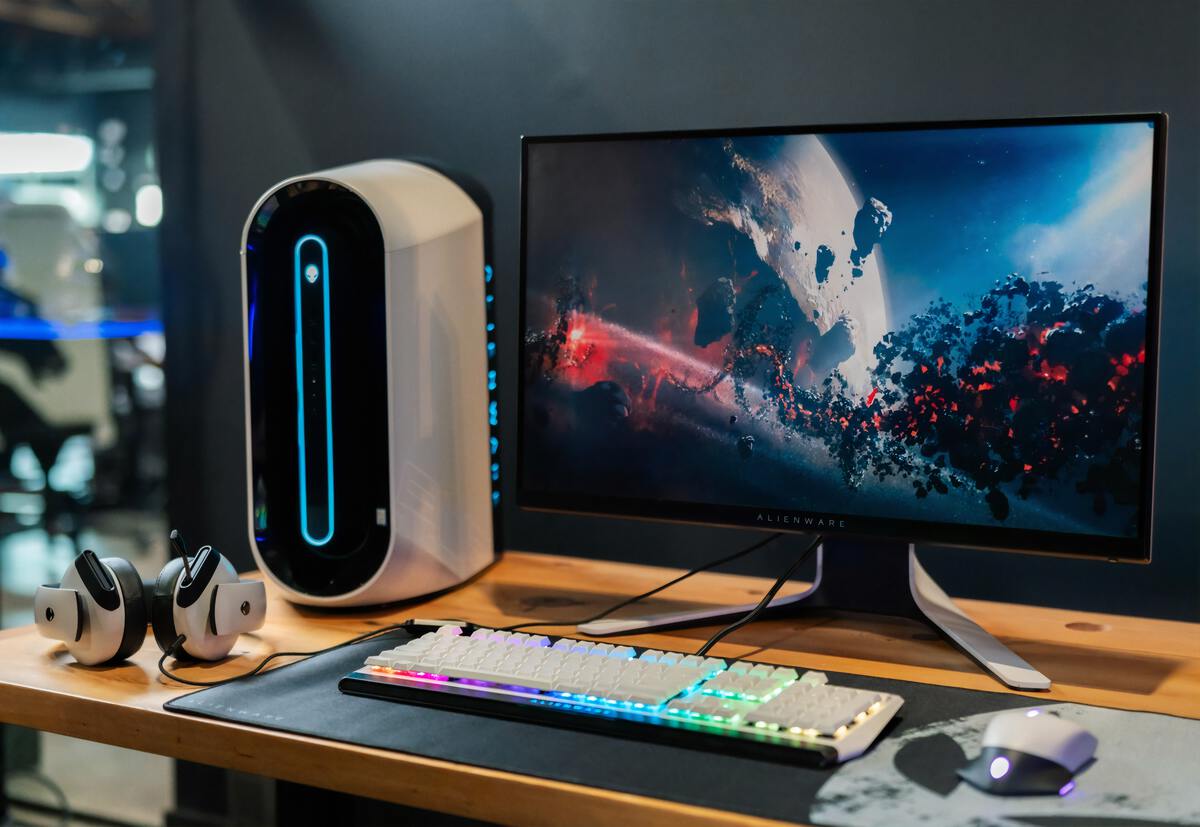
Photo by Alienware on Unsplash
Tools for Assembling a Computer
In addition to the components that I have indicated to you in the previous paragraphs, you must get the right tools for the computer assembly process.
Surely you need to equip yourself with a screwdriver, preferably one on which you can extract the tips, to adapt it to the various screws on which you have to intervene. Furthermore, I advise you not to touch the various components with bare hands, in order not to leave any impurities. Ideal, therefore, are the gloves that are used for painting and that do not have talc inside.
On top of that, you might need thermal paste, although by now most processors and heatsinks already have a layer of paste sufficient for dissipation.
You may need connecting cables to connect the various components. However, in general, you should find everything you need inside the packaging of the case, the power supply, and the motherboard.
How to Assemble a Computer
Now that you understand (and I suppose purchased) what all the components you need are, it’s time to move on to the more technical part of this guide. The advice I give you, before starting to assemble a computer, is to work on a dry, clean work surface and not be exposed to electric shocks, to avoid short circuits.
First, take the motherboard out of the box and place it on an isolated surface, making sure that all the connectors are facing each other to avoid damaging them.
Now, open the processor box and place the component in the slot on the motherboard. Check carefully if there is a direction of positioning, comparing the shape of the housing with that of the processor. After positioning the processor, you will find a lever on the motherboard that will allow you to fit the component into the housing.
With that done, it’s time to install the cooling system on the processor. If it’s not present, apply some thermal paste between the contact surface of the processor and that of the fan but, I recommend, do not abound, otherwise, during the positioning, it could spill out.
After placing the cooling system on the processor, use the cooling hooks to secure it to the motherboard. If you use liquid cooling, I recommend that you install it only after placing the motherboard inside the case.
At this point, open the side panel of the case and place the power supply inside it, generally in the lower or upper corner of its rear section. To perform this operation, you should place the case horizontally on the worktop, to have greater visibility and maneuverability.
Once this is done, place the motherboard in the case, inside the area dedicated to it, with the processor and its fan facing the inside of the case itself. Take care to also extract the bezels on the backside, to free up the various available inputs (VGA, USB, HDMI, and so on).
Inside the case or motherboard packaging, you may find spacers, useful for preventing the motherboard from coming into contact with the side panel of the case. Then proceed with fixing the motherboard to the case using the supplied screws.
Through the power cable, connect the power supply to the motherboard in the appropriate housing on it, using the 24-pin cable. Then install the RAM on the motherboard, taking care to position it in the right direction. You will be sure you have mounted it correctly if you hear a “click”.
Then place the hard disk (or SSD) and the burner in the corresponding slots of the case and connect them to the motherboard using the SATA cable. Then proceed to connect these two components to the power supply using the appropriate cables. Also, check that the processor cooling system power cable is properly connected to the motherboard.
If you have purchased a graphic card, install it in the PCI slot of the motherboard, taking care to position it so that the connectors (HDMI, DVI, or VGA) come out of the rear compartment of the case.
The last thing you have to do is connect the cables for the LEDs, fans, and buttons to the motherboard. Connecting is not difficult, as the connectors are properly labeled (with a small print) on the motherboard. In any case, you can refer to the operation manual that you received along with the motherboard.
After performing all these operations, you can close the case via the panel you removed earlier. Connect the power cord to your computer and all peripherals, such as your monitor, mouse, and keyboard. Then press the power button on the front panel of the case to check its effective operation. Congratulations - you have just assembled a computer with your own hands!
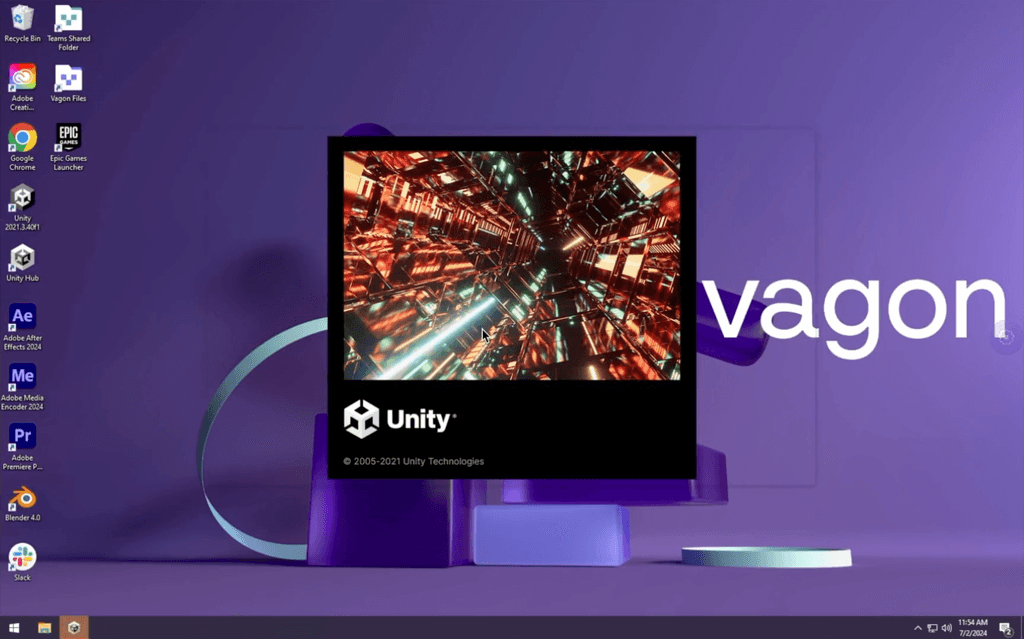
Why Build When You Can Access a Ready-to-Use Professional Workstation with Vagon?
Building a professional workstation can be a fascinating personal project, but it can also be expensive and time-consuming. With Vagon, you get instant access to a cloud-based high-performance workstation equipped with 4 x 16GB CUDA activated Nvidia GPUs, ready to tackle any demanding task you throw at it.
Whether you’re working on complex 3D models, rendering high-definition videos, playing top AAA games or anything in between, Vagon has got you covered. It’s like having a powerful workstation at your fingertips, without the fuss of setting it up. The transition is smooth, and the performance is outstanding. Say goodbye to hardware limitations and hello to a world of endless creative possibilities with Vagon.
No more staring at the progress bar, it’s time to unleash your creativity without any holdups. You can check it yourself within just a few clicks.
Conclusion
Today there are many components for computers that allow you to keep an eye on your budget while figuring out the solution perfectly calibrated to your needs, but you have to be good at identifying these needs.
While budgeting for your next workstation you should consider Vagon; investing in high-performance computers is mostly pricey, cloud computers with high performance might be a good alternative for some.
Assembling a computer by purchasing the components that will compose it one by one allows you to obtain a very high-quality workstation, perfectly corresponding to your needs. Although this procedure is not within everyone’s reach, inquiring a little about the subject and asking for a hand to those who already know a bit of assembly, you can succeed in the enterprise of building a computer independently, thus saving a lot of money compared to the pre-assembled ones available in electronics stores.
Here is the reason why, today, I decided to give you some advice on how to build a PC. Obviously, I do not pretend to make you an expert able to assemble a computer in ten minutes, but you will see that with a little tenacity, following the instructions I am about to give you and consulting the useful resources that I’m about to point out to you in this full guide, you will succeed in this intent.
Preliminary Information
Before moving on to the technical phase, it’s important that you first identify the use for which the computer will be intended. In fact, if you intend to build a computer for graphic design or 3D animation, the hardware components to be purchased must be of medium-high range, consequently facing an expense that can even reach a few thousand dollars.
Cheaper computers, on the other hand, certainly allow you to carry out all the simpler activities, such as working on electronic documents, web browsing and playing multimedia content, for example, by spending less and using less advanced components.
It’s also important to set the budget at your disposal, as this can help you get an idea of the type of computer to be assembled. I also recommend that you compare the prices of different models of hardware components, to see if you can spend a little more to get the best in terms of computer performance.
Components to Assemble a Professional Workstation
So you are planning to put together your own computer, to start off it’s better to clearly know what hardware parts are necessary. That’s why in this article I’ll go through all the components you’ll need and what kind of tools you’re required to have to assemble your professional computer workstation.
CPU
Among the hardware components of a computer, the processor is one of the most important, as it represents the computing unit that affects the performance of any activity performed on the machine.
Generally speaking, the higher its power, expressed in frequency (GHz), the better the performance. A processor is also divided into several cores, which facilitate its work thanks to the distribution of activities on the different computing units. The more cores there is the better overall performance.
When you buy a processor, you will find yourself having to choose between those from two large companies: Intel and AMD, although Intel’s currently tend to be preferred for overall performance ratio issues. Regardless of the price that a processor may have, I advise you to always choose one of the latest generations, as this guarantees excellent performance and lower consumption, compared to older models.
Another important element, which relates to the next paragraph, is the socket a processor has. The socket is the connection for fixing it on the motherboard. You can’t buy just any processor - it must be compatible with your motherboard. For example, if the latter is compatible with Intel processors with LGA 1151 socket, you must purchase processors with the same socket.
In addition to the processor, consider purchasing a good dissipation system, that is the cooling system used to dissipate the heat produced by the components of the PC: there are those equipped with the classic fan installed on the dissipation grids or the liquid ones, in which a closed circuit carries a liquid-cooled by a system of fans.
Motherboard
The motherboard is that board that is used to manage the controls between all the different components of a computer. There are different brands and different price ranges; however, I recommend that you choose the motherboard compatible with the processor purchased (which I mentioned in the previous paragraph) and check the input ports and the additional components you need.
Just to give you a few examples, a motherboard could have a Bluetooth module or a Wi-Fi antenna. Also, if you’re planning to build a graphics-oriented computer, you might need a motherboard with multiple graphic card support (more PCI slots, so to speak).
So make sure it has several USB ports available (at least 3.0 or higher) and at least one Type-C, which is the new standard that is establishing itself, for its compatibility with the latest generation peripherals. Depending on the monitor you plan to buy, check the type of connection with it, making sure it has an HDMI input or the classic VGA or DVI ports.
In addition to this, the amount and type of RAM supported by the motherboard are also important (I’ll talk about it in more detail in the next paragraphs).
A motherboard of the latest generation must be compatible with the DDR4 RAM format and must support at least 8GB of memory. Always check the maximum supported RAM limit to avoid finding yourself in unpleasant situations, with the impossibility of expanding it.
Photo by Bruno Yamazaky on Unsplash
Graphics Card
Another piece of hardware, which depending on the type of computer to be assembled may be crucial or optional, is the dedicated graphic card. Why can its purchase be optional? The answer is that it mainly depends on the use for which the PC is intended: if you use the computer to browse the Internet, you can use the video card integrated into the processor; for a gaming computer or computer intended for 3D design, however, the purchase of a dedicated video card is mandatory, as the latest generation video games and professional software for graphics and video editing require resources that cannot be provided by an integrated card
Graphics card prices are variable and also depend on the brand you buy: the largest video card manufacturers are AMD and NVIDIA. There are many models from the cheapest to the most expensive and the choice depends on the budget available, but above all on the technical characteristics that allow you to play a video game at the highest graphic quality or even in 4K.
Power Supply
Based on the hardware components I mentioned in the previous paragraphs, you may have guessed the fact that higher performance equals higher consumption. In this regard, it is important to purchase a suitable power supply for the components chosen above.
When choosing a power supply, you must consider its maximum power (expressed in Watts) of electricity supply. A powerful computer may require at least 1000W power supplies with construction features (modularity, dissipation, fan speed control) that can accommodate this configuration. For cheaper computers, however, a power supply of 600W or less may be more than enough.
Mass Storage
The choice of internal storage memory is quite simple to make. You can orient yourself on the classic hard disks (those with magnetic disk), which are very capacious and cheap but are also very slow, or on the SSD (Solid-state disk) which, instead, thanks to the flash memories included in them, are enormously faster than mechanical discs, but they also cost more.
The format of the internal hard disks is usually 3.5 ″ with connection via SATA 3 interface. Among the solid-state disks, however, there are the standard ones with SATA attack and those M.2 or NVMe which, unlike normal SSDs, have the appearance similar to a RAM, as they do not need to be connected via cable, but they snap into the appropriate PCIe Gen 3.0 slot on the motherboard.
In addition, there are high-performance hard drives on the market (better than classic ones, but lower than an SSD) which can be a good compromise. However, focus on disks that offer a high transfer rate (expressed in GB / s) and disk rotation (RPM).
As already mentioned, both types of storage units are connected to the motherboard, generally, through SATA 3 cables, which are also compatible with the previous SATA 2 connection. Which allows a theoretical transfer transmission up to 6 Gbps.
RAM
Speaking instead of temporary virtual memory (RAM) the choice is constrained by the motherboard you intend to buy. The latter, in fact, supports specific types of RAM, so you can’t have many choices.
The RAMs are of different types, based on that supported by the motherboard (for example DDR3 or DDR4), the storage capacity, and the data exchange rate. Regarding these last two features, you have to check the maximum memory limit and the frequencies supported by the motherboard.
Furthermore, check also if the RAM supports Dual Channel or Quad Channel technologies which, by adding other memory banks, can respectively double or quadruple the data transmission channels, resulting in better performance. Read the technical specifications of the motherboard, so as not to make mistakes during the purchase.
Case
At this point, you necessarily need a case, that’s generally an aluminum structure that holds all the hardware components together. To choose a good case you have to consider two aspects: aesthetics and utility.
As for aesthetics, choose the one that best suits your needs. Some have transparent panels or even light LEDs. In addition, they may have colors, shapes, or designs that can help in the choice. In case you are not interested in aesthetics, many houses have a “neutral” appearance, with lower prices.
Another important factor is utility. When it comes to computers, for 3D graphic duties, for example, it’s important to evaluate some fundamental factors, such as the size and arrangement of the components inside.
Just to give you an example, if the computer you have chosen involves the assembly of two dedicated video cards in parallel, you will need a very large and spacious case, to also improve the dissipation of the heat that will be generated.
Precisely in terms of dissipation, it’s also important to check if it’s possible to install additional fans that can help to cool. You can find fans of many types and sizes, such as 120mm or 200mm fans. Some cases can also be prepared for mounting a liquid dissipation, to ensure better performance in the heat dissipation of the processor and the dedicated video card.
Monitor
To complete the topic on essential components for a professional workstation, I’ll talk to you about monitors. The choice of a monitor is, most of the time, tied to subjective tastes. Some prefer small screens (15 or 17 inches) while others choose larger ones starting at 27 inches and up. Furthermore, other relevant factors are the image refresh rates, response times, the maximum resolution supported (we tend to prefer 2K or 4K), as well as the image format (for example 16: 9 or 21: 9).
Photo by Alienware on Unsplash
Tools for Assembling a Computer
In addition to the components that I have indicated to you in the previous paragraphs, you must get the right tools for the computer assembly process.
Surely you need to equip yourself with a screwdriver, preferably one on which you can extract the tips, to adapt it to the various screws on which you have to intervene. Furthermore, I advise you not to touch the various components with bare hands, in order not to leave any impurities. Ideal, therefore, are the gloves that are used for painting and that do not have talc inside.
On top of that, you might need thermal paste, although by now most processors and heatsinks already have a layer of paste sufficient for dissipation.
You may need connecting cables to connect the various components. However, in general, you should find everything you need inside the packaging of the case, the power supply, and the motherboard.
How to Assemble a Computer
Now that you understand (and I suppose purchased) what all the components you need are, it’s time to move on to the more technical part of this guide. The advice I give you, before starting to assemble a computer, is to work on a dry, clean work surface and not be exposed to electric shocks, to avoid short circuits.
First, take the motherboard out of the box and place it on an isolated surface, making sure that all the connectors are facing each other to avoid damaging them.
Now, open the processor box and place the component in the slot on the motherboard. Check carefully if there is a direction of positioning, comparing the shape of the housing with that of the processor. After positioning the processor, you will find a lever on the motherboard that will allow you to fit the component into the housing.
With that done, it’s time to install the cooling system on the processor. If it’s not present, apply some thermal paste between the contact surface of the processor and that of the fan but, I recommend, do not abound, otherwise, during the positioning, it could spill out.
After placing the cooling system on the processor, use the cooling hooks to secure it to the motherboard. If you use liquid cooling, I recommend that you install it only after placing the motherboard inside the case.
At this point, open the side panel of the case and place the power supply inside it, generally in the lower or upper corner of its rear section. To perform this operation, you should place the case horizontally on the worktop, to have greater visibility and maneuverability.
Once this is done, place the motherboard in the case, inside the area dedicated to it, with the processor and its fan facing the inside of the case itself. Take care to also extract the bezels on the backside, to free up the various available inputs (VGA, USB, HDMI, and so on).
Inside the case or motherboard packaging, you may find spacers, useful for preventing the motherboard from coming into contact with the side panel of the case. Then proceed with fixing the motherboard to the case using the supplied screws.
Through the power cable, connect the power supply to the motherboard in the appropriate housing on it, using the 24-pin cable. Then install the RAM on the motherboard, taking care to position it in the right direction. You will be sure you have mounted it correctly if you hear a “click”.
Then place the hard disk (or SSD) and the burner in the corresponding slots of the case and connect them to the motherboard using the SATA cable. Then proceed to connect these two components to the power supply using the appropriate cables. Also, check that the processor cooling system power cable is properly connected to the motherboard.
If you have purchased a graphic card, install it in the PCI slot of the motherboard, taking care to position it so that the connectors (HDMI, DVI, or VGA) come out of the rear compartment of the case.
The last thing you have to do is connect the cables for the LEDs, fans, and buttons to the motherboard. Connecting is not difficult, as the connectors are properly labeled (with a small print) on the motherboard. In any case, you can refer to the operation manual that you received along with the motherboard.
After performing all these operations, you can close the case via the panel you removed earlier. Connect the power cord to your computer and all peripherals, such as your monitor, mouse, and keyboard. Then press the power button on the front panel of the case to check its effective operation. Congratulations - you have just assembled a computer with your own hands!
Why Build When You Can Access a Ready-to-Use Professional Workstation with Vagon?
Building a professional workstation can be a fascinating personal project, but it can also be expensive and time-consuming. With Vagon, you get instant access to a cloud-based high-performance workstation equipped with 4 x 16GB CUDA activated Nvidia GPUs, ready to tackle any demanding task you throw at it.
Whether you’re working on complex 3D models, rendering high-definition videos, playing top AAA games or anything in between, Vagon has got you covered. It’s like having a powerful workstation at your fingertips, without the fuss of setting it up. The transition is smooth, and the performance is outstanding. Say goodbye to hardware limitations and hello to a world of endless creative possibilities with Vagon.
No more staring at the progress bar, it’s time to unleash your creativity without any holdups. You can check it yourself within just a few clicks.
Conclusion
Today there are many components for computers that allow you to keep an eye on your budget while figuring out the solution perfectly calibrated to your needs, but you have to be good at identifying these needs.
While budgeting for your next workstation you should consider Vagon; investing in high-performance computers is mostly pricey, cloud computers with high performance might be a good alternative for some.
Get Beyond Your Computer Performance
Run applications on your cloud computer with the latest generation hardware. No more crashes or lags.
Trial includes 1 hour usage + 7 days of storage.
Get Beyond Your Computer Performance
Run applications on your cloud computer with the latest generation hardware. No more crashes or lags.
Trial includes 1 hour usage + 7 days of storage.
Get Beyond Your Computer Performance
Run applications on your cloud computer with the latest generation hardware. No more crashes or lags.
Trial includes 1 hour usage + 7 days of storage.
Get Beyond Your Computer Performance
Run applications on your cloud computer with the latest generation hardware. No more crashes or lags.
Trial includes 1 hour usage + 7 days of storage.
Get Beyond Your Computer Performance
Run applications on your cloud computer with the latest generation hardware. No more crashes or lags.
Trial includes 1 hour usage + 7 days of storage.
Ready to focus on your creativity?
Vagon gives you the ability to create & render projects, collaborate, and stream applications with the power of the best hardware.

Vagon Blog


Run heavy applications on any device with
your personal computer on the cloud.
San Francisco, California
Solutions
Vagon Teams
Vagon Streams
Use Cases
Resources
Vagon Blog
Arcware vs Vagon Streams: Best Pixel Streaming Alternatives
PureWeb vs Vagon Streams: Best Alternative Pixel Streaming Platform
How To Use Photoshop On iPad
How To Fix Slow & Laggy Performance on AWS Workspaces VDIs?
Arcane Mirage vs Vagon Streams: Best Alternative Pixel Streaming Platform
The Best Unity Shortcuts
How To Render Faster in SketchUp
Running SketchUp on Low-End Devices
How To Run Unreal Engine on a Low-End Device (Even Without GPU)
Vagon Blog
Run heavy applications on any device with
your personal computer on the cloud.
San Francisco, California
Solutions
Vagon Teams
Vagon Streams
Use Cases
Resources
Vagon Blog