Video Editing & Content Writing

Do you want to edit videos in Adobe Premiere Pro CC like a pro? These essential Premiere Pro tips from professional video editors can step up your workflow immediately! In this blog post, we share ten tips for Premiere Pro that every editor should know.
Adobe Premiere Pro is one of the best video editing software for video production in 2023. Beginner and intermediate video editors may find learning the software daunting at first, but these tips and hacks can empower editors to access the full range of the program’s capabilities.
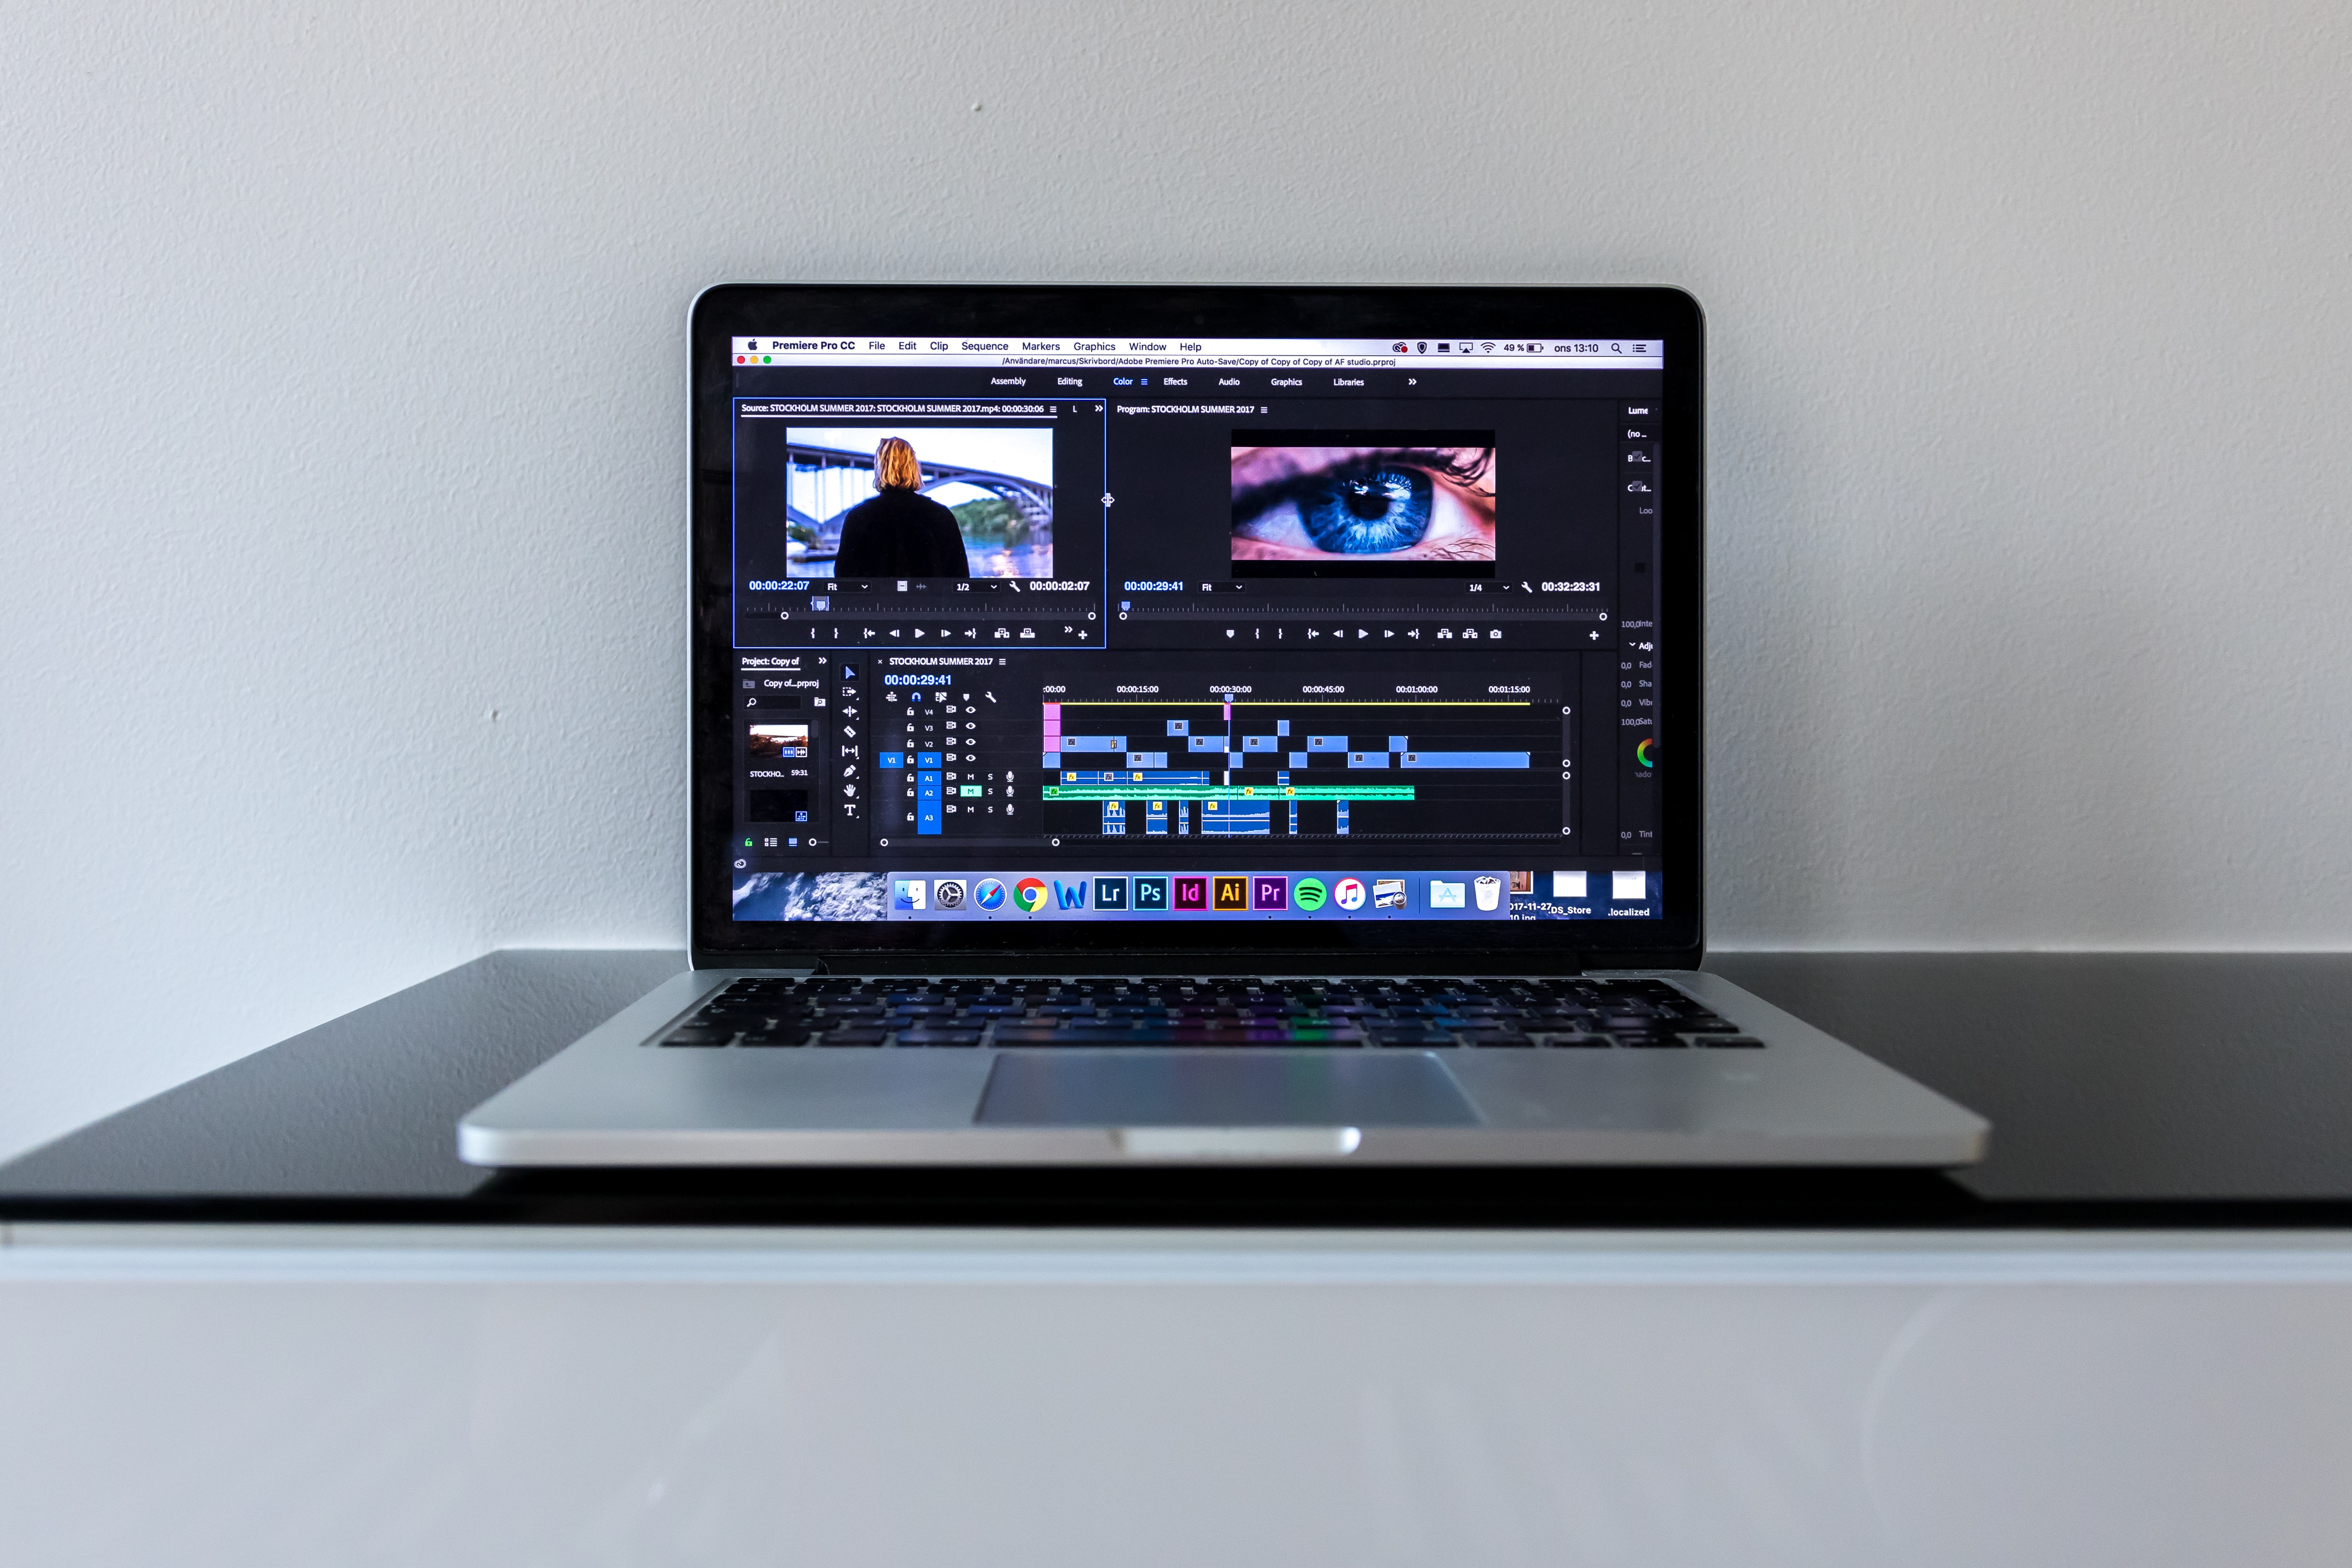
Photo by Marcus Löfvenberg on Unsplash
1. Use Proxies to Speed Up Performance
One of the difficulties that editors may encounter while using Premiere Pro is that the graphics-intensive software crashes frequently. To improve performance, professional video editors recommend editing with proxy files. A proxy file is a lower-resolution file that is used for editing and then can be switched out for the original file later with the Toggle Proxies command.
2. Reduce Lag In Premiere Pro
Another way to reduce rendering times in Premiere Pro is to switch to a smaller playback resolution. Changing the preview screen from full size to ½ or ¼ can make it a little easier for the computer to handle playback during editing.
Allocating more RAM space for Premiere Pro can also help improve performance. From the top bar click on Premiere Pro > Preferences > Memory and reduce the number for “RAM reserved for other applications” to the lowest.
3. Sync Audio In Premiere Pro
Did you know that you can sync audio in Premiere Pro without using any third-party plugins? Instead of wasting time trying to manually line up the video with the audio file, get it done quickly by using this simple Premiere Pro hack. Select the audio clips you want to synchronize in the sequence and right-click to find the “Synchronize > Audio” command.
You can also sync audio and video clips by selecting the desired clips in the Project panel and right-clicking to pull up the menu. Select “Merge Clips” and make sure that “Audio” is selected in the pop-up window before pressing enter.
4. Use Adjustment Layers
The easiest way to color-grade multiple clips at once in Premiere Pro is to apply an adjustment layer. All visual effects applied to the adjustment layer will also be applied to the clips that it overlaps. Color grading with adjustment layers can save a ton of time. Create a new adjustment layer from the Project panel by clicking New Item > Adjustment Layer.
5. Keyframe Effects
Premiere Pro enables editors to manually customize effects with keyframes to create gradual changes. Examples of the kind of effects that you can keyframe include color-grading, distortions, and movements. In the Effects Controls panel, toggle the clock symbol next to the effect to add or edit keyframes.
6. Unleash the Full Power of Premiere Pro with Vagon
You’ve just uncovered some valuable tips for Premiere Pro, but here’s a game-changer: Vagon’s remote desktops. No more waiting around for large files to render or getting stuck with laggy previews.
Opt for GPU rendering over CPU, and harness the power of 4 x 16GB CUDA activated Nvidia GPUs with just a few clicks on Vagon. No more boring waitings for renders; it’s time to supercharge your editing workflow and explore your creative horizons seamlessly.
No more staring at the progress bar, it’s time to unleash your creativity without any holdups. You can check it yourself within just a few clicks.
7. Organize Your Files In the Project Panel
One of the best tips from video editing professionals is to streamline workflow efficiency by keeping files as organized as possible. File management is especially important when you are working on large video projects with many files.
The Project panel in Premiere Pro has a similar layout to a normal computer file system. We recommend color-coding your files as well as giving them clear names. Right-click on a clip to assign labels and colors. Group similar clips together by labeling them with the same color.
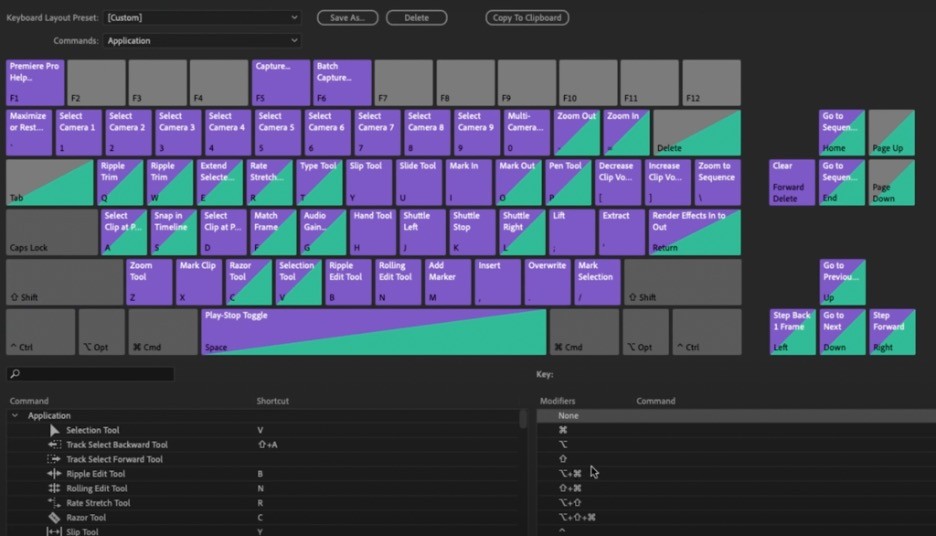
8. Premiere Pro Keyboard Shortcuts
Get to know all of your Premiere Pro shortcuts! A shortcut is a series of keys on the keyboard that you can press to activate a command or function in the editing software. You can even customize shortcuts in Premiere Pro to make them easier for you to use. Experts recommend using the Alt (option) key to speed up editing in Premiere Pro.
9. Time Remapping
Another thing that you can keyframe in Premiere Pro is the speed of video clips. To add a gradual change in speed using keyframes, right-click on the clip and then click on Show Clip Keyframes > Time Remapping > Speed. From there, you can add and edit keyframes to create exciting time ramps or gradual slow motion.
10. Masking Effects
Editors can use the masking feature to apply effects to only a specific part of the video. Premiere Pro also has motion tracking that automatically moves the mask layer along with an object. Start by duplicating the video clip and stacking it on top of the original in the timeline.
Once you have applied the desired effect to the duplicate clip, use the pen tool in the Effects Controls panel to draw the mask shape where you want the effect to be. To have the mask track motion, click on the play button next to Mask Path in the Effects Controls panel.
11. Timeline Nesting
When working on large projects in Premiere Pro, timeline nesting is one hack that can help you stay more organized in the program browser. A “nest” in Premiere Pro is a group of clips that have been combined into one container. The editor can then make edits to all of these clips at the same time.
Nesting clips together creates a new sequence in the timeline. The sequences can be edited or layered just like normal video clips. Using nests can make it less overwhelming to edit long videos. It is recommended to always make a copy of the clips before nesting them together.
Adobe Creative Cloud applications like Premiere Pro and After Effects are some of the most powerful video editing software out there, but all of the features are not immediately obvious to beginners. We hope that our list of essential Premiere Pro tips can help you improve your arsenal of video editing skills.
Still having trouble with the rendering times? Vagon provides you with a personal cloud computer that will have no problem handling large applications like Premiere Pro from your low-end device.
It doesn’t matter where you’re located. As long as you have a stable internet connection, Vagon can help you to speed up your rendering process.

Ready to focus on your creativity?
Vagon gives you the ability to create & render projects, collaborate, and stream applications with the power of the best hardware.