Instant Connection for Pixel Streaming
— New Feature Automated Setup

Exporting from Revit to Twinmotion: A Complete Guide
Exporting from Revit to Twinmotion: A Complete Guide
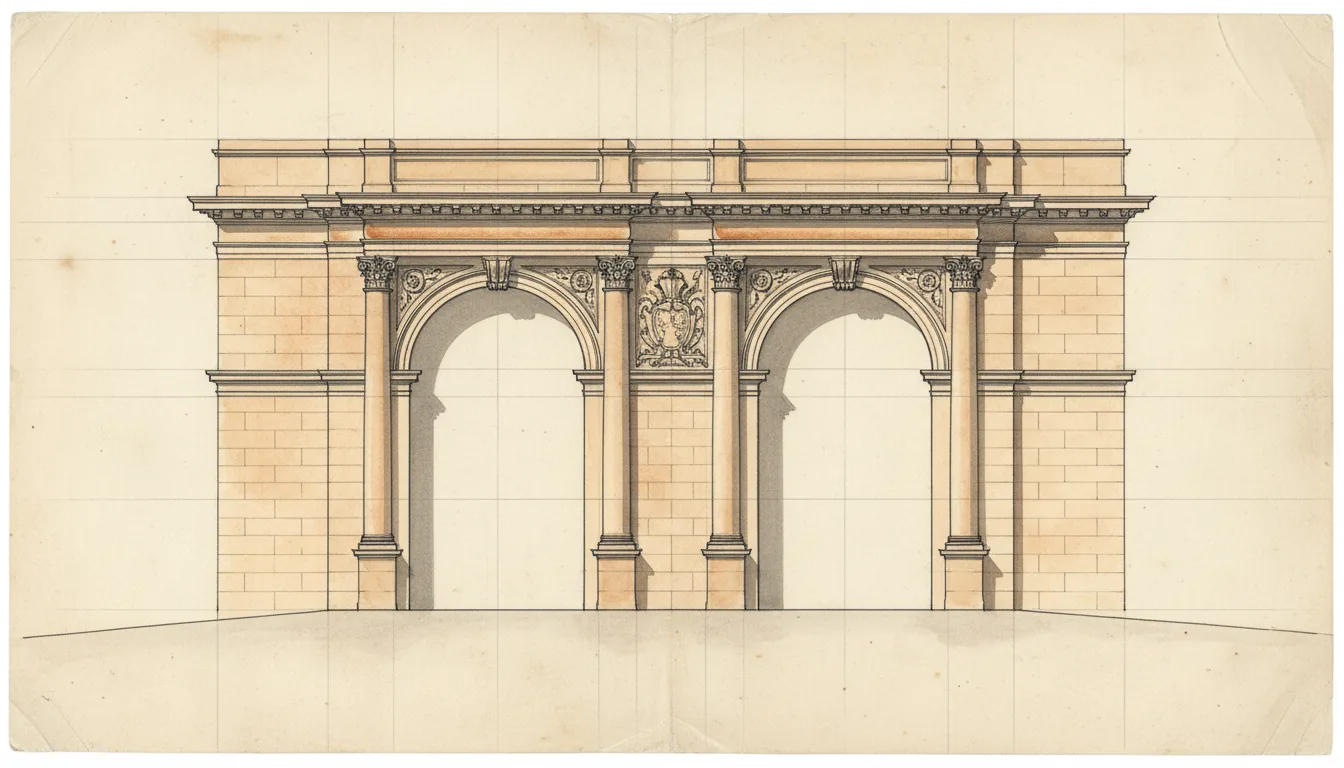
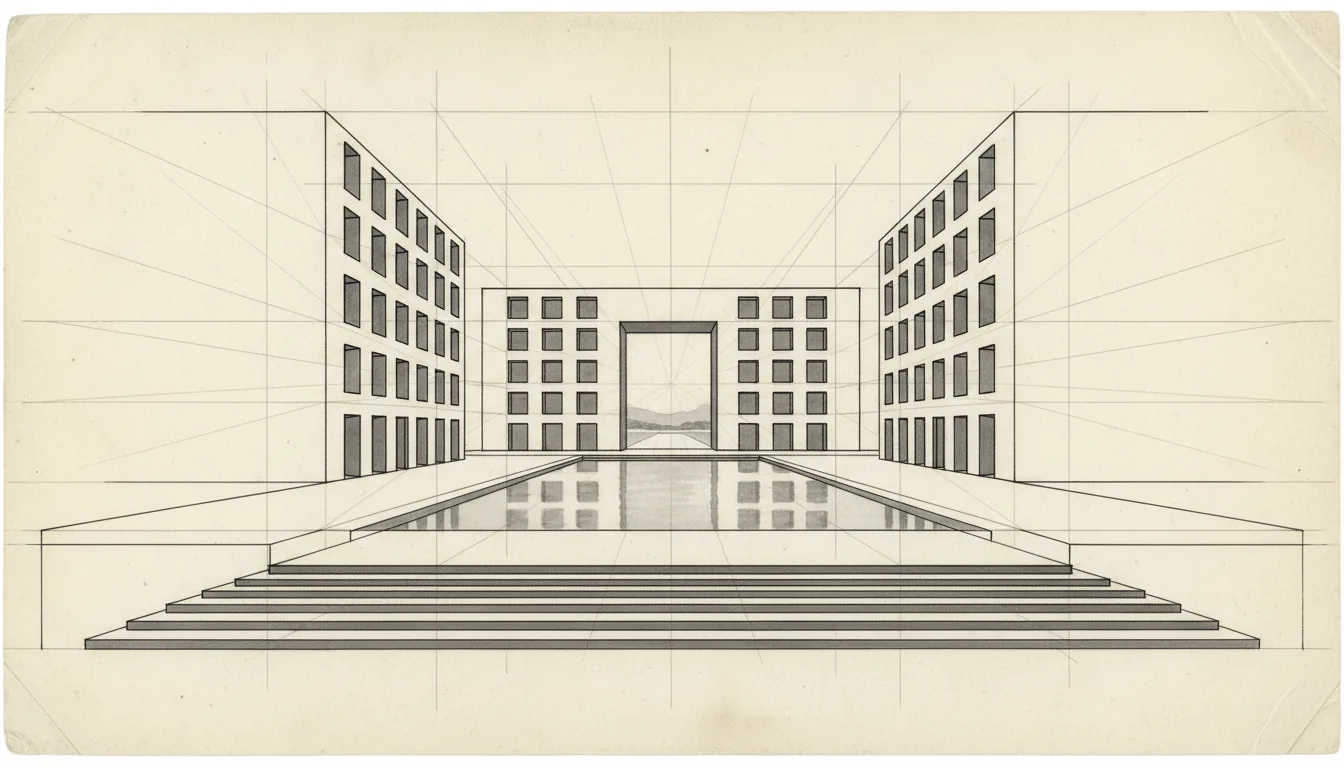
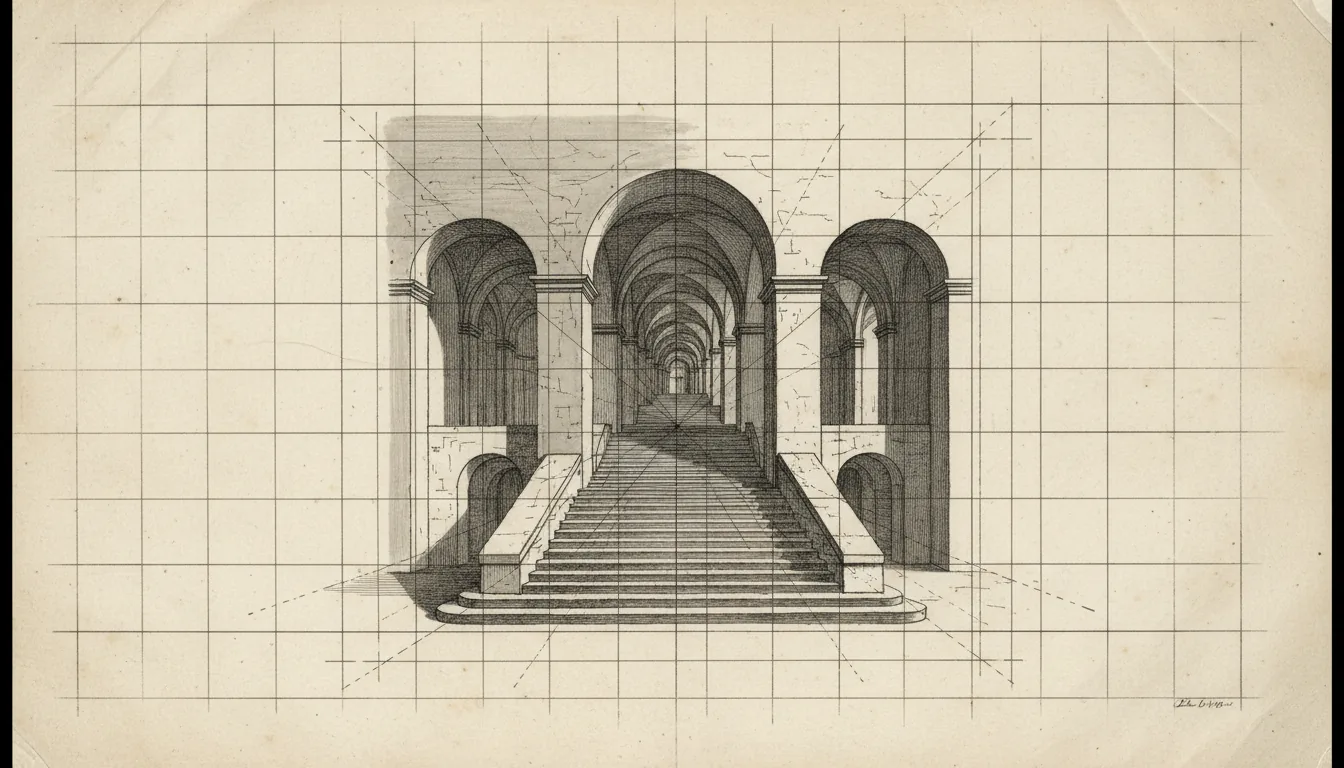
Architecture
Exporting from Revit to Twinmotion: A Complete Guide
Table of Contents
In the world of architecture, engineering, and construction, the ability to translate technical models into compelling visual stories is more important than ever. As client expectations for visualizations continue to rise, the tools we use to communicate our design ideas need to be both powerful and efficient. That’s where Twinmotion comes in—an intuitive, real-time rendering software built for professionals who want to breathe life into their Revit models with high-quality visuals, immersive environments, and dynamic animations.
Autodesk Revit, as you know, is a cornerstone in BIM (Building Information Modeling) workflows, providing precision and detail that’s unmatched in the design process. But when it comes to creating stunning visuals or interactive walkthroughs, Revit’s capabilities can feel limited. That’s why many professionals turn to Twinmotion, which integrates seamlessly with Revit to create everything from photorealistic stills to cinematic flythroughs—and even VR experiences.
Want to see what Twinmotion’s latest update brings to the table? Check out what’s new in Twinmotion 2025 to stay ahead with real-time visualization features and performance upgrades.
Fortunately, exporting your Revit model to Twinmotion is no longer a complex or time-consuming process. With the development of the Twinmotion Direct Link plugin, Epic Games has made it incredibly easy to synchronize your model between Revit and Twinmotion in real time. This means any updates made in Revit can instantly appear in Twinmotion with the click of a button—saving time, preserving design accuracy, and enhancing collaboration across teams.
However, not every situation calls for live synchronization. There are still cases where a manual FBX export offers more flexibility—especially when working with older Revit versions, collaborating with teams using different tools, or preparing a finalized version of a model for rendering.
In this guide, we’ll explore both workflows in detail:
Option 1: Using the Twinmotion Direct Link Plugin – Perfect for a seamless, real-time connection between Revit and Twinmotion, this method is ideal for iterative design processes and quick updates.
Option 2: Exporting as an FBX File – A more manual method that provides full control over the exported geometry and materials, suitable for teams that need more customization.
We’ll also share some best practices to ensure you get the most out of the export process—like how to organize your model in Revit, manage linked files, and maintain material assignments for optimal results in Twinmotion.
Whether you’re a first-time user looking for a simple export solution or a seasoned designer aiming to optimize your workflow, this comprehensive guide will help you confidently move your Revit models into Twinmotion and unlock the full power of real-time visualization.
Option 1: Using the Twinmotion Direct Link Plugin
The Twinmotion Direct Link Plugin offers the fastest, most efficient, and most seamless way to bring your Revit models into Twinmotion. It streamlines the design-to-visualization workflow by allowing you to synchronize your Revit model with Twinmotion in real time. Any changes made in Revit—whether adjusting geometry, updating materials, or rearranging layouts—can be instantly reflected in Twinmotion without needing to re-export or manually import files. This makes it an ideal solution for fast-paced projects and iterative design environments where frequent updates are the norm.
To get started, you’ll first need to install the plugin that connects Revit with Twinmotion. Begin by opening the Epic Games Launcher. If you don’t already have it installed, you can download it from the official Epic Games website. Once inside the launcher, log in or create an Epic Games account. Navigate to the "Twinmotion" tab found on the left-hand side. Within this section, look for the “Plugins” area or locate “Twinmotion for Revit.” Choose the plugin version that corresponds with your installed version of Revit—such as Revit 2023 or 2024—then click “Install” and allow the process to complete. Be sure both Revit and Twinmotion are closed during the installation to avoid any potential conflicts. If you don’t see the Twinmotion tab in Revit afterward, a quick computer restart typically resolves the issue.
Once the plugin is installed, open Revit and launch the project you’d like to export. You should now see a new “Twinmotion” tab in the ribbon at the top of the interface. Clicking this tab will give you access to the synchronization tools. It’s recommended that you work from a 3D view when syncing with Twinmotion, as the plugin uses the active 3D view to determine what content to transfer. For best results, take time to clean up your model—hide unnecessary elements, simplify complex geometry, and ensure that all components are properly named and organized before initiating the export.
With your project ready, go to the Twinmotion tab and click either “Direct Link” or “Synchronize.” If Twinmotion is not already running, this action will automatically launch it. Your Revit model will then be transferred into Twinmotion, including geometry, camera positions, and any materials you've defined. Once in Twinmotion, you can begin enhancing the model with high-quality textures, detailed lighting setups, environmental effects, vegetation, furnishings, animated assets, and more.
One of the major advantages of using Direct Link is that you can continue working on your model in Revit. When you make changes, simply return to the Twinmotion tab and click “Synchronize” again to update the Twinmotion scene. The plugin will recognize changes and update only what’s been modified, preserving your existing work in Twinmotion, such as textures or scene enhancements.
Direct Link offers numerous benefits. It’s incredibly fast, allowing you to see your design changes almost instantly in a high-quality visualization environment. It maintains the accuracy and fidelity of your Revit model, ensuring that what you see in Twinmotion truly reflects your design intent. It provides the flexibility to work in Revit while simultaneously building out presentations or renderings in Twinmotion. And it’s tailor-made for iterative design, making it easy to manage ongoing revisions, gather client feedback, and collaborate effectively with your team.
Option 2: Export as FBX (Manual Method)
This method is particularly useful if you're encountering issues with the Twinmotion Direct Link plugin or if you prefer a more controlled approach to exporting your Revit model. While it doesn’t support live synchronization, exporting to FBX gives you flexibility and is often the go-to method for finalized presentations, older software versions, or cross-platform collaboration.
To begin, open the Revit project you want to export. Make sure you are working in a 3D view, as Revit exports geometry based on what is visible in the active view. This ensures that all necessary components are included in the export. Navigate to the top menu and go to File, then Export, and select FBX. A save dialog will appear. Choose a clear file name and save location, ideally one that helps you track versions or dates, especially if you expect to update the model later.
Before proceeding with the export, it's a good idea to clean up your model. Hide or delete elements that aren't needed for visualization, such as construction details, text annotations, or placeholders. Simplifying geometry and reducing the number of unnecessary objects can make the export faster and improve performance when working in Twinmotion. Once your model is prepared, confirm the export settings and save the FBX file.
After exporting from Revit, open Twinmotion and create a new project or open an existing one. You can either drag and drop the FBX file directly into the Twinmotion window, or use the Import option in the top menu to bring in the file. When importing, Twinmotion will provide a few settings such as scale, axis orientation, and options to merge or preserve object hierarchies. Adjust these settings as needed for your project. Once the import is complete, your Revit model will appear in the scene.
Now that your model is in Twinmotion, you can enhance it by applying high-quality materials, setting up realistic lighting, adding environmental effects, placing vegetation, people, vehicles, and more. However, since this method does not allow live syncing, any changes made later in Revit will not automatically update in Twinmotion. To reflect updates, you'll need to re-export the FBX file from Revit and import it again into your Twinmotion project, replacing the older version if necessary.
To get the most out of this manual method, it's important to follow a few key principles. Before exporting, make sure your model is well organized. Name views and components clearly, and hide anything that doesn’t contribute to the visualization. If you’re working with multiple files or teams, using shared coordinates in Revit ensures that elements line up correctly when imported into Twinmotion. Try to avoid using linked files when possible, as they can introduce complications during export. Instead, bind or consolidate key elements into one file before exporting, or export them separately and import them individually into Twinmotion.
Materials from Revit do not always carry over perfectly into Twinmotion. You may need to manually reassign or adjust materials inside Twinmotion to achieve the visual quality you want. It also helps to simplify complex geometry where possible. Overly detailed fixtures, dense meshes, or tiny components can slow down Twinmotion and may not be necessary for rendering purposes.
While the FBX method isn’t as quick as using the Direct Link plugin, it provides a high level of control over what’s transferred and how it’s presented. It’s especially useful for finalized visualizations, archiving, or when working in environments that don’t support live syncing.
Speed Up Your Revit + Twinmotion Workflow with Vagon
Whether you're syncing with Direct Link or exporting FBX files manually, rendering performance can quickly become a bottleneck—especially with complex Revit models and high-quality Twinmotion scenes. That’s where Vagon comes in. With high-performance cloud computers powered by 48 cores, 4 x 24GB RTX-enabled GPUs, and 192GB of RAM, Vagon lets you run Revit and Twinmotion in full force—right from your browser. No more hardware limitations, just smooth design-to-visualization workflows.
Try Vagon now and bring your projects to life with unmatched speed and power.
Conclusion
Bringing your Revit models into Twinmotion is no longer a complicated or time-consuming task—it’s a powerful, creative opportunity. Whether you're working on client presentations, immersive walkthroughs, or quick concept visuals, mastering the export process ensures you can take full advantage of what Twinmotion has to offer.
If you're looking for speed, flexibility, and seamless updates during design development, the Twinmotion Direct Link plugin is your go-to solution. It’s ideal for iterative workflows, real-time collaboration, and projects that evolve quickly. On the other hand, if you're finalizing a presentation, collaborating across software platforms, or working in an older version of Revit, exporting via FBX gives you full control over what gets transferred and how it’s displayed—perfect for precision and customization.
In either case, preparing your model thoughtfully—organizing components, simplifying geometry, and managing materials—can significantly improve your results and save hours of cleanup time in Twinmotion.
By mastering both methods, you can choose the right workflow for any project scenario, speed up your visualization process, and impress clients with stunning, real-time renderings. From detailed BIM models to cinematic animations, Twinmotion helps you transform technical data into compelling visual stories—and this guide ensures you're ready to make that leap with confidence.
FAQs
1. Can I use Twinmotion with all versions of Revit?
Twinmotion supports several recent versions of Revit through the Direct Link plugin. However, if you're using an older version of Revit not compatible with the plugin, you can still export your model using the FBX method and import it manually into Twinmotion.
2. What’s the difference between Direct Link and FBX export from Revit?
The Direct Link plugin allows real-time syncing between Revit and Twinmotion, which is great for iterative workflows. FBX export, on the other hand, is a manual method that gives you more control and is ideal for finalized presentations or cross-platform use.
3. Why isn’t the Twinmotion tab showing up in my Revit after installing the plugin?
If you don’t see the Twinmotion tab, try restarting your computer. Make sure Revit and Twinmotion were closed during the installation process, and double-check that you installed the correct version of the plugin for your Revit release.
4. Do materials from Revit carry over into Twinmotion?
Some materials do transfer, but not all. You’ll often need to reassign or fine-tune materials inside Twinmotion to get the quality and realism you’re aiming for in your final visuals.
5. Can I update my Twinmotion scene after changing my Revit model?
Yes, if you're using the Direct Link plugin, you can simply click “Synchronize” to update your Twinmotion scene with changes from Revit. If you're using FBX, you’ll need to re-export and re-import the model manually.
6. Does exporting large Revit models affect Twinmotion performance?
Yes, larger models with complex geometry can impact performance. To optimize, clean up your Revit model before exporting—hide unnecessary elements, simplify geometry, and reduce the use of linked files whenever possible.
Get Beyond Your Computer Performance
Run applications on your cloud computer with the latest generation hardware. No more crashes or lags.

Trial includes 1 hour usage + 7 days of storage.
Summarize with AI

Ready to focus on your creativity?
Vagon gives you the ability to create & render projects, collaborate, and stream applications with the power of the best hardware.

Vagon Blog


Run heavy applications on any device with
your personal computer on the cloud.
San Francisco, California
Solutions
Vagon Teams
Vagon Streams
Use Cases
Resources
Vagon Blog
How to Run Audacity on a Cloud Ubuntu Desktop (2026 Guide)
How to Run Darktable on a Cloud Ubuntu Desktop for RAW Photo Editing (2026 Guide)
How to Run Kdenlive on a Cloud Ubuntu Desktop (2026 Guide)
How to Run DaVinci Resolve on Linux in the Cloud (2026 Guide)
How to Run Inkscape on a Cloud Ubuntu Desktop (2026 Guide)
How to Run Krita on a Cloud Ubuntu Desktop for Digital Painting (2026 Guide)
How to Run GIMP on a Cloud Ubuntu Desktop (2026 Guide)
How to Run Jupyter on a Cloud GPU Linux Desktop (2026 Guide)
Vagon vs GitHub Codespaces: Cloud Dev Environments Compared (2026)
Vagon Blog
Run heavy applications on any device with
your personal computer on the cloud.
San Francisco, California
Solutions
Vagon Teams
Vagon Streams
Use Cases
Resources
Vagon Blog