Instant Connection for Pixel Streaming
— New Feature Automated Setup

Cinema 4D Shortcuts: A Complete Guide to Faster, Smoother Workflows
Cinema 4D Shortcuts: A Complete Guide to Faster, Smoother Workflows
DigitalArt
Cinema 4D Shortcuts: A Complete Guide to Faster, Smoother Workflows
Table of Contents
Cinema 4D usually isn’t the problem.
It’s the tiny pauses that quietly pile up.
Clicking menus. Searching for tools. Breaking focus just long enough to lose momentum. None of it feels dramatic on its own, but over a full session, it adds weight to everything you do.
I’ve blamed the software and the hardware before. In reality, most of the slowdown came from how often I interrupted myself.
Creative work depends on flow. Modeling, animation, lighting, all of it works best when you stay in your head long enough to follow an idea through. Every time you stop to hunt for a command, that flow takes a hit.
That’s where shortcuts come in. And why they feel awkward at first.
You’ll forget them. Hit the wrong key. Hesitate. Menus feel safer in that phase, even though they constantly demand attention. Shortcuts, once learned, fade into muscle memory.
When that happens, Cinema 4D stops feeling like an interface and starts feeling direct. Rotate. Select. Adjust. Animate. No pause in between.
That’s the point of this guide. Not memorizing everything. Just learning the shortcuts that remove friction from your workflow, a few at a time.
Cinema 4D doesn’t feel fast when you know everything.
It feels fast when nothing gets in your way.
How to Use This Shortcut Guide Without Burning Out
Before jumping into shortcut lists, one thing needs to be clear. This guide isn’t homework. Trying to memorize a long list of shortcuts in one sitting is the fastest way to get frustrated and give up. Shortcuts don’t stick through repetition alone. They stick when they solve real problems.
The better approach is reactive. Wait until something slows you down. Maybe you keep zooming the wrong way, maybe selecting the right object in a crowded scene takes too many clicks, or maybe switching tools breaks your rhythm. That annoyance is your signal. Look up the shortcut that fixes that exact issue and start using it right away.
At first, it will feel slower. You’ll hesitate, hit the wrong key, or double-check yourself. That’s normal. When a shortcut removes a real frustration, your brain has a reason to remember it, and muscle memory builds naturally.
You also don’t need every shortcut. Most Cinema 4D users rely on a small core set every day. Navigation, selection, transform tools, and a handful of modeling actions do most of the work. Everything else can wait, or may never be necessary at all.
Think of this guide as a reference you return to over time. Keep it nearby, scroll when something feels slow, and skip sections that don’t match how you work. If a shortcut feels awkward, customize it. Comfort matters more than sticking to defaults. The goal isn’t to become fast overnight. It’s to stop fighting the software, one small improvement at a time.
#1. Viewport Navigation and Selection Shortcuts
If Cinema 4D ever feels clumsy, this is usually where the problem starts.
Navigation and selection are the foundation of everything else you do. Modeling, animation, lighting, all of it depends on how confidently you can move through a scene and grab what you want without breaking focus. When this part feels slow, everything downstream feels heavier than it should.
Let’s make this practical.
Viewport Navigation Shortcuts
These should become pure muscle memory. No thinking involved.
1 – Pan view
2 – Zoom view
3 – Rotate view
Hold the key, move the mouse, release. These are temporary actions, not tools you get stuck in.S – Frame selected object in the viewport
Essential in large or messy scenes.H – Frame all objects
Useful when you’ve completely lost your bearings.F1 / F2 / F3 / F4 / F5 – Switch viewport layouts
Perspective, top, right, front, four-view. Faster than clicking icons.Middle Mouse Button – Free navigation (combined pan, zoom, rotate)
Handy, but still slower than mastering 1, 2, and 3 individually.
When navigation is right, the viewport stops feeling like a camera you’re fighting and starts feeling like space you’re moving through.
Selection Mode Shortcuts
You’ll switch these constantly. Clicking icons adds friction fast.
Object Mode – Select entire objects
Point Mode – Edit points
Edge Mode – Edit edges
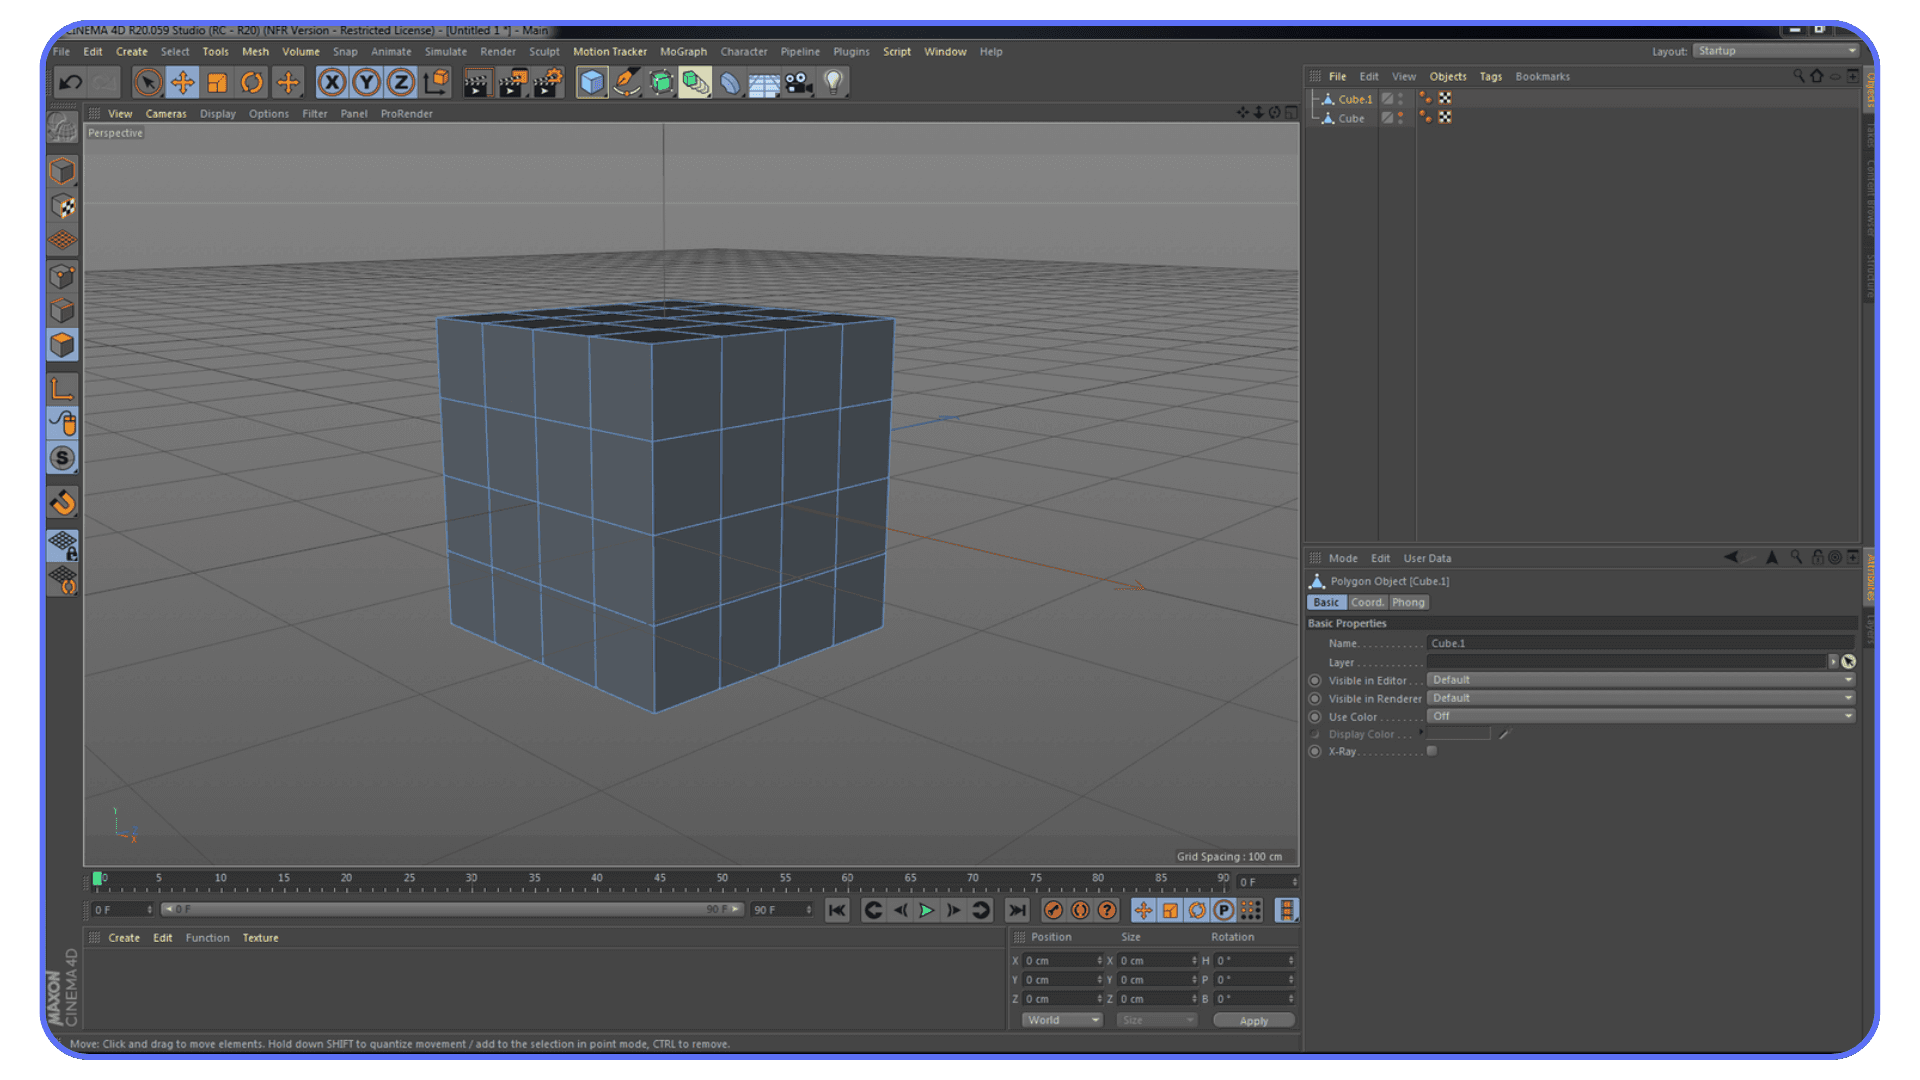
Polygon Mode – Edit polygons
Once these switches are automatic, modeling speeds up more than most people expect.
Core Selection Shortcuts
These save time in every scene, especially complex ones.
Spacebar – Switch between the current tool and the last used tool
Ctrl / Cmd + Click – Add or remove from selection
Shift + Click – Add to selection
Ctrl / Cmd + A – Select all
Ctrl / Cmd + D – Deselect all
Ctrl / Cmd + I – Invert selection
Small actions, used constantly.
Contextual Selection Shortcuts (The Quiet Power Tools)
Cinema 4D hides a lot of selection intelligence behind the U key. You press U, then another key, depending on what you want to do.
Examples include:
Loop selections
Ring selections
Grow or shrink selections
Select connected elements
You don’t need to memorize all of them at once. Learn the ones that solve real problems for you. Once you do, manual clicking starts to feel ridiculous.
Object Manager and Hierarchy Selection
Selection isn’t just about geometry. It’s about control.
Quickly selecting parent or child objects
Navigating deep hierarchies without hunting
Keeping track of what’s active in dense scenes
The faster you can move through the Object Manager, the less visual noise you have to deal with.
Here’s the takeaway.
If you can navigate and select without thinking, Cinema 4D immediately feels faster and lighter. Not because you learned advanced tricks, but because you stopped interrupting yourself.
For many users, mastering just this section changes how the entire application feels to use.
#2. Transform, Modeling, and Object Management Shortcuts
This is where shortcuts stop feeling helpful and start feeling essential.
Once navigation and selection are solid, the next slowdown usually comes from basic actions you repeat hundreds of times per session. Moving objects. Switching tools. Making something editable. Organizing a scene that’s slowly turning into chaos. These are small tasks, but they add up fast.
This section carries a lot of weight, because these shortcuts show up constantly in real work.
Once you start working with heavier scenes and high-quality Cinema 4D assets, clean object management and fast transforms become non-negotiable.
Transform Tool Shortcuts
These should be automatic. If you’re clicking icons for these, you’re burning time.
E – Move tool
R – Rotate tool
T – Scale tool
You’ll bounce between these nonstop. Once they’re muscle memory, transforming objects feels immediate instead of deliberate.
Related transform habits that matter more than people admit:
Switching between world and object coordinates when alignment matters
Temporarily adjusting axis position instead of fighting pivots
Resetting transforms cleanly instead of compensating manually
These aren’t flashy, but they prevent subtle mistakes and sloppy setups.

Tool Switching and Temporary Tools
One of the most underrated workflow habits in Cinema 4D.
Spacebar – Toggle between the current tool and the previously used tool
This sounds simple, but it changes how you work. You stop committing to one tool and start flowing between actions. Move something. Adjust a point. Back to move. No hesitation.
Over time, this alone can shave minutes off repetitive modeling tasks.
Good shortcuts won’t replace solid fundamentals, but they amplify them, especially when you’re serious about mastering Cinema 4D modeling workflows.
Core Modeling Shortcuts
If you do any kind of polygon modeling, these come up constantly.
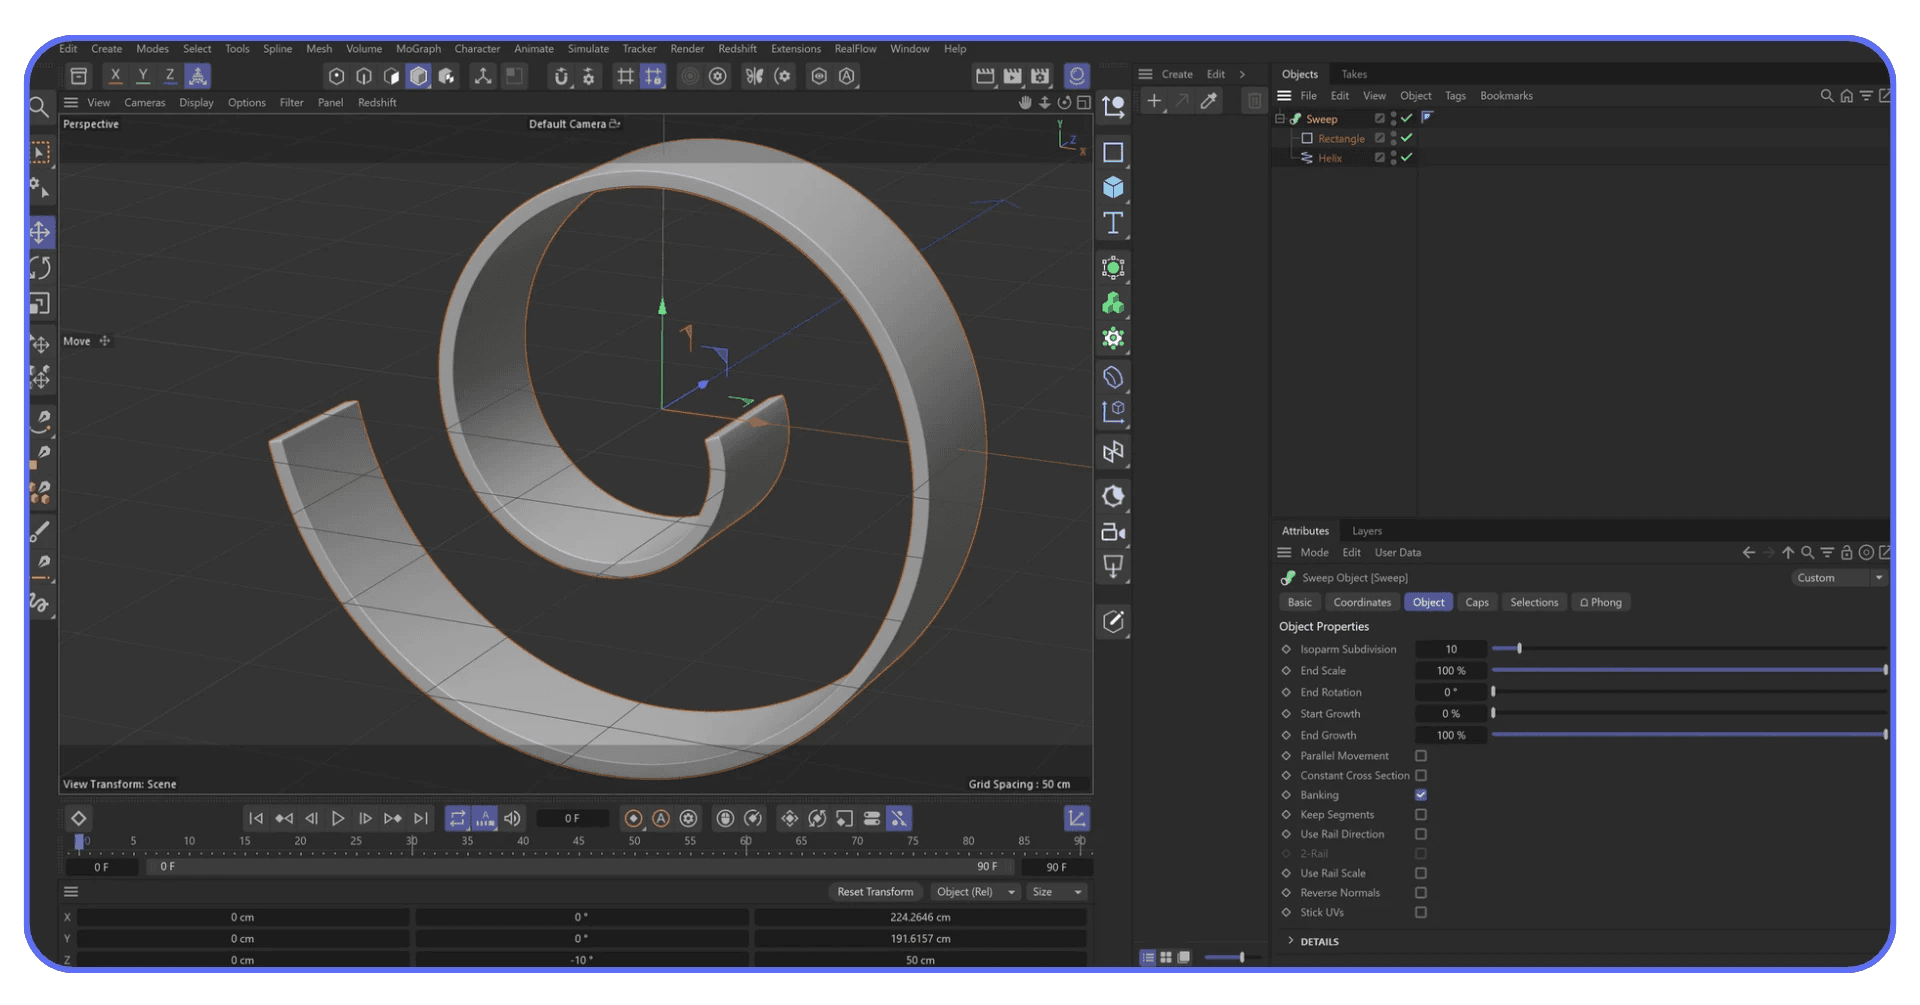
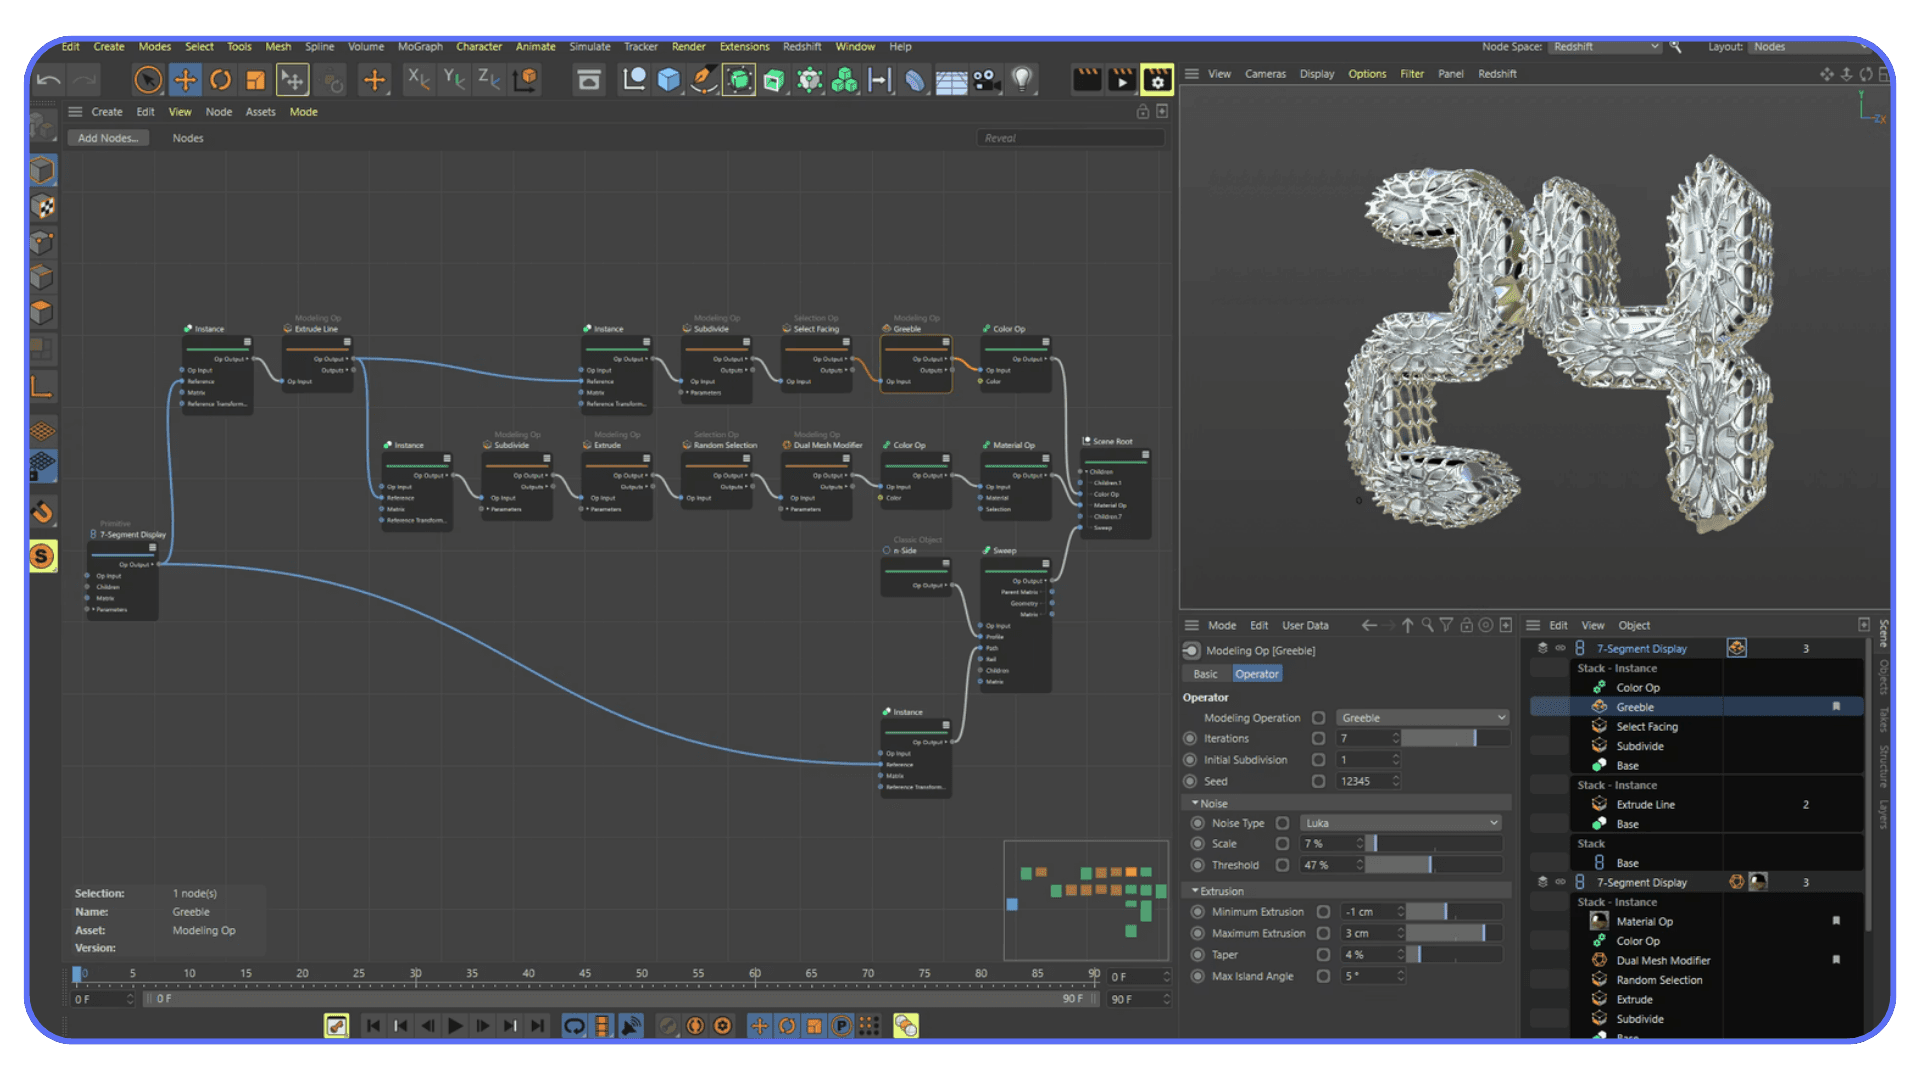
C – Make object editable
Extrude – Used for adding depth and form
Bevel – Softening or defining edges
Inset – Creating interior faces
Knife / Cut tools – Adding control where geometry actually needs it
The real speed gain here isn’t knowing the tools exist. It’s activating them instantly when the moment calls for it, without breaking focus to search menus.
Modeling feels better when your hands keep moving.
Selection-Based Modeling Actions
Many modeling operations depend on what’s selected.
Switching between point, edge, and polygon modes fluidly
Applying actions only where needed instead of globally
Letting Cinema 4D do the repetitive selection work for you
This is where earlier selection shortcuts pay off. Good selection habits turn modeling shortcuts into multipliers instead of just conveniences.
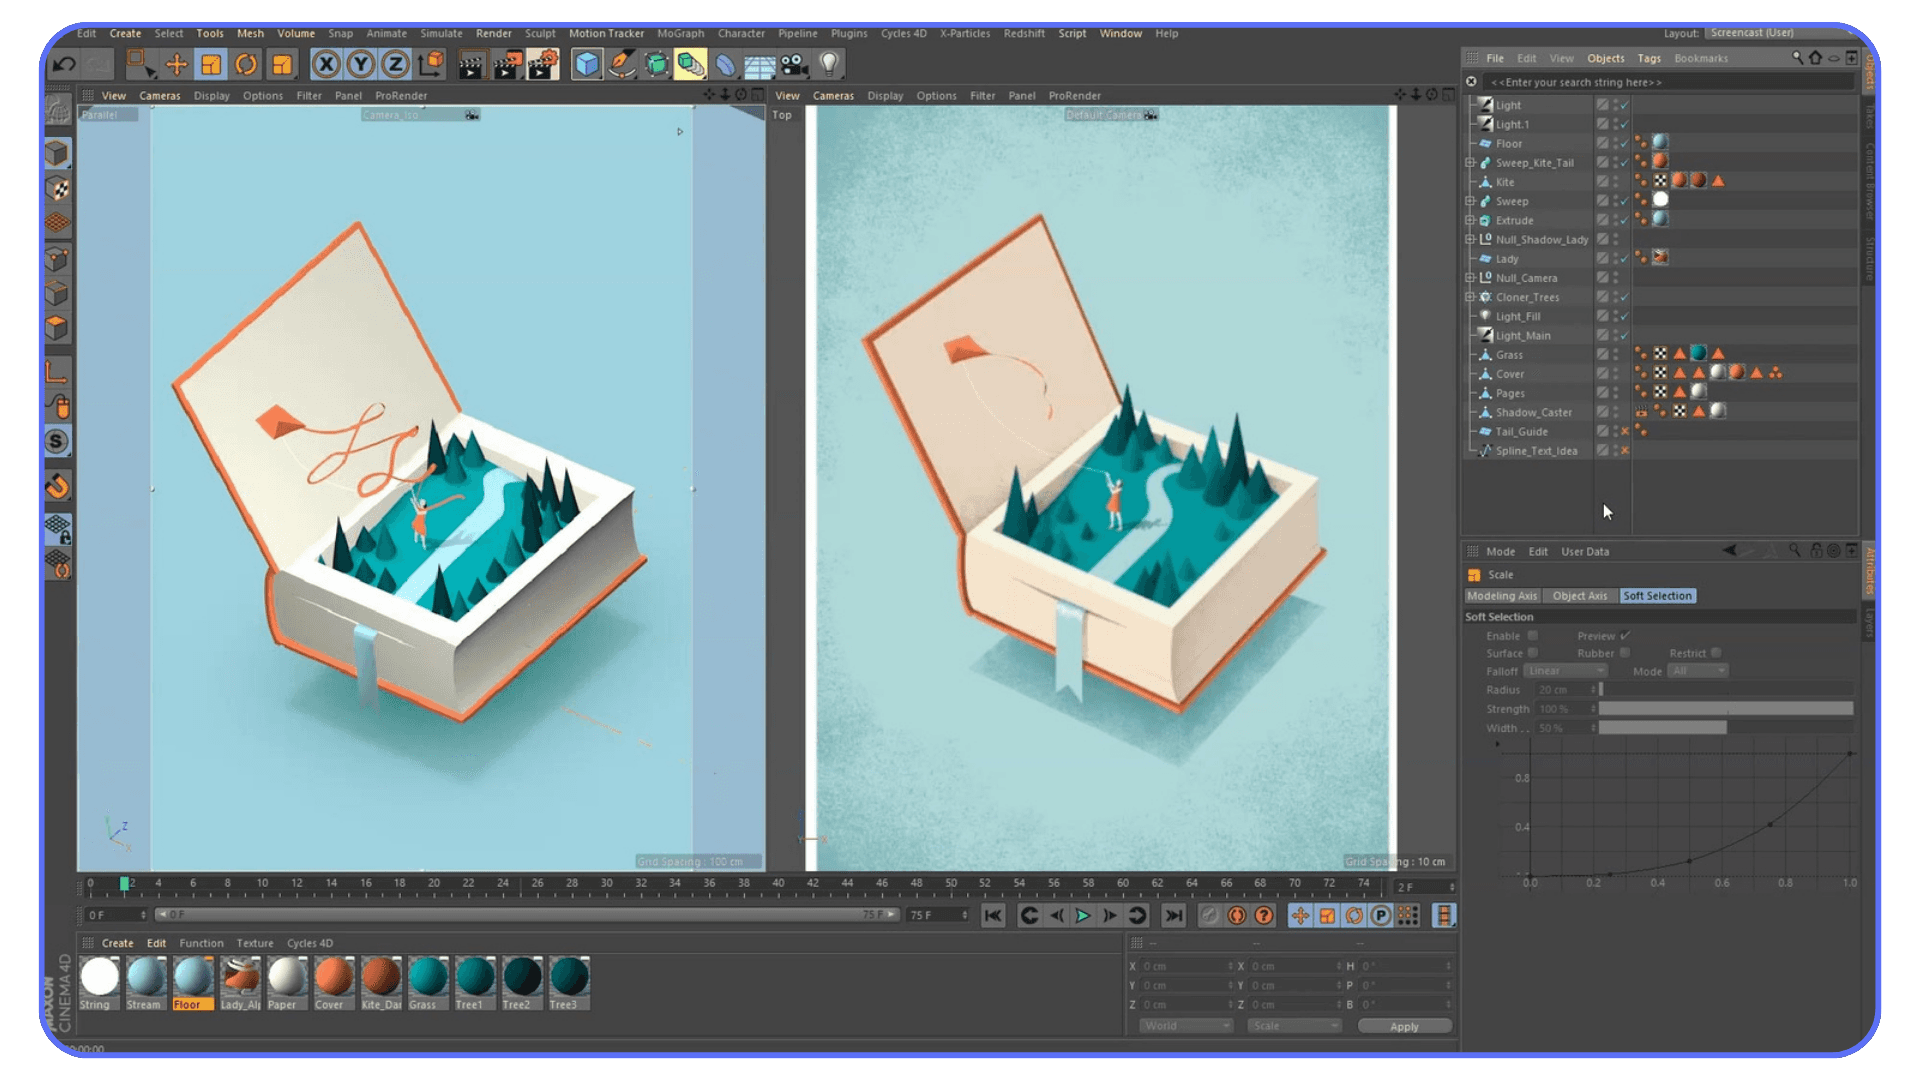
Object Management and Scene Organization
This is the part people neglect until scenes become unmanageable.
Creating parent-child relationships quickly
Grouping objects under nulls
Temporarily hiding or soloing parts of a scene
Locking objects to avoid accidental edits
Keeping hierarchies readable as scenes grow
Organization isn’t just about cleanliness. It’s about speed. When you know exactly where things live and can control visibility instantly, you spend less energy navigating and more energy creating.
Here’s the honest takeaway.
Most Cinema 4D sessions don’t slow down because of advanced problems. They slow down because of basic actions repeated endlessly. Transforming. Switching tools. Organizing objects.
When these shortcuts are second nature, the software fades into the background. And that’s when work starts to feel smooth instead of heavy.
#3. Animation, Timeline, and Playback Shortcuts
Animation is where hesitation becomes visible.
When you’re modeling, a pause costs time. When you’re animating, a pause shows up in the motion itself. Awkward timing, uneven spacing, second guessing keyframes. A lot of that comes from fighting the timeline instead of working with it.
Shortcuts don’t make animations better on their own. But they remove friction, and less friction means you make clearer decisions.
Timeline Navigation and Playback
You’ll touch these constantly, even for simple motion.
Spacebar – Play or pause the timeline
F – Go to previous frame
G – Go to next frame
Shift + F – Jump backward in larger steps
Shift + G – Jump forward in larger steps
Being able to scrub and step through frames without reaching for the mouse keeps your attention on the motion, not the controls.
Keyframe Creation and Editing
Creating keyframes should feel immediate.
Ctrl / Cmd + Click – Set a keyframe on selected parameters
Auto Keyframe – Toggle automatic key creation
Delete – Remove selected keyframes
The faster you can drop and adjust keys, the less you hesitate. That hesitation matters. Confident timing almost always looks better than cautious timing.
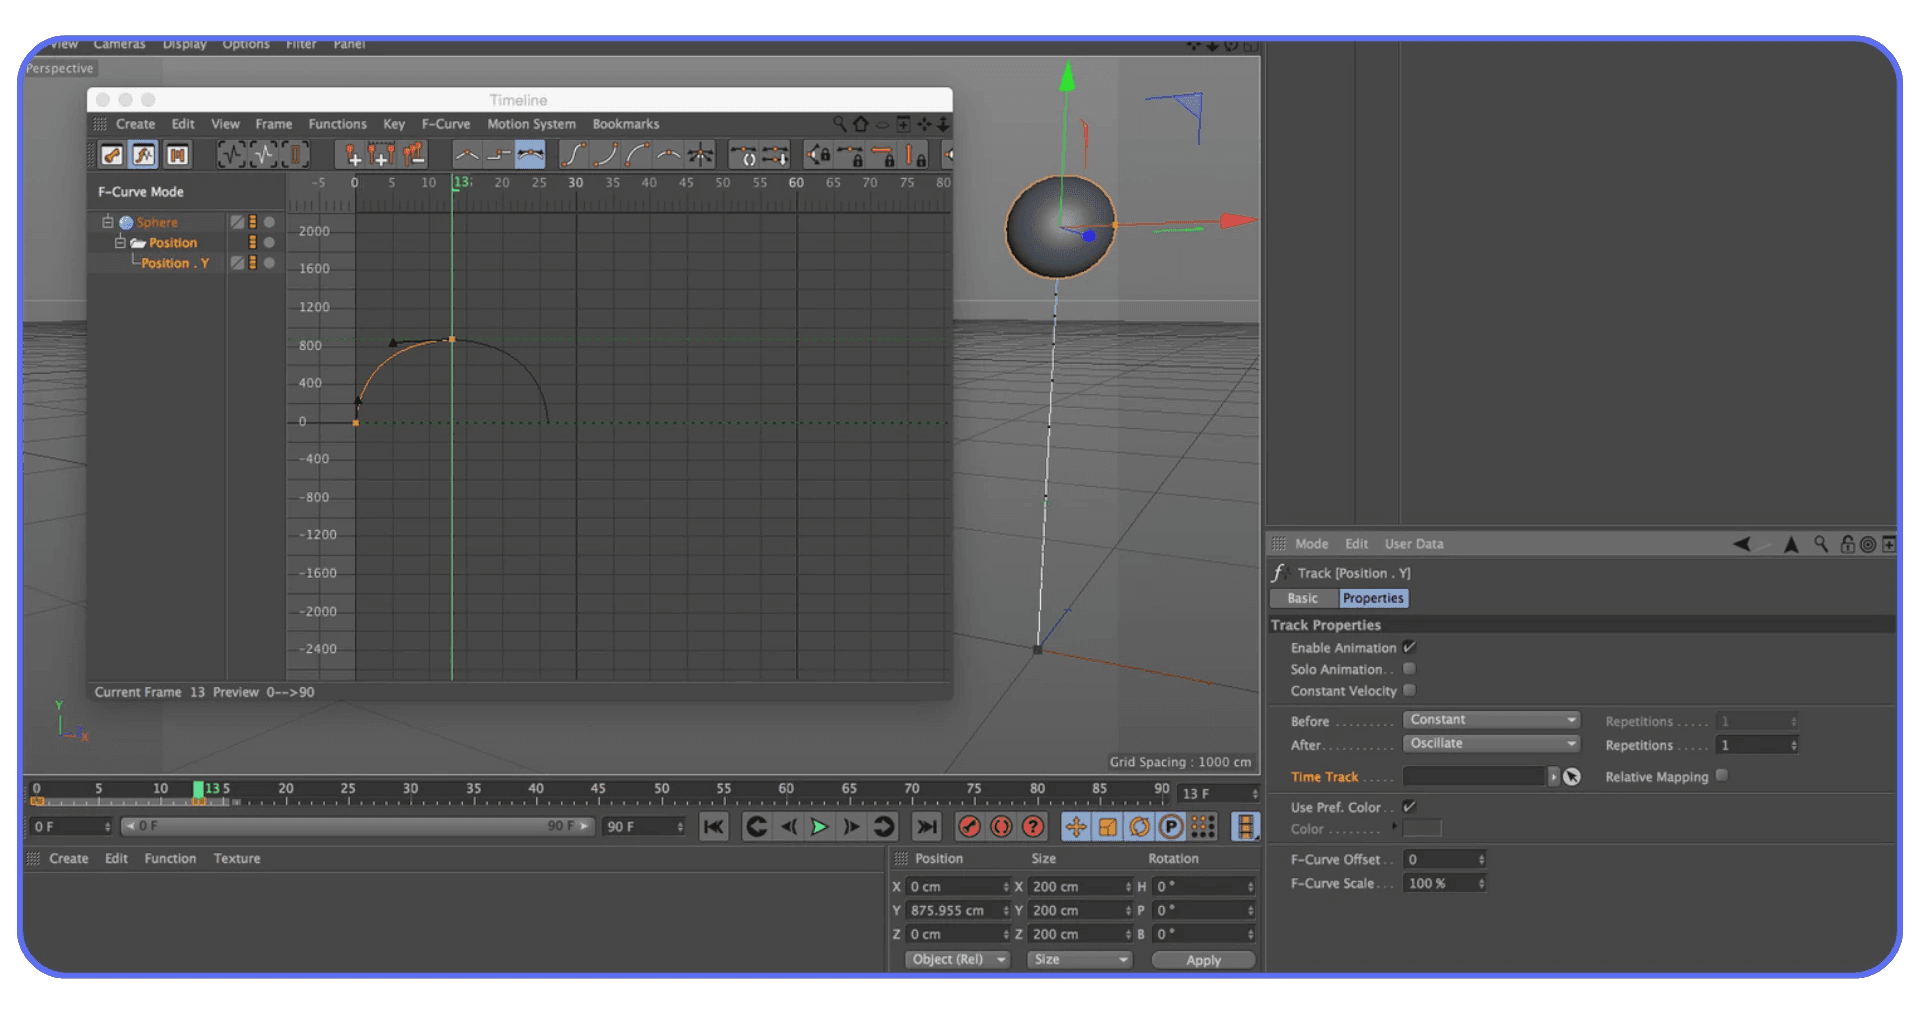
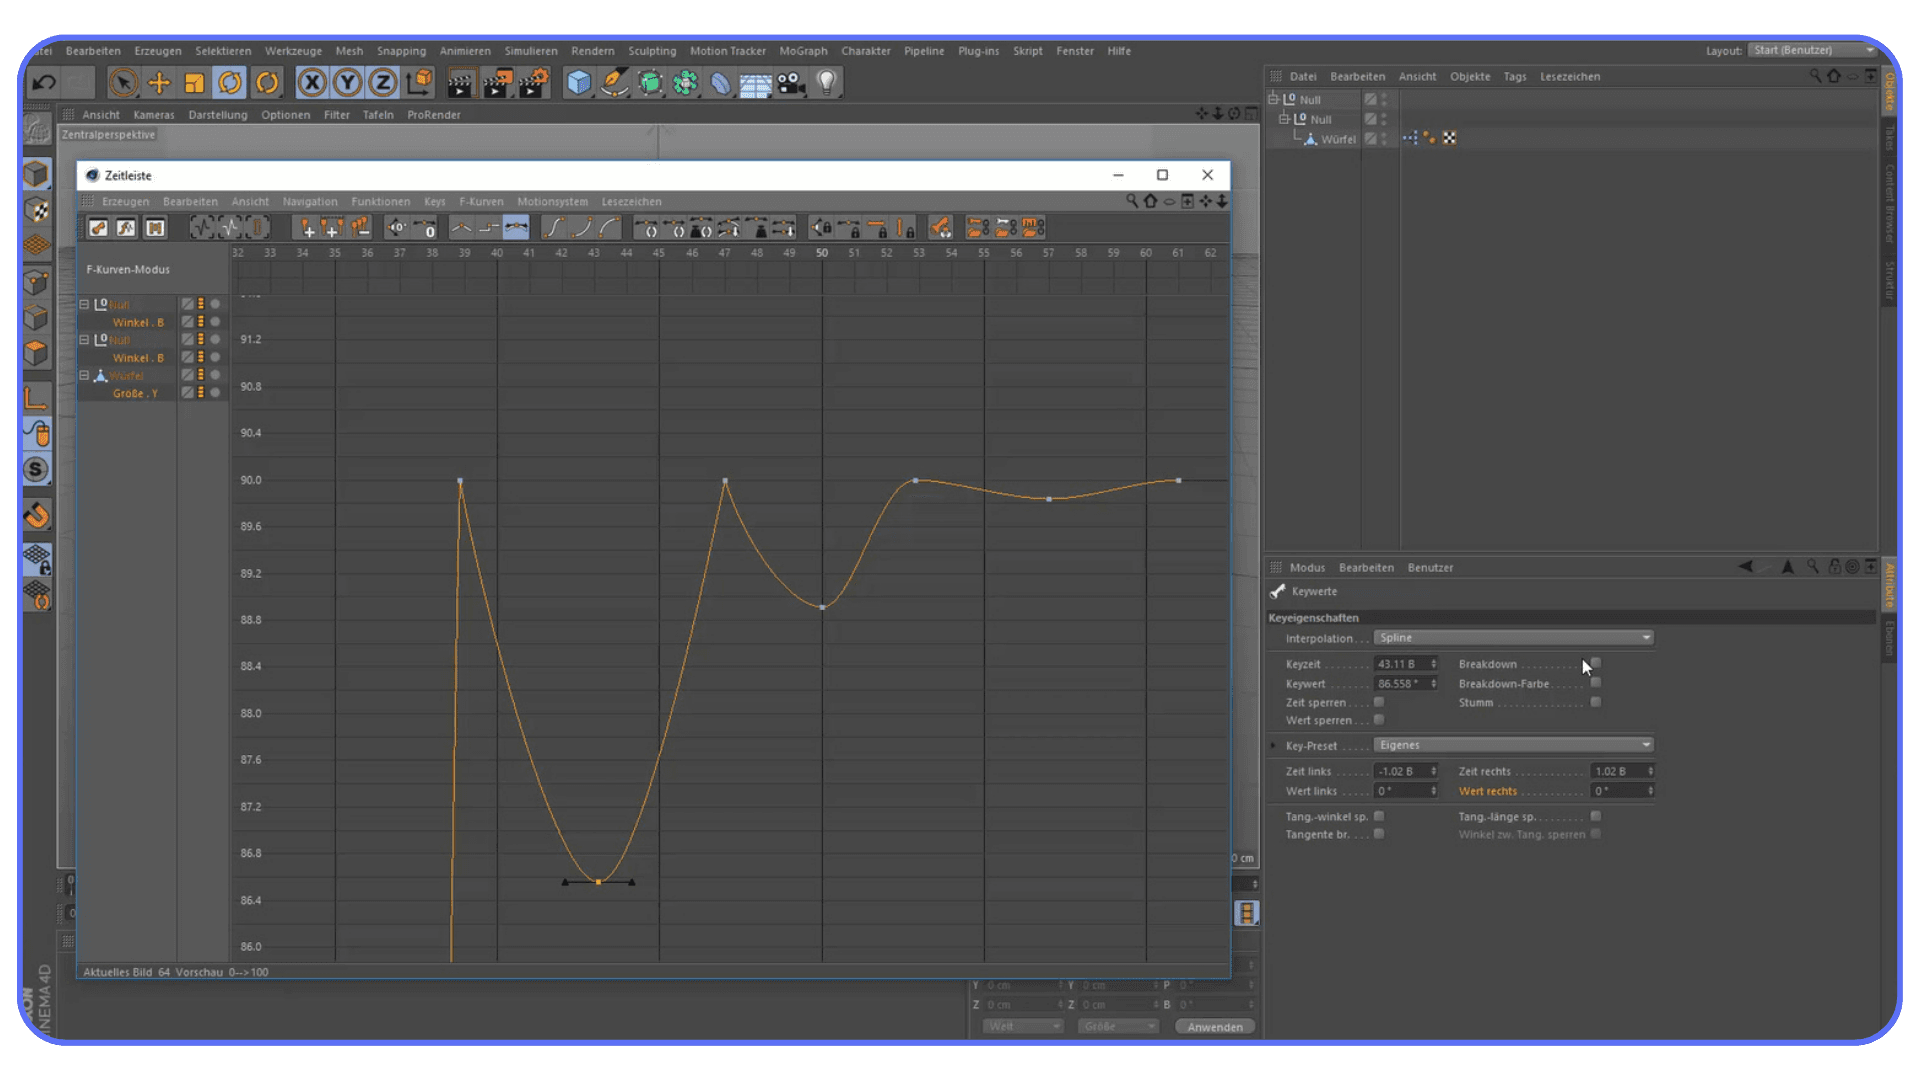
Working With Curves and Animation Controls
Even if you’re not deep into character animation, curves matter.
Quick access to the F-Curve editor saves you from fighting default interpolation
Adjusting easing visually is faster than tweaking numbers
Switching between timeline views without breaking flow keeps iteration tight
You don’t need to become an animation purist. You just need enough control to avoid fighting the defaults.
Previewing Motion Without Breaking Focus
Watching motion back shouldn’t feel like a separate task.
Preview playback directly from the timeline
Loop sections to judge timing
Use quick previews instead of full renders when blocking animation
Shortcuts here aren’t about speed. They’re about feedback. The faster you can see what changed, the faster you can decide what to do next.
Here’s the pattern you’ll notice.
When timeline control is clumsy, animation feels stressful.
When it’s fluid, animation feels playful again.
That’s the difference shortcuts make in motion work. They don’t add complexity. They remove hesitation.
#4. Rendering, Display, and Interface Workflow Shortcuts
This is the part of the workflow most people ignore until deadlines show up.
Rendering, previewing, and managing the interface aren’t glamorous tasks, but they shape how fast you can iterate. If checking a result feels slow or disruptive, you’ll check less often. That’s how small problems turn into big ones.
Shortcuts here don’t just save time. They encourage better habits.
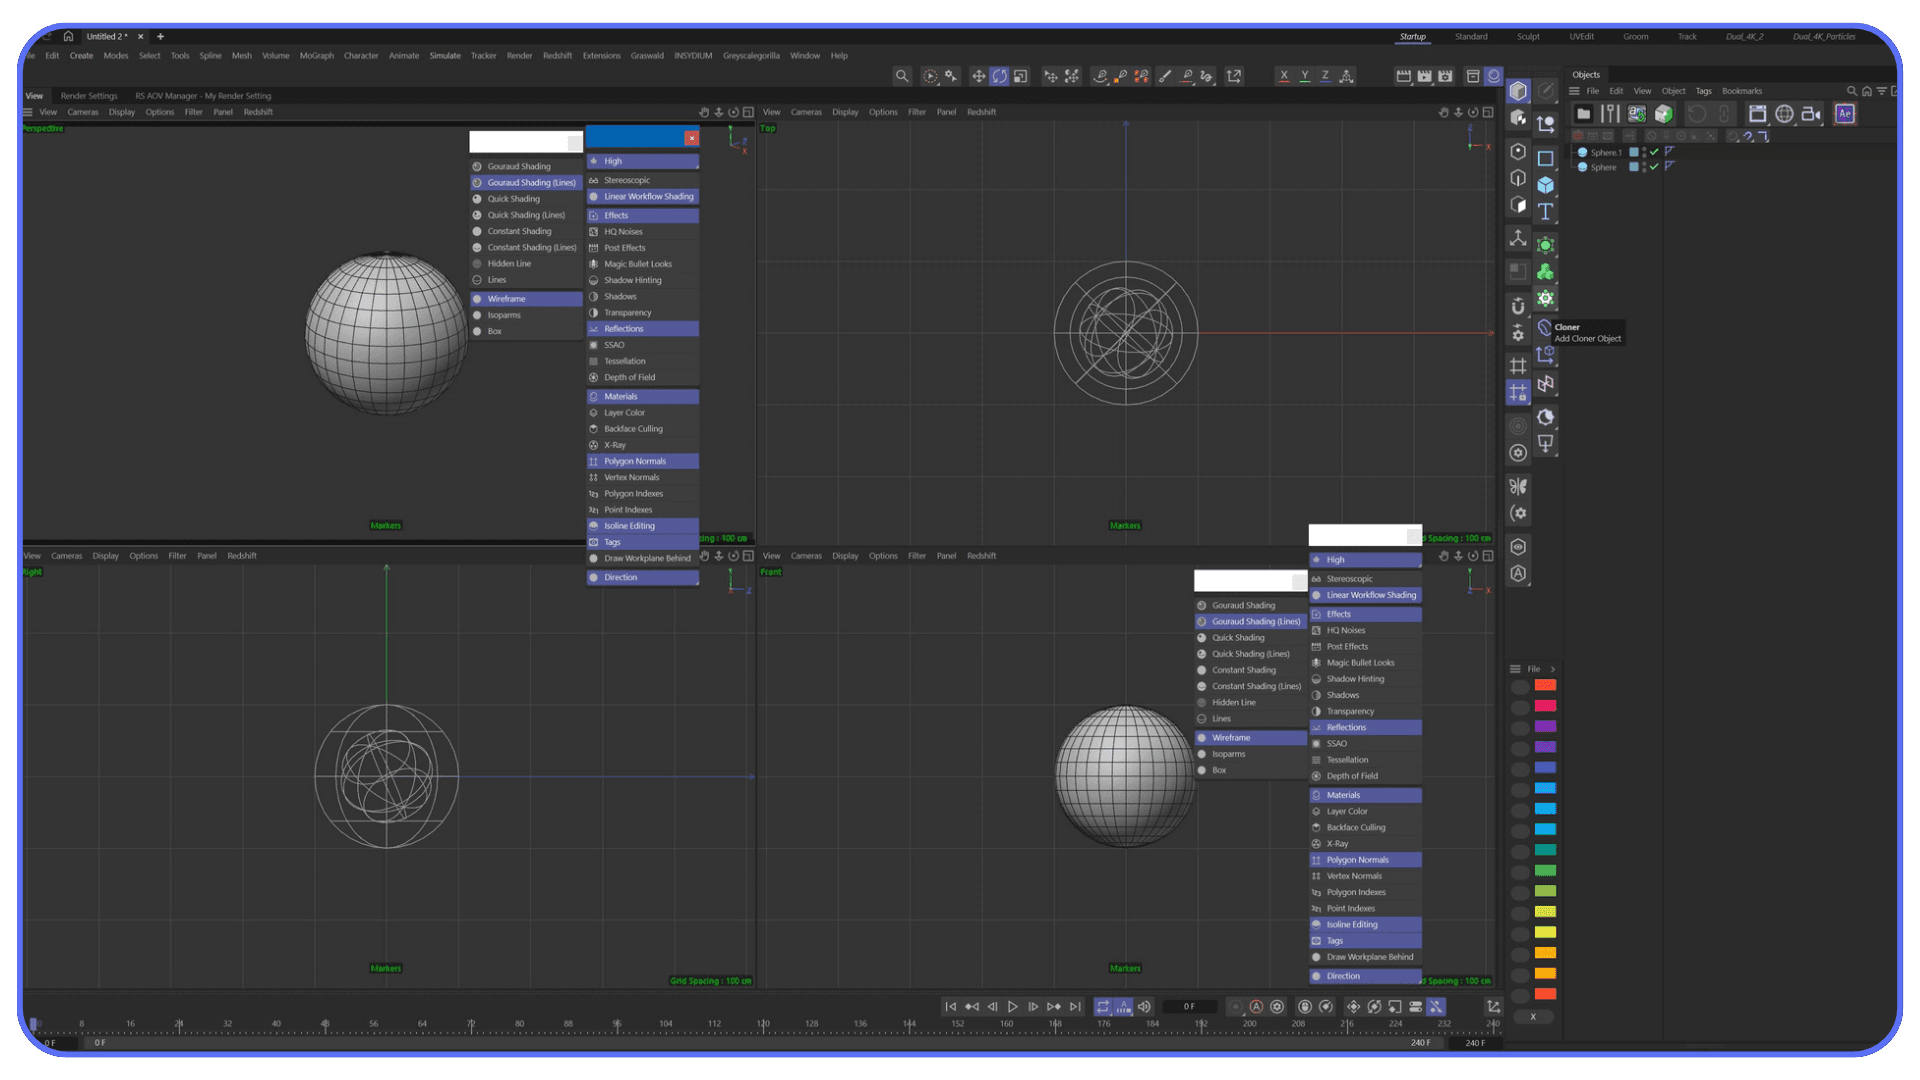
Viewport Display and Shading Shortcuts
Being able to change how you view a scene on the fly matters more than people think.
N + A – Switch to Gouraud shading
N + B – Gouraud shading with lines
N + C – Wireframe
N + D – Quick shading mode changes
N + E – Toggle textures in the viewport
These let you diagnose issues quickly. Topology problems, texture placement, lighting balance. No menu diving. Just check and move on.
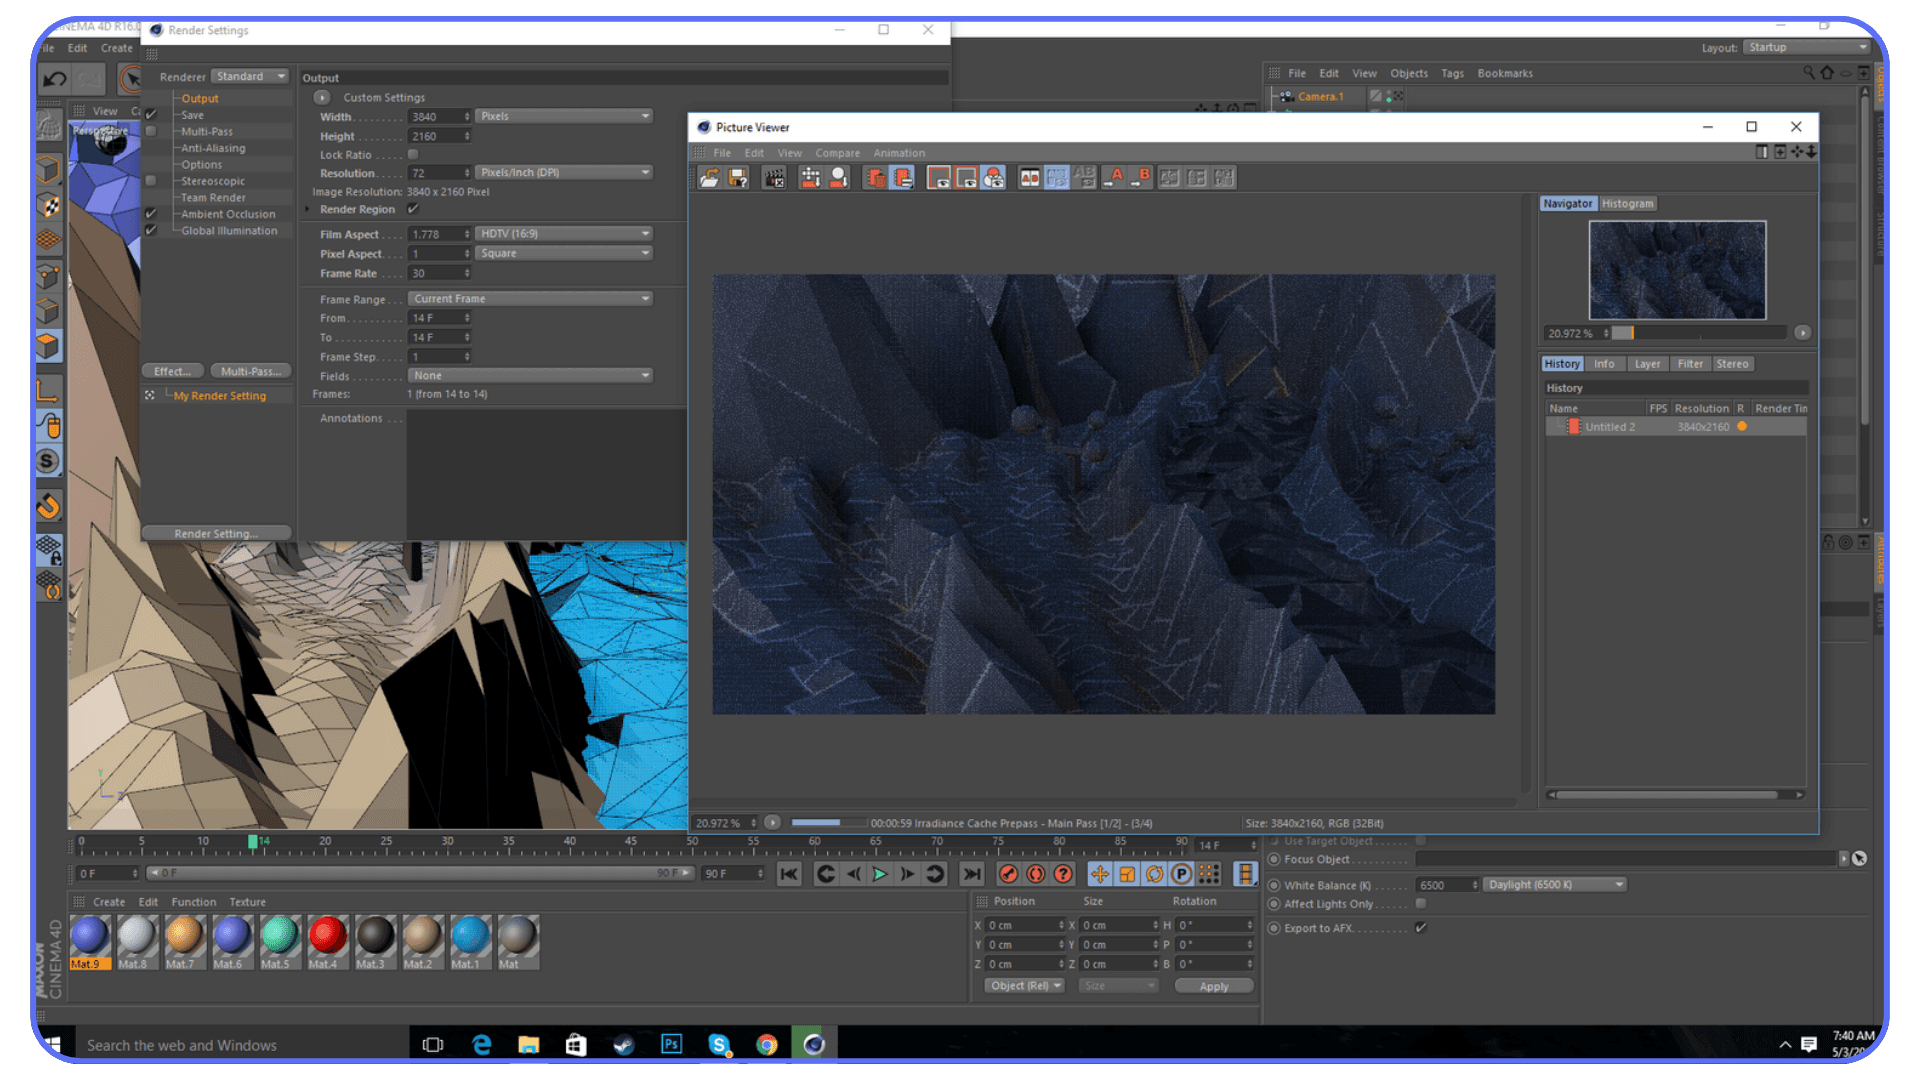
Interactive Render and Preview Shortcuts
You shouldn’t have to commit to a full render just to see if something works.
Alt + R – Start Interactive Render Region
Shift + R – Render to Picture Viewer
Ctrl / Cmd + R – Render active view
Interactive previews are where most look-dev decisions should happen. They’re faster, lighter, and easier to iterate on.
Picture Viewer and Render Feedback
Once you’re rendering, speed still matters.
Zooming and panning inside the Picture Viewer without tools
Quickly checking passes and layers
Comparing results without reopening dialogs
The less friction there is between rendering and reviewing, the faster you improve the result.
Interface and Layout Shortcuts
Cinema 4D’s interface is flexible, but only if you actually use that flexibility.
Switching between saved layouts
Opening and closing managers without clutter
Using command search instead of hunting menus
Saving layouts once they match how you work
A clean interface isn’t about aesthetics. It’s about reducing decisions. When panels are where you expect them to be, your attention stays on the scene.
Customizing Shortcuts and Commands
This is where the software adapts to you.
Reassign shortcuts that feel awkward
Create shortcuts for commands you use constantly
Save preferences so your setup stays consistent
There’s no prize for sticking to defaults. If a command matters to your workflow, it deserves a shortcut that feels natural.
Here’s the bigger idea.
Fast workflows aren’t just about modeling and animation. They’re about how quickly you can see, judge, and adjust your work. Rendering and interface shortcuts shorten that feedback loop.
And shorter feedback loops lead to better decisions.
Even with optimized shortcuts, there’s a point where choosing the right hardware for Cinema 4D becomes unavoidable.
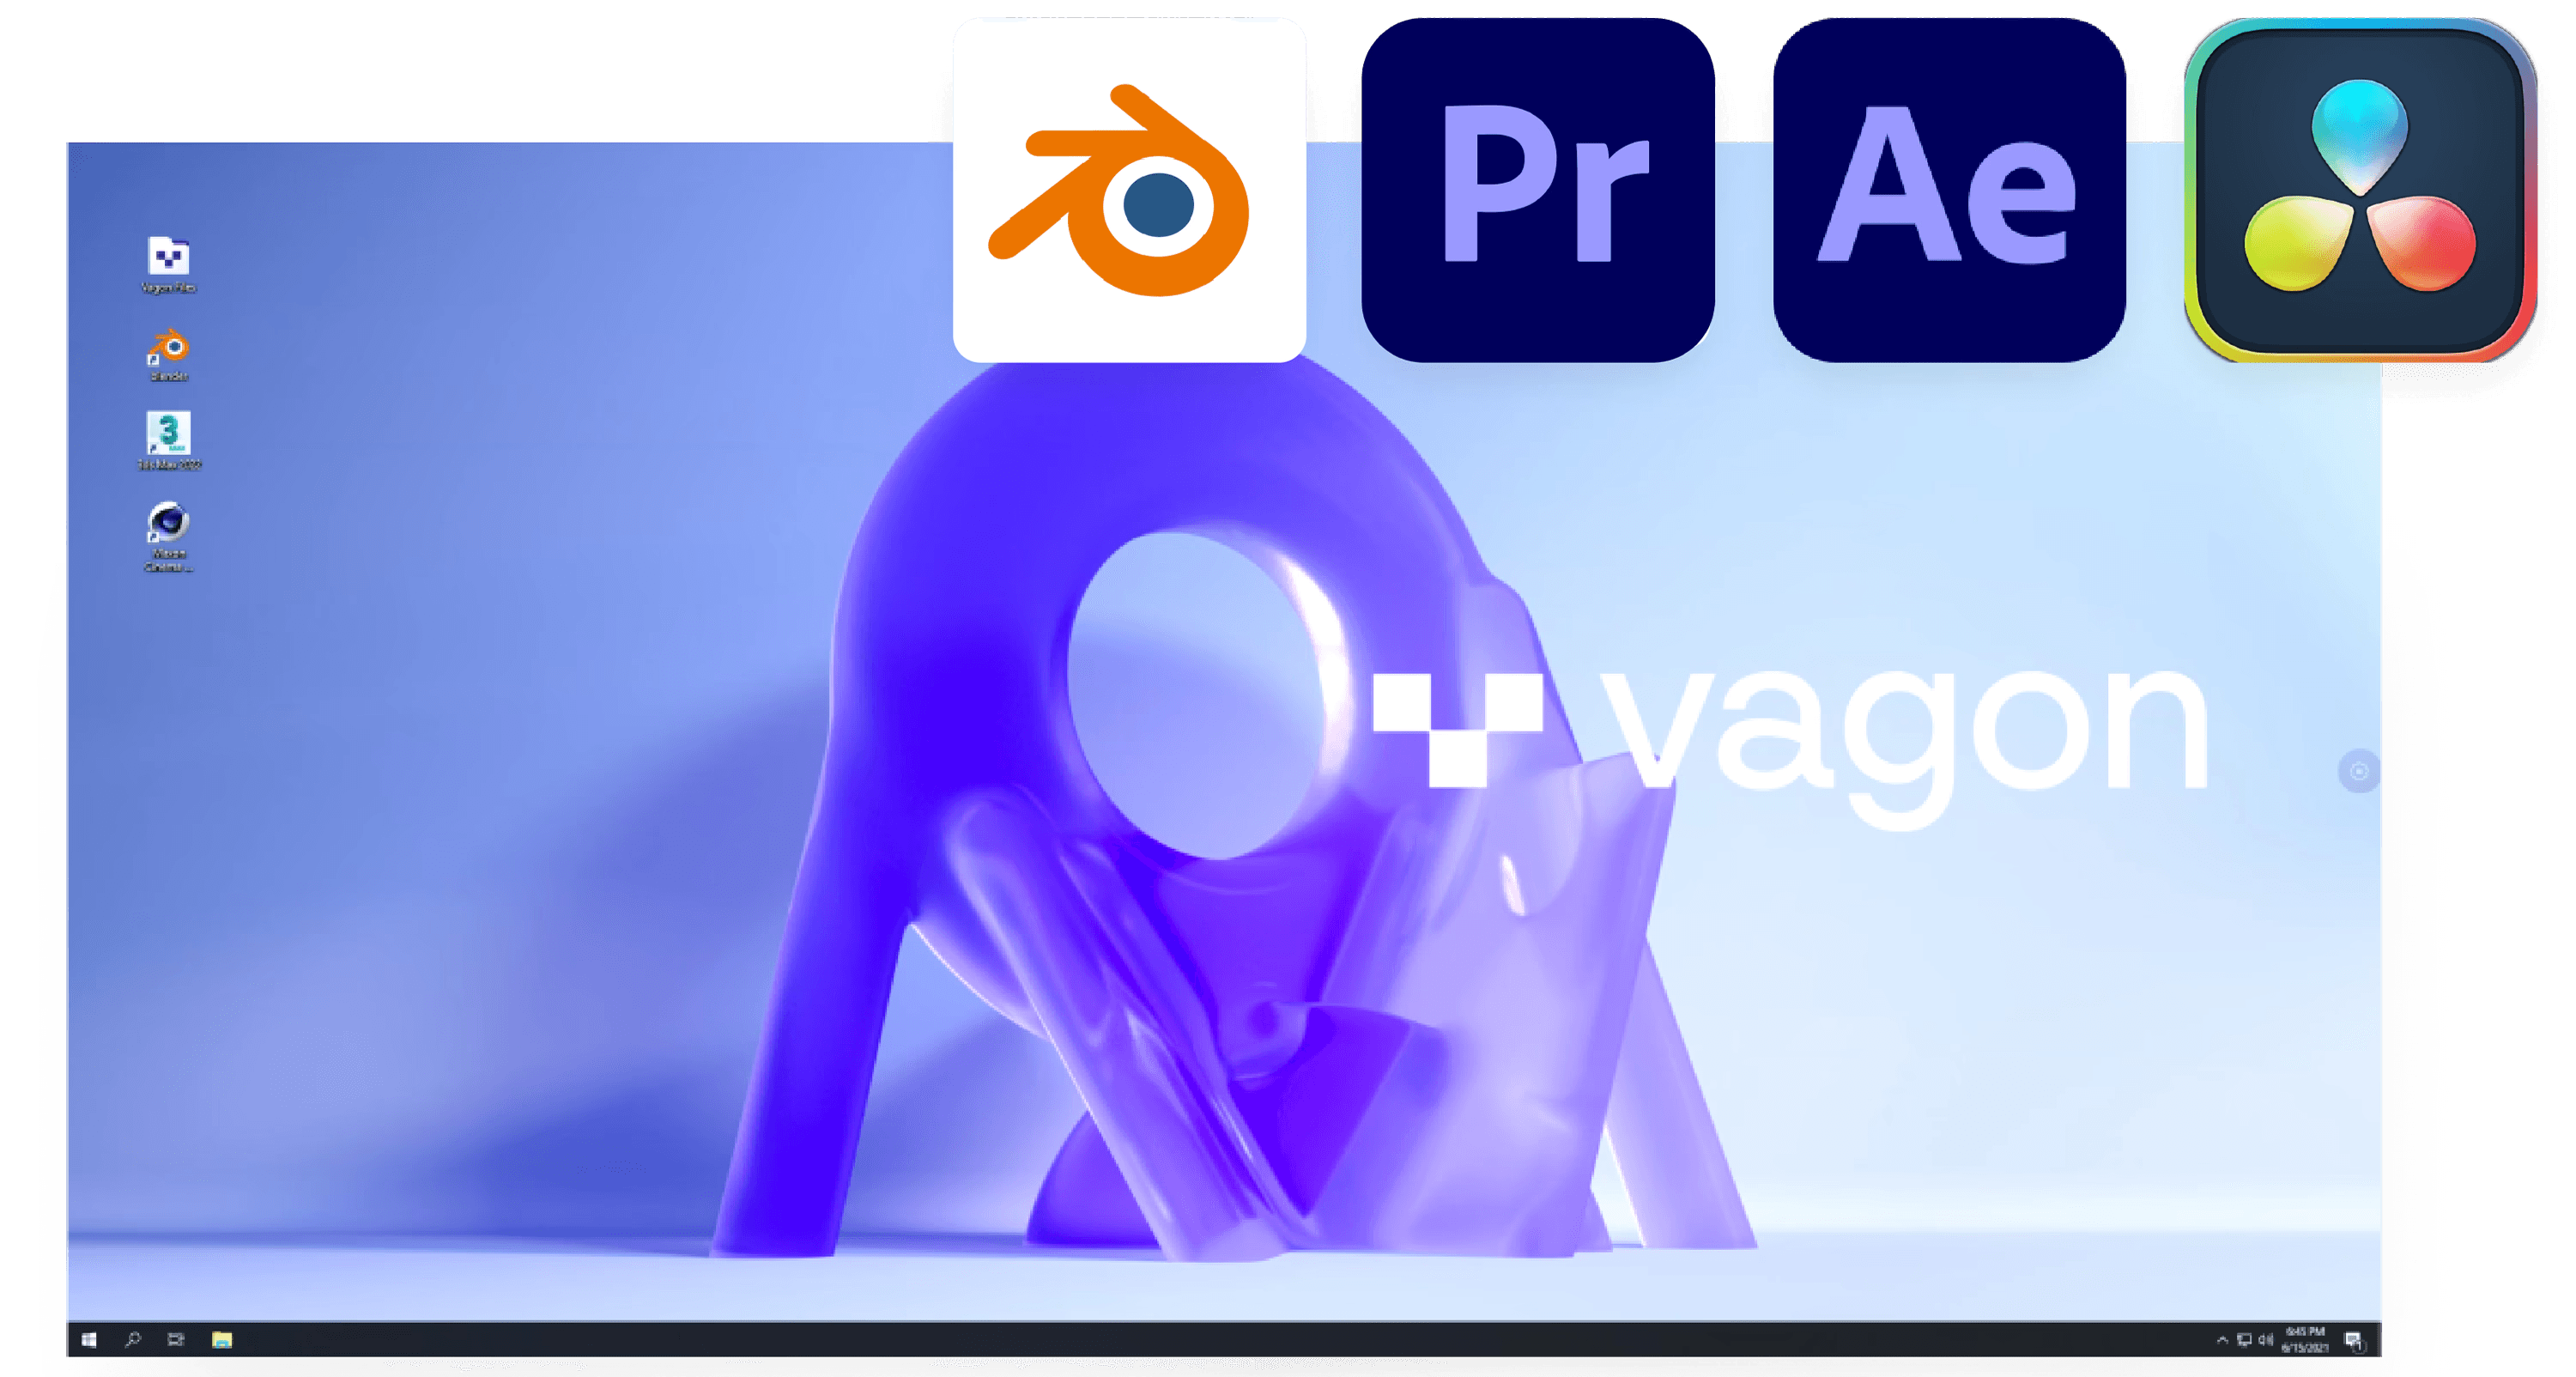
Using Vagon Cloud Computer for Heavy Scenes
At some point, shortcuts stop being the thing that slows you down.
Your hands know where to go.
Navigation is automatic.
Selection is clean.
Your scenes are organized.
And yet… Cinema 4D still starts pushing back.
Viewports lag when scenes get dense. Interactive renders take just long enough to break your concentration. Final renders lock up your machine when you’d rather keep working. If this sounds familiar, it’s not a workflow problem anymore. It’s a hardware one.
This is where Vagon Cloud Computer actually makes sense.
The important thing to understand is that using Vagon doesn’t mean changing how you work. Your shortcuts stay the same. Your layouts stay the same. Your habits stay the same. The only thing that changes is where Cinema 4D runs.
Instead of relying on your local machine’s CPU and GPU, you’re working on a powerful cloud workstation and streaming the session to your device. That means heavy scenes, complex lighting, and demanding renders don’t choke your laptop or desktop anymore. They run where the power is.
This becomes especially relevant if you’re trying to run Cinema 4D on a low-end device without a GPU and still want smooth viewport performance.
What I like about this setup is that it respects the effort you’ve already put into your workflow. You don’t relearn anything. You don’t rebuild muscle memory. You log in, open Cinema 4D, and keep working the same way you always have, just without waiting as much.
It’s especially useful in a few very real scenarios:
Large scenes where viewport performance drops no matter how clean your setup is
Tight deadlines where waiting on renders kills momentum
Working remotely or switching between devices without dragging files and settings around
This isn’t about upgrading for the sake of it. It’s about removing the next bottleneck once shortcuts and good habits have already done their job.
Shortcuts remove friction from your interaction with Cinema 4D.
More compute removes friction from the machine running it.
When those two line up, work feels lighter again.
If you’ve never tried it before, running Cinema 4D in the cloud can feel surprisingly seamless once your shortcuts and layouts carry over.
Final Thoughts
At some point, working faster stops being about learning more tricks.
Shortcuts don’t suddenly make you better at Cinema 4D. They don’t replace taste, experience, or judgment. What they do is quietly remove resistance. Less clicking. Less searching. Fewer interruptions. And once that friction is gone, you start noticing what actually matters. Your decisions. Your timing. Your ideas.
That’s why this guide isn’t something you finish. It’s something you return to. You’ll grow into it the same way you grow into the software itself. One shortcut at a time. One small annoyance solved. Over and over.
And when your workflow gets efficient enough that the machine becomes the slow part, that’s not a failure. That’s progress.
Cloud setups also open up unexpected options, like being able to run Cinema 4D on an iPad while keeping your shortcuts and layouts intact.
FAQs
1. How many Cinema 4D shortcuts should I realistically know?
Most experienced users rely on a surprisingly small set. Navigation, selection modes, transform tools, and a few modeling or animation actions account for the majority of daily work. If you know those well, you’re already ahead. Everything else is situational and can be learned as needed.
2. Is it better to memorize shortcuts or learn them gradually?
Gradual learning wins every time. Shortcuts stick when they solve a real problem. Memorizing large lists without context usually leads to frustration and forgotten keys. Let annoyance guide what you learn next.
3. Should beginners focus on shortcuts early or wait?
Beginners benefit from learning a few core shortcuts early, especially navigation and transform tools. These prevent bad habits from forming. There’s no need to rush into advanced modeling or animation shortcuts right away.
4. Are Cinema 4D shortcuts customizable, and should I customize them?
Yes, and you should when something feels awkward. Cinema 4D allows extensive shortcut customization. If a command is central to your workflow, assigning it to a comfortable key makes sense. Comfort leads to consistency, and consistency builds speed.
5. Do shortcuts change between Cinema 4D versions?
Most core shortcuts remain stable across versions. Some tools may gain new commands or context options, but navigation, selection, and transform shortcuts tend to stay consistent. That stability is why investing time in shortcuts pays off long-term.
6. Are shortcuts the same on Mac and Windows?
Functionally, yes. The main difference is modifier keys like Cmd on Mac versus Ctrl on Windows. Once you understand the logic, switching platforms is easier than it sounds.
7. What if I forget shortcuts all the time?
That’s normal. Forgetting is part of the process. Keep a reference nearby, look up what you need when you need it, and don’t stress about recall. Muscle memory builds through repetition, not pressure.
8. Can shortcuts improve animation quality, or just speed?
They can improve quality indirectly. When you’re not fighting the timeline or tools, you make clearer timing decisions. Less hesitation often leads to smoother motion and more confident animation.
9. Do shortcuts matter if I mostly use generators and MoGraph?
Absolutely. Even procedural workflows rely heavily on navigation, selection, object management, and playback control. Shortcuts help you move through setups faster and understand what’s happening without breaking focus.
Cinema 4D usually isn’t the problem.
It’s the tiny pauses that quietly pile up.
Clicking menus. Searching for tools. Breaking focus just long enough to lose momentum. None of it feels dramatic on its own, but over a full session, it adds weight to everything you do.
I’ve blamed the software and the hardware before. In reality, most of the slowdown came from how often I interrupted myself.
Creative work depends on flow. Modeling, animation, lighting, all of it works best when you stay in your head long enough to follow an idea through. Every time you stop to hunt for a command, that flow takes a hit.
That’s where shortcuts come in. And why they feel awkward at first.
You’ll forget them. Hit the wrong key. Hesitate. Menus feel safer in that phase, even though they constantly demand attention. Shortcuts, once learned, fade into muscle memory.
When that happens, Cinema 4D stops feeling like an interface and starts feeling direct. Rotate. Select. Adjust. Animate. No pause in between.
That’s the point of this guide. Not memorizing everything. Just learning the shortcuts that remove friction from your workflow, a few at a time.
Cinema 4D doesn’t feel fast when you know everything.
It feels fast when nothing gets in your way.
How to Use This Shortcut Guide Without Burning Out
Before jumping into shortcut lists, one thing needs to be clear. This guide isn’t homework. Trying to memorize a long list of shortcuts in one sitting is the fastest way to get frustrated and give up. Shortcuts don’t stick through repetition alone. They stick when they solve real problems.
The better approach is reactive. Wait until something slows you down. Maybe you keep zooming the wrong way, maybe selecting the right object in a crowded scene takes too many clicks, or maybe switching tools breaks your rhythm. That annoyance is your signal. Look up the shortcut that fixes that exact issue and start using it right away.
At first, it will feel slower. You’ll hesitate, hit the wrong key, or double-check yourself. That’s normal. When a shortcut removes a real frustration, your brain has a reason to remember it, and muscle memory builds naturally.
You also don’t need every shortcut. Most Cinema 4D users rely on a small core set every day. Navigation, selection, transform tools, and a handful of modeling actions do most of the work. Everything else can wait, or may never be necessary at all.
Think of this guide as a reference you return to over time. Keep it nearby, scroll when something feels slow, and skip sections that don’t match how you work. If a shortcut feels awkward, customize it. Comfort matters more than sticking to defaults. The goal isn’t to become fast overnight. It’s to stop fighting the software, one small improvement at a time.
#1. Viewport Navigation and Selection Shortcuts
If Cinema 4D ever feels clumsy, this is usually where the problem starts.
Navigation and selection are the foundation of everything else you do. Modeling, animation, lighting, all of it depends on how confidently you can move through a scene and grab what you want without breaking focus. When this part feels slow, everything downstream feels heavier than it should.
Let’s make this practical.
Viewport Navigation Shortcuts
These should become pure muscle memory. No thinking involved.
1 – Pan view
2 – Zoom view
3 – Rotate view
Hold the key, move the mouse, release. These are temporary actions, not tools you get stuck in.S – Frame selected object in the viewport
Essential in large or messy scenes.H – Frame all objects
Useful when you’ve completely lost your bearings.F1 / F2 / F3 / F4 / F5 – Switch viewport layouts
Perspective, top, right, front, four-view. Faster than clicking icons.Middle Mouse Button – Free navigation (combined pan, zoom, rotate)
Handy, but still slower than mastering 1, 2, and 3 individually.
When navigation is right, the viewport stops feeling like a camera you’re fighting and starts feeling like space you’re moving through.
Selection Mode Shortcuts
You’ll switch these constantly. Clicking icons adds friction fast.
Object Mode – Select entire objects
Point Mode – Edit points
Edge Mode – Edit edges
Polygon Mode – Edit polygons
Once these switches are automatic, modeling speeds up more than most people expect.
Core Selection Shortcuts
These save time in every scene, especially complex ones.
Spacebar – Switch between the current tool and the last used tool
Ctrl / Cmd + Click – Add or remove from selection
Shift + Click – Add to selection
Ctrl / Cmd + A – Select all
Ctrl / Cmd + D – Deselect all
Ctrl / Cmd + I – Invert selection
Small actions, used constantly.
Contextual Selection Shortcuts (The Quiet Power Tools)
Cinema 4D hides a lot of selection intelligence behind the U key. You press U, then another key, depending on what you want to do.
Examples include:
Loop selections
Ring selections
Grow or shrink selections
Select connected elements
You don’t need to memorize all of them at once. Learn the ones that solve real problems for you. Once you do, manual clicking starts to feel ridiculous.
Object Manager and Hierarchy Selection
Selection isn’t just about geometry. It’s about control.
Quickly selecting parent or child objects
Navigating deep hierarchies without hunting
Keeping track of what’s active in dense scenes
The faster you can move through the Object Manager, the less visual noise you have to deal with.
Here’s the takeaway.
If you can navigate and select without thinking, Cinema 4D immediately feels faster and lighter. Not because you learned advanced tricks, but because you stopped interrupting yourself.
For many users, mastering just this section changes how the entire application feels to use.
#2. Transform, Modeling, and Object Management Shortcuts
This is where shortcuts stop feeling helpful and start feeling essential.
Once navigation and selection are solid, the next slowdown usually comes from basic actions you repeat hundreds of times per session. Moving objects. Switching tools. Making something editable. Organizing a scene that’s slowly turning into chaos. These are small tasks, but they add up fast.
This section carries a lot of weight, because these shortcuts show up constantly in real work.
Once you start working with heavier scenes and high-quality Cinema 4D assets, clean object management and fast transforms become non-negotiable.
Transform Tool Shortcuts
These should be automatic. If you’re clicking icons for these, you’re burning time.
E – Move tool
R – Rotate tool
T – Scale tool
You’ll bounce between these nonstop. Once they’re muscle memory, transforming objects feels immediate instead of deliberate.
Related transform habits that matter more than people admit:
Switching between world and object coordinates when alignment matters
Temporarily adjusting axis position instead of fighting pivots
Resetting transforms cleanly instead of compensating manually
These aren’t flashy, but they prevent subtle mistakes and sloppy setups.
Tool Switching and Temporary Tools
One of the most underrated workflow habits in Cinema 4D.
Spacebar – Toggle between the current tool and the previously used tool
This sounds simple, but it changes how you work. You stop committing to one tool and start flowing between actions. Move something. Adjust a point. Back to move. No hesitation.
Over time, this alone can shave minutes off repetitive modeling tasks.
Good shortcuts won’t replace solid fundamentals, but they amplify them, especially when you’re serious about mastering Cinema 4D modeling workflows.
Core Modeling Shortcuts
If you do any kind of polygon modeling, these come up constantly.
C – Make object editable
Extrude – Used for adding depth and form
Bevel – Softening or defining edges
Inset – Creating interior faces
Knife / Cut tools – Adding control where geometry actually needs it
The real speed gain here isn’t knowing the tools exist. It’s activating them instantly when the moment calls for it, without breaking focus to search menus.
Modeling feels better when your hands keep moving.
Selection-Based Modeling Actions
Many modeling operations depend on what’s selected.
Switching between point, edge, and polygon modes fluidly
Applying actions only where needed instead of globally
Letting Cinema 4D do the repetitive selection work for you
This is where earlier selection shortcuts pay off. Good selection habits turn modeling shortcuts into multipliers instead of just conveniences.
Object Management and Scene Organization
This is the part people neglect until scenes become unmanageable.
Creating parent-child relationships quickly
Grouping objects under nulls
Temporarily hiding or soloing parts of a scene
Locking objects to avoid accidental edits
Keeping hierarchies readable as scenes grow
Organization isn’t just about cleanliness. It’s about speed. When you know exactly where things live and can control visibility instantly, you spend less energy navigating and more energy creating.
Here’s the honest takeaway.
Most Cinema 4D sessions don’t slow down because of advanced problems. They slow down because of basic actions repeated endlessly. Transforming. Switching tools. Organizing objects.
When these shortcuts are second nature, the software fades into the background. And that’s when work starts to feel smooth instead of heavy.
#3. Animation, Timeline, and Playback Shortcuts
Animation is where hesitation becomes visible.
When you’re modeling, a pause costs time. When you’re animating, a pause shows up in the motion itself. Awkward timing, uneven spacing, second guessing keyframes. A lot of that comes from fighting the timeline instead of working with it.
Shortcuts don’t make animations better on their own. But they remove friction, and less friction means you make clearer decisions.
Timeline Navigation and Playback
You’ll touch these constantly, even for simple motion.
Spacebar – Play or pause the timeline
F – Go to previous frame
G – Go to next frame
Shift + F – Jump backward in larger steps
Shift + G – Jump forward in larger steps
Being able to scrub and step through frames without reaching for the mouse keeps your attention on the motion, not the controls.
Keyframe Creation and Editing
Creating keyframes should feel immediate.
Ctrl / Cmd + Click – Set a keyframe on selected parameters
Auto Keyframe – Toggle automatic key creation
Delete – Remove selected keyframes
The faster you can drop and adjust keys, the less you hesitate. That hesitation matters. Confident timing almost always looks better than cautious timing.
Working With Curves and Animation Controls
Even if you’re not deep into character animation, curves matter.
Quick access to the F-Curve editor saves you from fighting default interpolation
Adjusting easing visually is faster than tweaking numbers
Switching between timeline views without breaking flow keeps iteration tight
You don’t need to become an animation purist. You just need enough control to avoid fighting the defaults.
Previewing Motion Without Breaking Focus
Watching motion back shouldn’t feel like a separate task.
Preview playback directly from the timeline
Loop sections to judge timing
Use quick previews instead of full renders when blocking animation
Shortcuts here aren’t about speed. They’re about feedback. The faster you can see what changed, the faster you can decide what to do next.
Here’s the pattern you’ll notice.
When timeline control is clumsy, animation feels stressful.
When it’s fluid, animation feels playful again.
That’s the difference shortcuts make in motion work. They don’t add complexity. They remove hesitation.
#4. Rendering, Display, and Interface Workflow Shortcuts
This is the part of the workflow most people ignore until deadlines show up.
Rendering, previewing, and managing the interface aren’t glamorous tasks, but they shape how fast you can iterate. If checking a result feels slow or disruptive, you’ll check less often. That’s how small problems turn into big ones.
Shortcuts here don’t just save time. They encourage better habits.
Viewport Display and Shading Shortcuts
Being able to change how you view a scene on the fly matters more than people think.
N + A – Switch to Gouraud shading
N + B – Gouraud shading with lines
N + C – Wireframe
N + D – Quick shading mode changes
N + E – Toggle textures in the viewport
These let you diagnose issues quickly. Topology problems, texture placement, lighting balance. No menu diving. Just check and move on.
Interactive Render and Preview Shortcuts
You shouldn’t have to commit to a full render just to see if something works.
Alt + R – Start Interactive Render Region
Shift + R – Render to Picture Viewer
Ctrl / Cmd + R – Render active view
Interactive previews are where most look-dev decisions should happen. They’re faster, lighter, and easier to iterate on.
Picture Viewer and Render Feedback
Once you’re rendering, speed still matters.
Zooming and panning inside the Picture Viewer without tools
Quickly checking passes and layers
Comparing results without reopening dialogs
The less friction there is between rendering and reviewing, the faster you improve the result.
Interface and Layout Shortcuts
Cinema 4D’s interface is flexible, but only if you actually use that flexibility.
Switching between saved layouts
Opening and closing managers without clutter
Using command search instead of hunting menus
Saving layouts once they match how you work
A clean interface isn’t about aesthetics. It’s about reducing decisions. When panels are where you expect them to be, your attention stays on the scene.
Customizing Shortcuts and Commands
This is where the software adapts to you.
Reassign shortcuts that feel awkward
Create shortcuts for commands you use constantly
Save preferences so your setup stays consistent
There’s no prize for sticking to defaults. If a command matters to your workflow, it deserves a shortcut that feels natural.
Here’s the bigger idea.
Fast workflows aren’t just about modeling and animation. They’re about how quickly you can see, judge, and adjust your work. Rendering and interface shortcuts shorten that feedback loop.
And shorter feedback loops lead to better decisions.
Even with optimized shortcuts, there’s a point where choosing the right hardware for Cinema 4D becomes unavoidable.
Using Vagon Cloud Computer for Heavy Scenes
At some point, shortcuts stop being the thing that slows you down.
Your hands know where to go.
Navigation is automatic.
Selection is clean.
Your scenes are organized.
And yet… Cinema 4D still starts pushing back.
Viewports lag when scenes get dense. Interactive renders take just long enough to break your concentration. Final renders lock up your machine when you’d rather keep working. If this sounds familiar, it’s not a workflow problem anymore. It’s a hardware one.
This is where Vagon Cloud Computer actually makes sense.
The important thing to understand is that using Vagon doesn’t mean changing how you work. Your shortcuts stay the same. Your layouts stay the same. Your habits stay the same. The only thing that changes is where Cinema 4D runs.
Instead of relying on your local machine’s CPU and GPU, you’re working on a powerful cloud workstation and streaming the session to your device. That means heavy scenes, complex lighting, and demanding renders don’t choke your laptop or desktop anymore. They run where the power is.
This becomes especially relevant if you’re trying to run Cinema 4D on a low-end device without a GPU and still want smooth viewport performance.
What I like about this setup is that it respects the effort you’ve already put into your workflow. You don’t relearn anything. You don’t rebuild muscle memory. You log in, open Cinema 4D, and keep working the same way you always have, just without waiting as much.
It’s especially useful in a few very real scenarios:
Large scenes where viewport performance drops no matter how clean your setup is
Tight deadlines where waiting on renders kills momentum
Working remotely or switching between devices without dragging files and settings around
This isn’t about upgrading for the sake of it. It’s about removing the next bottleneck once shortcuts and good habits have already done their job.
Shortcuts remove friction from your interaction with Cinema 4D.
More compute removes friction from the machine running it.
When those two line up, work feels lighter again.
If you’ve never tried it before, running Cinema 4D in the cloud can feel surprisingly seamless once your shortcuts and layouts carry over.
Final Thoughts
At some point, working faster stops being about learning more tricks.
Shortcuts don’t suddenly make you better at Cinema 4D. They don’t replace taste, experience, or judgment. What they do is quietly remove resistance. Less clicking. Less searching. Fewer interruptions. And once that friction is gone, you start noticing what actually matters. Your decisions. Your timing. Your ideas.
That’s why this guide isn’t something you finish. It’s something you return to. You’ll grow into it the same way you grow into the software itself. One shortcut at a time. One small annoyance solved. Over and over.
And when your workflow gets efficient enough that the machine becomes the slow part, that’s not a failure. That’s progress.
Cloud setups also open up unexpected options, like being able to run Cinema 4D on an iPad while keeping your shortcuts and layouts intact.
FAQs
1. How many Cinema 4D shortcuts should I realistically know?
Most experienced users rely on a surprisingly small set. Navigation, selection modes, transform tools, and a few modeling or animation actions account for the majority of daily work. If you know those well, you’re already ahead. Everything else is situational and can be learned as needed.
2. Is it better to memorize shortcuts or learn them gradually?
Gradual learning wins every time. Shortcuts stick when they solve a real problem. Memorizing large lists without context usually leads to frustration and forgotten keys. Let annoyance guide what you learn next.
3. Should beginners focus on shortcuts early or wait?
Beginners benefit from learning a few core shortcuts early, especially navigation and transform tools. These prevent bad habits from forming. There’s no need to rush into advanced modeling or animation shortcuts right away.
4. Are Cinema 4D shortcuts customizable, and should I customize them?
Yes, and you should when something feels awkward. Cinema 4D allows extensive shortcut customization. If a command is central to your workflow, assigning it to a comfortable key makes sense. Comfort leads to consistency, and consistency builds speed.
5. Do shortcuts change between Cinema 4D versions?
Most core shortcuts remain stable across versions. Some tools may gain new commands or context options, but navigation, selection, and transform shortcuts tend to stay consistent. That stability is why investing time in shortcuts pays off long-term.
6. Are shortcuts the same on Mac and Windows?
Functionally, yes. The main difference is modifier keys like Cmd on Mac versus Ctrl on Windows. Once you understand the logic, switching platforms is easier than it sounds.
7. What if I forget shortcuts all the time?
That’s normal. Forgetting is part of the process. Keep a reference nearby, look up what you need when you need it, and don’t stress about recall. Muscle memory builds through repetition, not pressure.
8. Can shortcuts improve animation quality, or just speed?
They can improve quality indirectly. When you’re not fighting the timeline or tools, you make clearer timing decisions. Less hesitation often leads to smoother motion and more confident animation.
9. Do shortcuts matter if I mostly use generators and MoGraph?
Absolutely. Even procedural workflows rely heavily on navigation, selection, object management, and playback control. Shortcuts help you move through setups faster and understand what’s happening without breaking focus.
Get Beyond Your Computer Performance
Run applications on your cloud computer with the latest generation hardware. No more crashes or lags.

Trial includes 1 hour usage + 7 days of storage.
Summarize with AI

Ready to focus on your creativity?
Vagon gives you the ability to create & render projects, collaborate, and stream applications with the power of the best hardware.

Vagon Blog


Run heavy applications on any device with
your personal computer on the cloud.
San Francisco, California
Solutions
Vagon Teams
Vagon Streams
Use Cases
Resources
Vagon Blog
What Slows Down After Effects Projects?
The First 30 Minutes in Blender 3D: A Practical Workflow Guide
What’s New in Godot 4.7? Key Features, Upgrades, and Workflow Improvements
What Slows Down Blender 3D Projects?
What Slows Down Adobe Photoshop Projects?
The First 30 Minutes in Adobe Photoshop: A Practical Workflow Guide
Before You Start in Adobe Photoshop: A Practical Setup Checklist
What’s New in Unreal Engine 5.8? Key Features and Upgrade Advice
How to Run Windows on an iPad: 4 Best Ways (2026)
Vagon Blog
Run heavy applications on any device with
your personal computer on the cloud.
San Francisco, California
Solutions
Vagon Teams
Vagon Streams
Use Cases
Resources
Vagon Blog