Instant Connection for Pixel Streaming
— New Feature Automated Setup

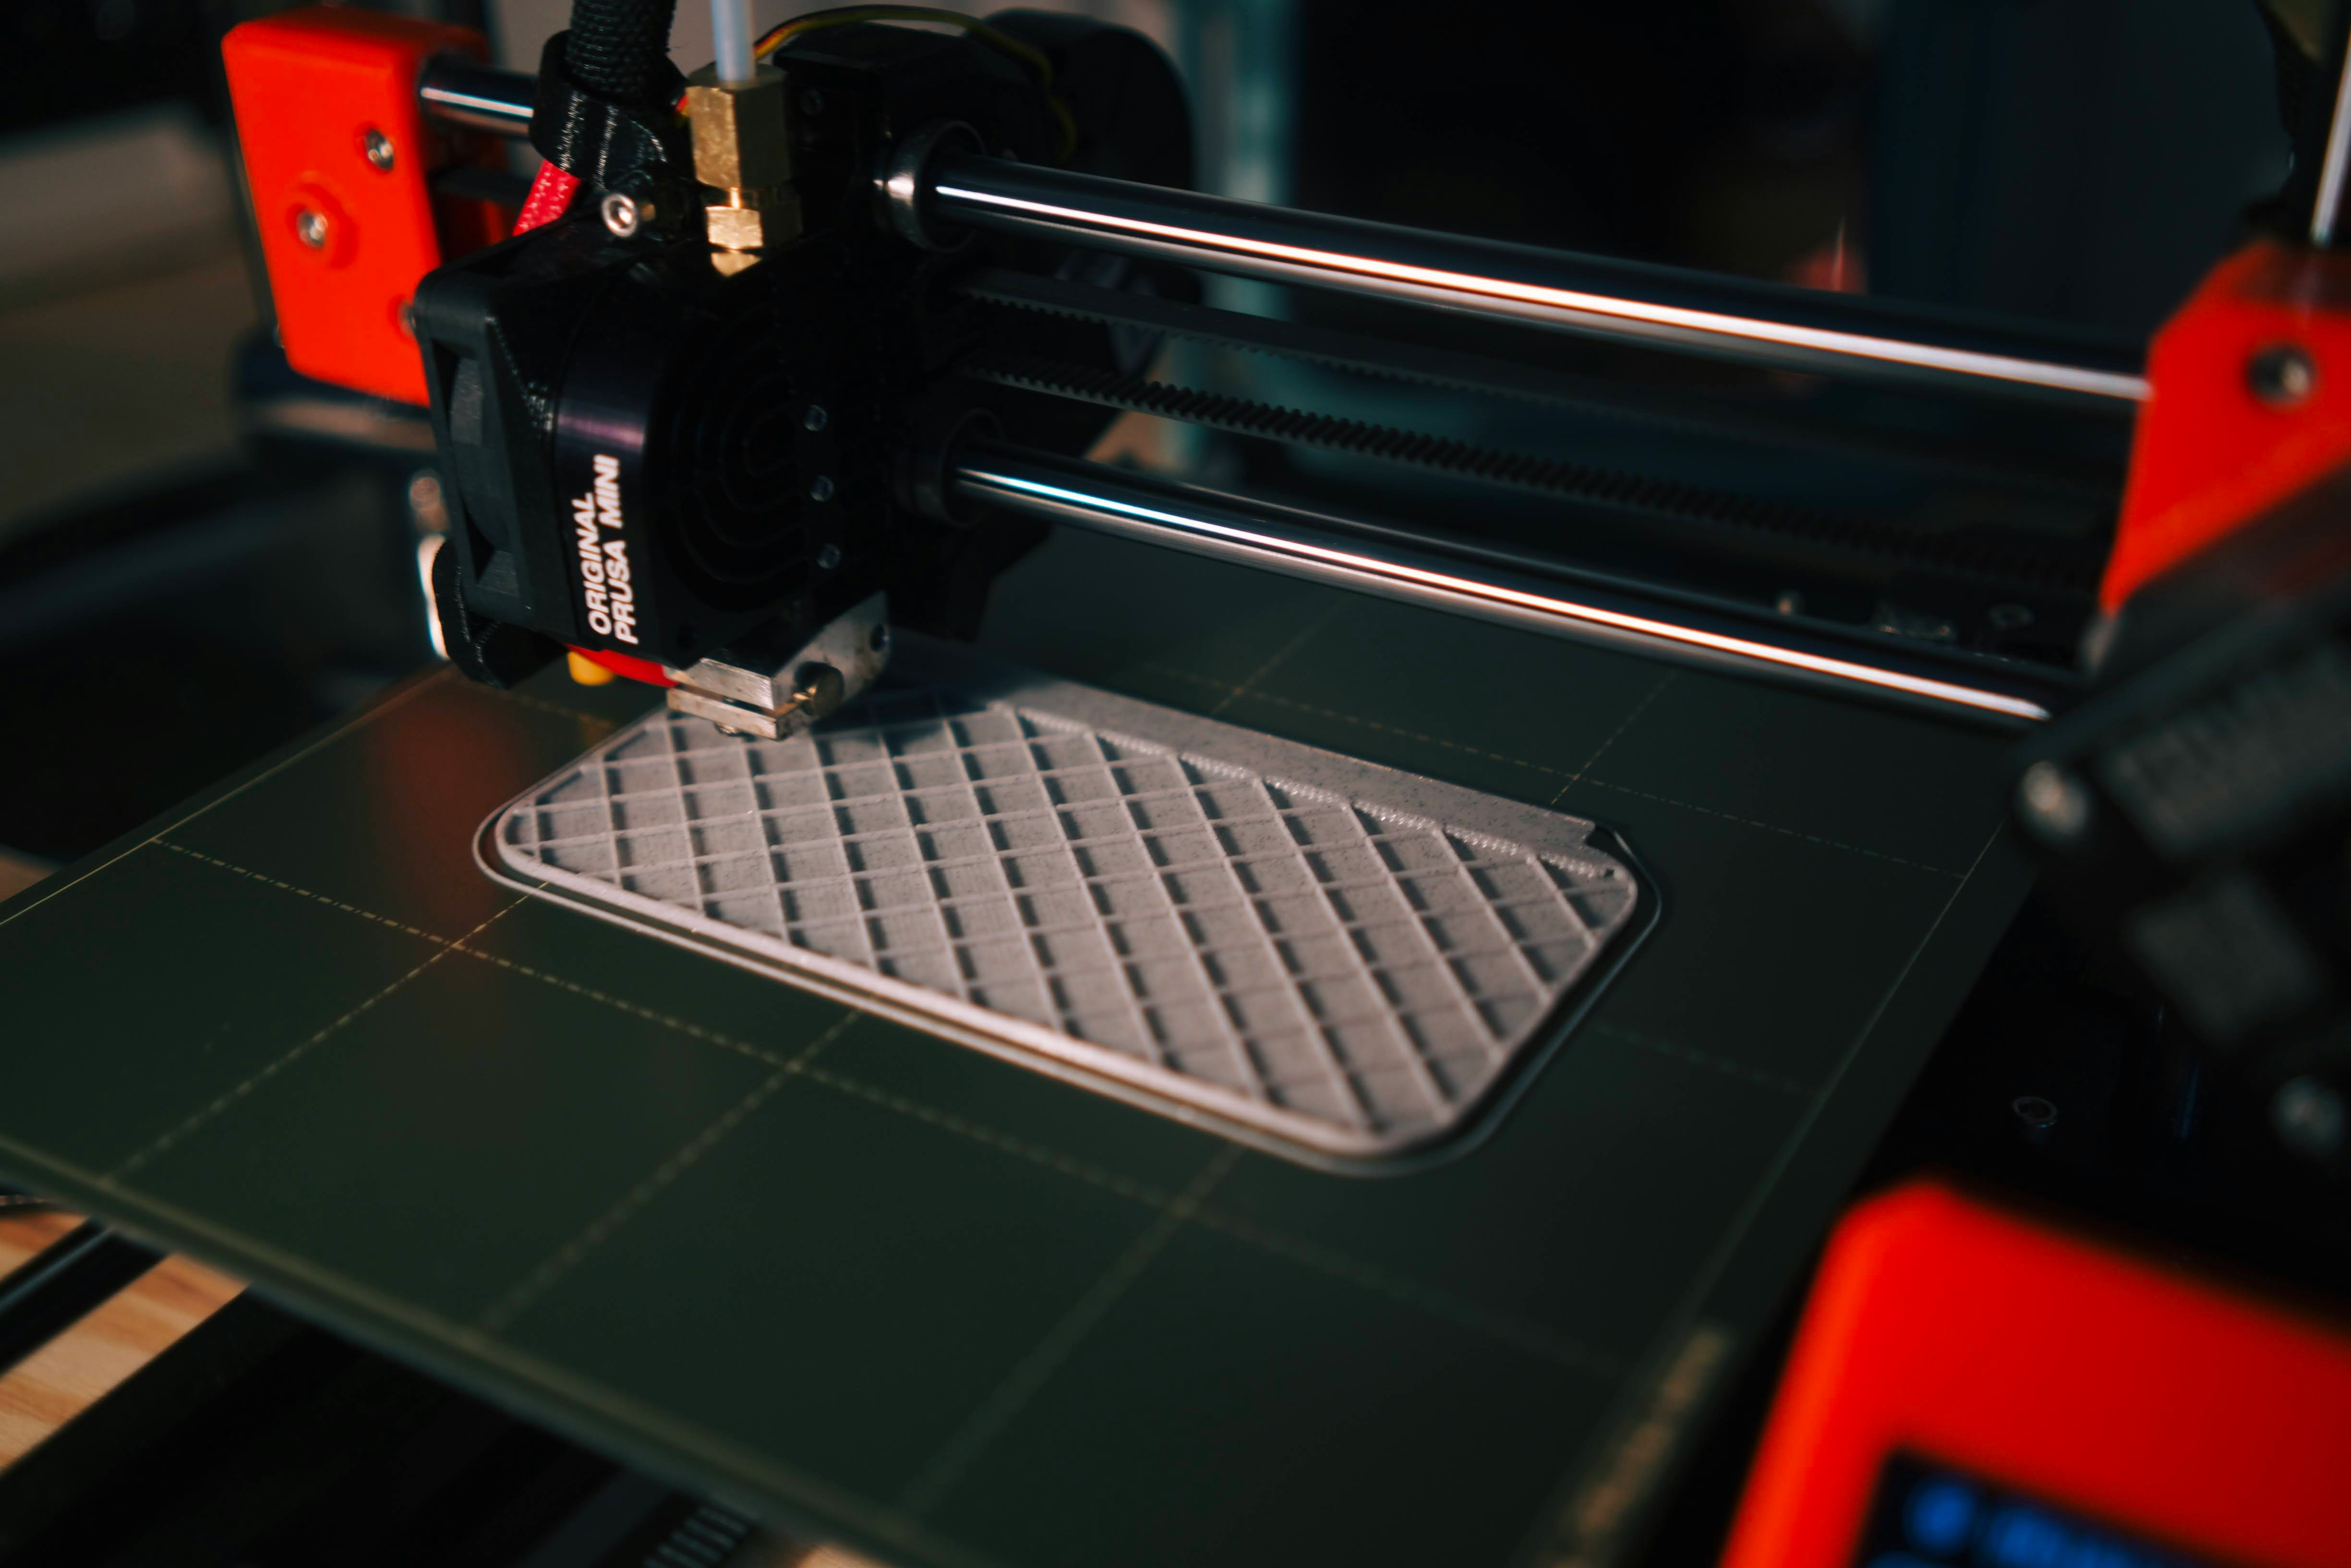
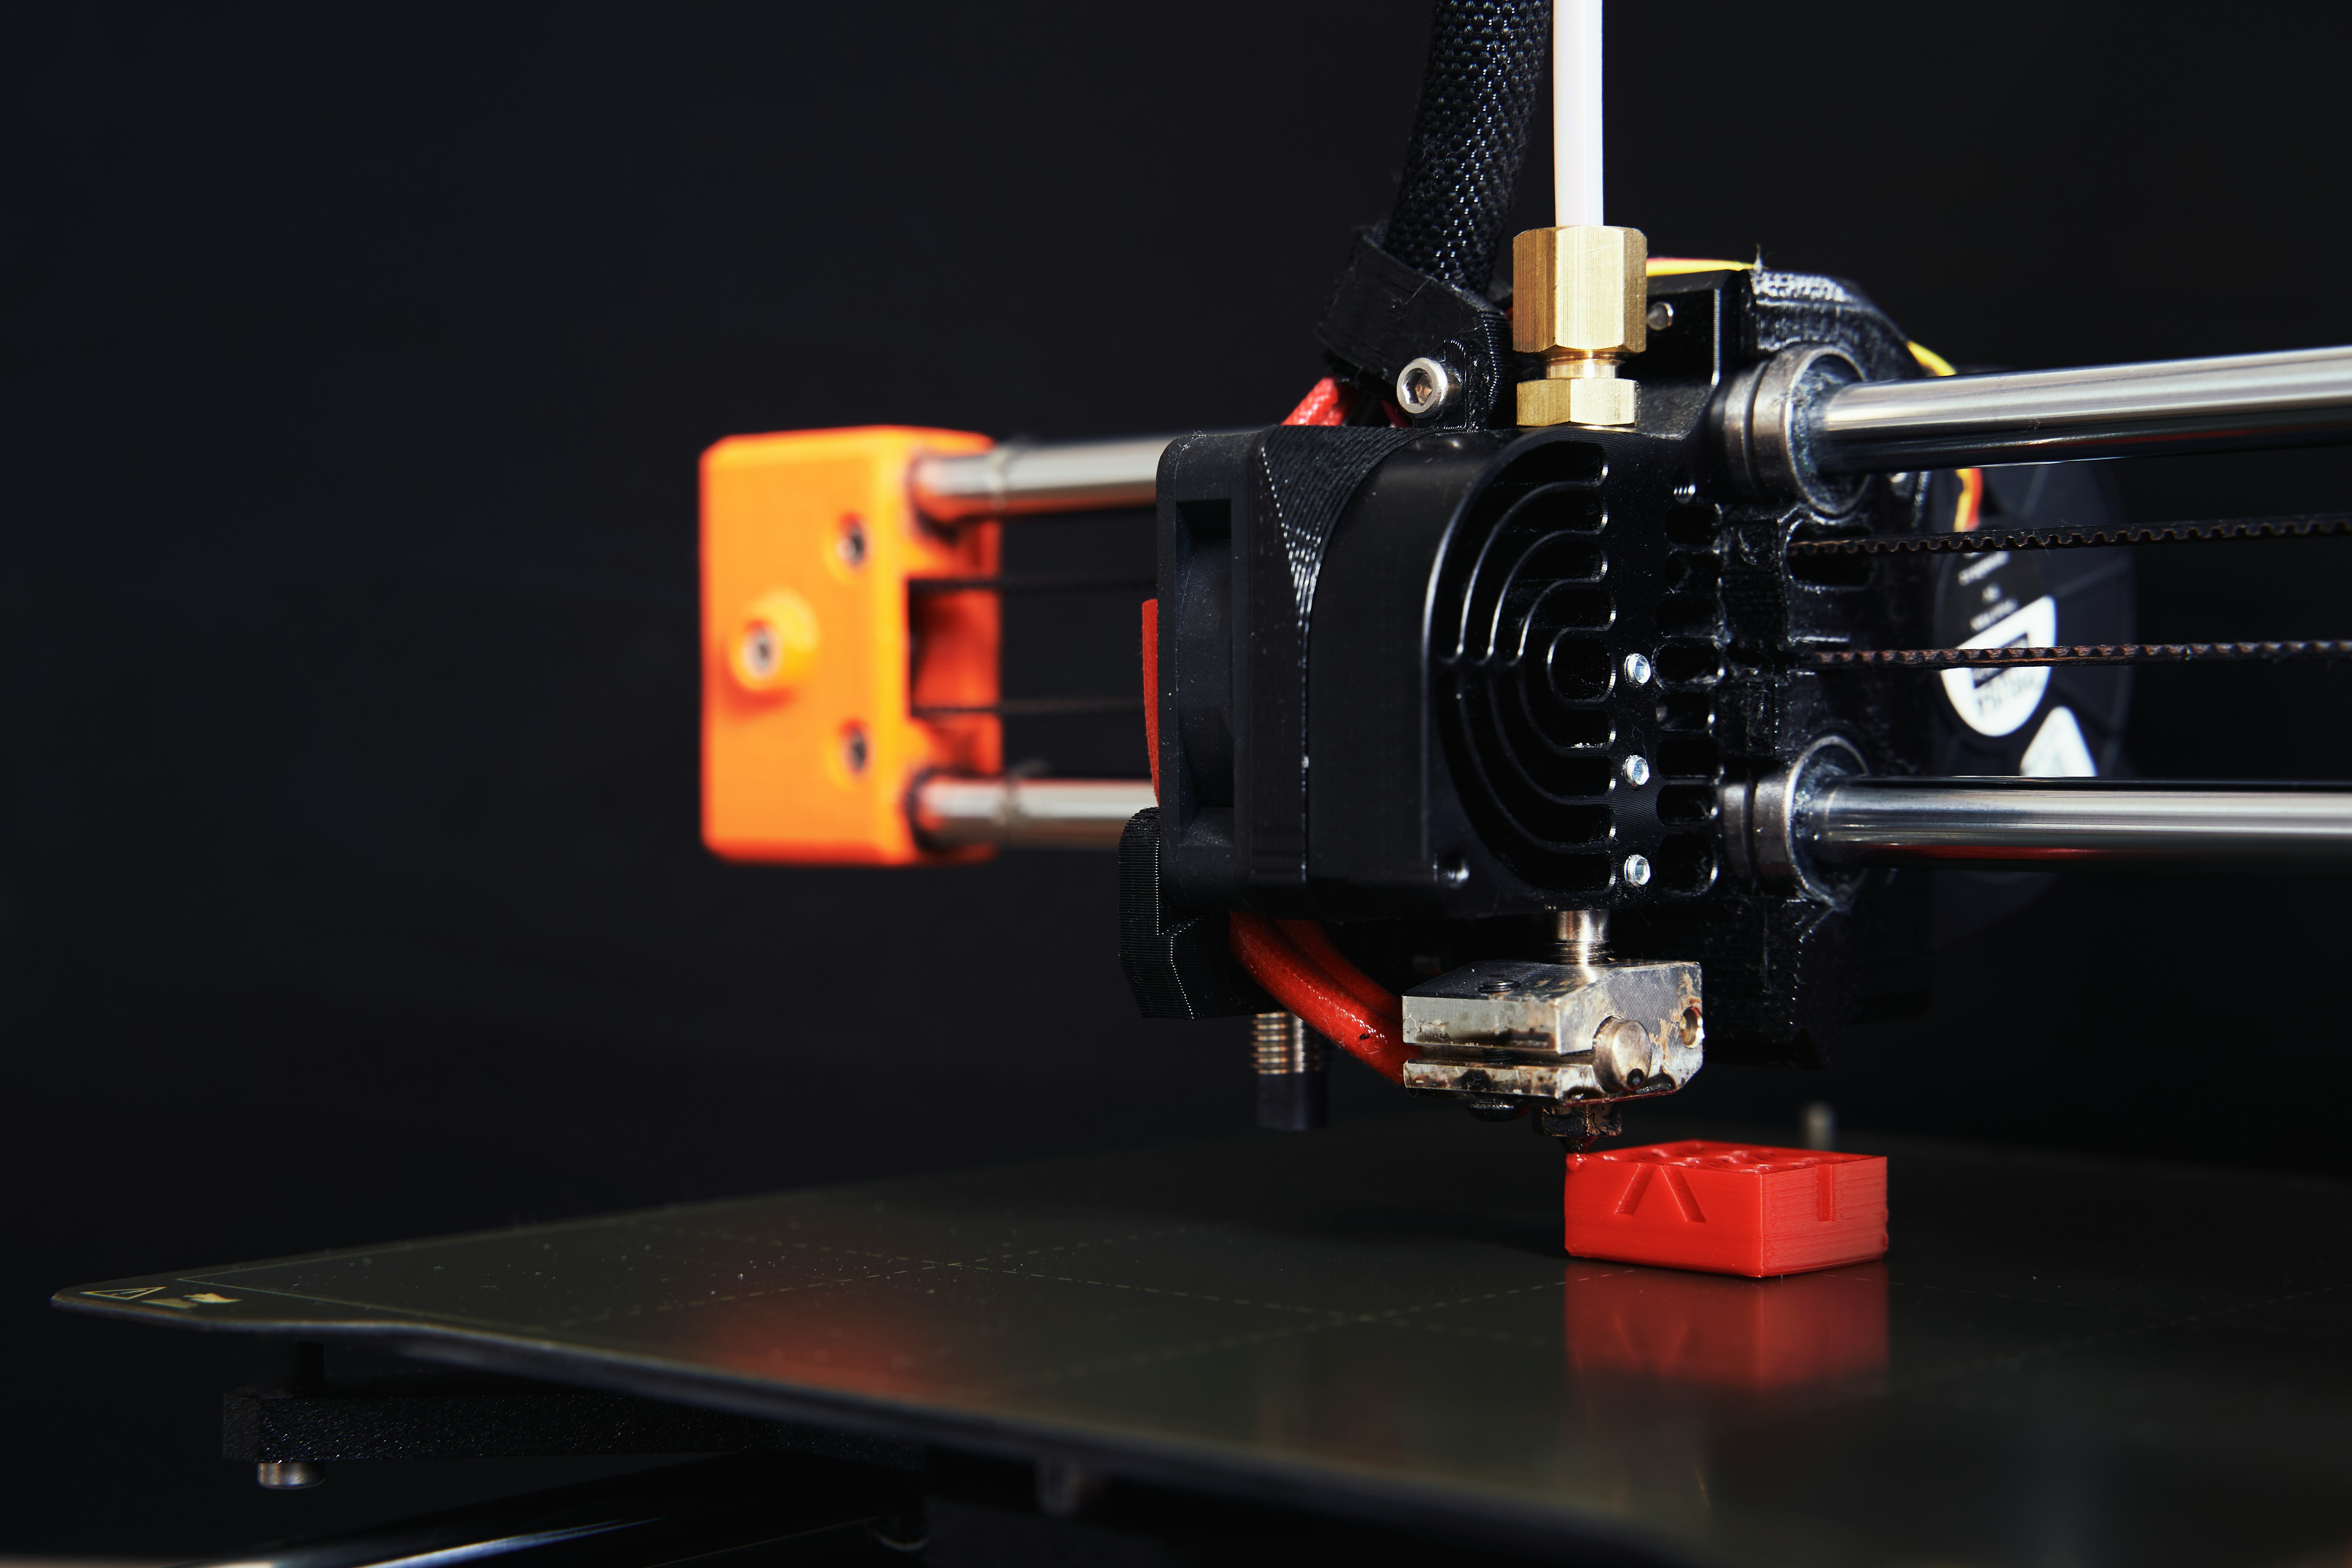
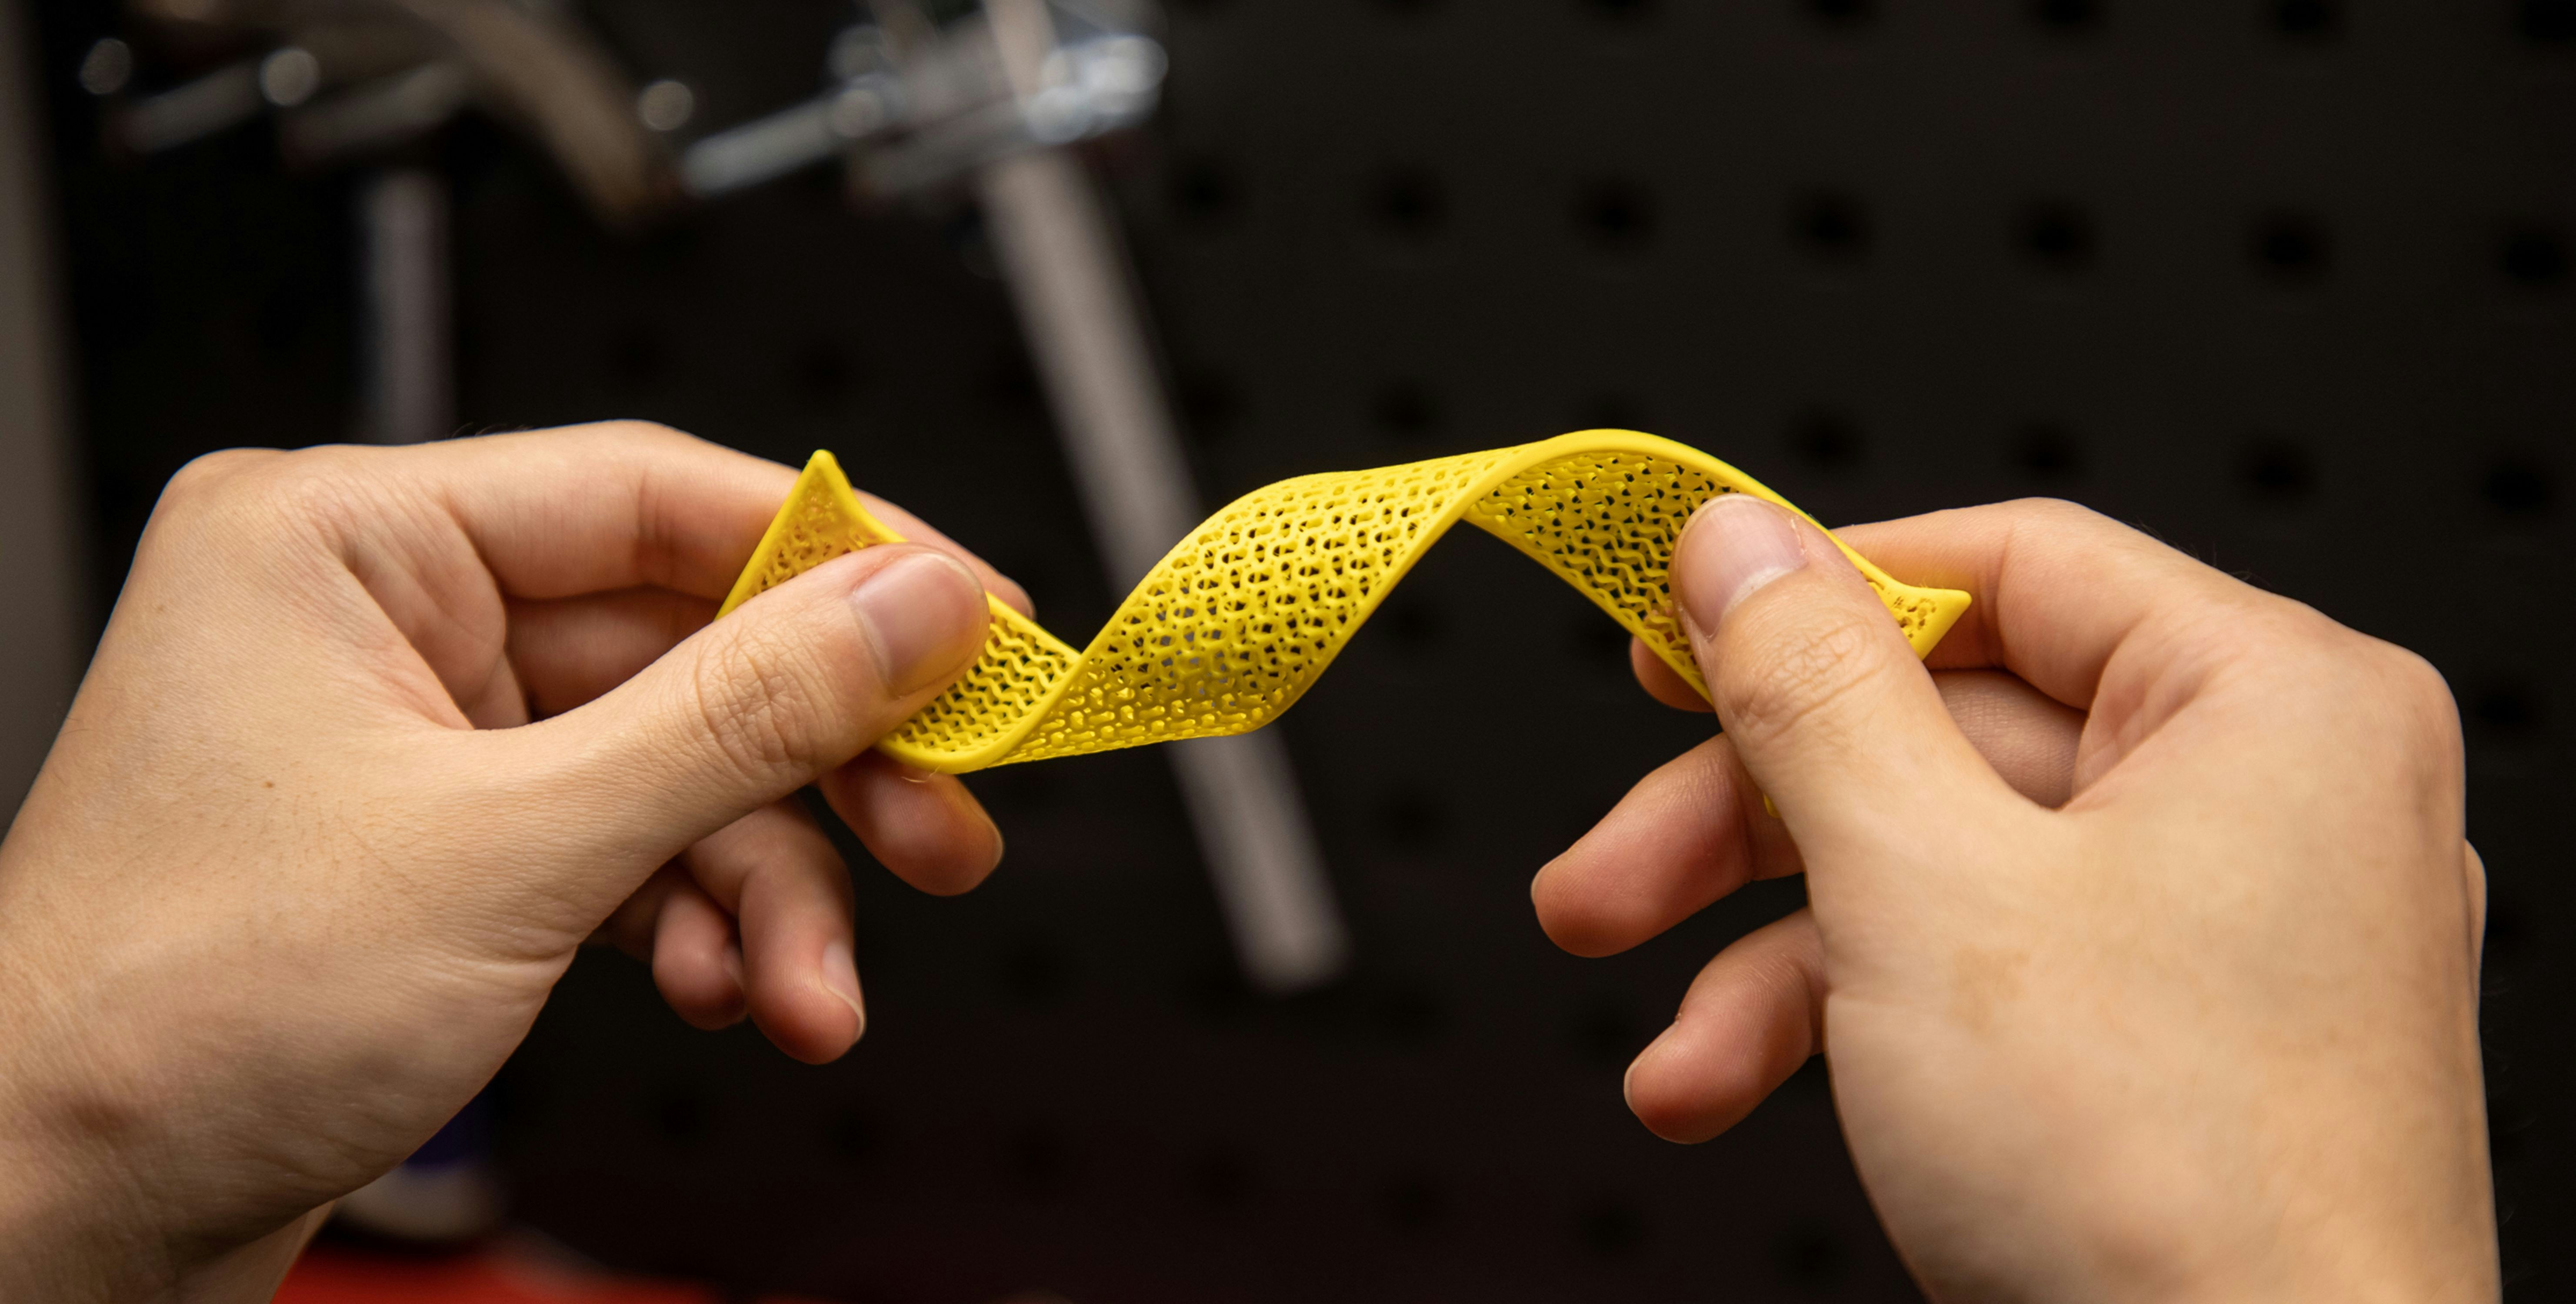
How to Use Rhino3D for 3D Printing: A Complete Guide to STL, Meshes, and Printable Geometry
How to Use Rhino3D for 3D Printing: A Complete Guide to STL, Meshes, and Printable Geometry
DigitalArt
How to Use Rhino3D for 3D Printing: A Complete Guide to STL, Meshes, and Printable Geometry
Table of Contents
Most Rhino users remember their first failed print.
You build a model that looks perfect on screen. Smooth curves. Clean surfaces. Everything joins nicely. You export the file, load it into your slicer, start the print, and wait.
A few hours later you come back to something… strange. Maybe the model has holes. Maybe a surface disappeared. Sometimes half the object simply doesn’t exist in the preview.
The confusing part? The model looked completely fine in Rhino.
What’s happening here is simpler than it seems. Rhino and 3D printers speak two different geometric languages.
Rhino models are built using NURBS surfaces, which describe curves mathematically. That’s why Rhino geometry stays perfectly smooth even when you zoom in close.
3D printers don’t understand NURBS. They work with polygon meshes, usually exported as STL files, where shapes are made from thousands of tiny triangles.
That translation step is where problems begin.
Here’s the thing many tutorials skip: successful 3D printing in Rhino isn’t mostly about modeling. It’s about preparing your geometry correctly.
Rhino vs 3D Printers: Why Your Perfect Model Isn’t Printable
Rhino is fantastic at creating precise geometry. That’s exactly why architects, product designers, and jewelry designers love it. The modeling system is built on NURBS, which stands for Non-Uniform Rational B-Splines. A complicated name for something pretty simple: mathematically perfect curves and surfaces.
If you draw a circle in Rhino, it’s not made from segments. It’s a true curve defined by an equation. Same thing with surfaces. They remain smooth no matter how close you zoom in.
3D printers don’t work like that.
Printers need polygon meshes. Instead of smooth mathematical surfaces, a mesh represents objects using thousands of small flat faces, usually triangles. Every curve becomes an approximation built from many tiny polygons.
That’s why the most common file format for 3D printing is STL. An STL file is basically a list of triangles describing the outer shell of your model.
So when you export from Rhino to STL, something important happens behind the scenes.
Rhino converts your NURBS surfaces into a mesh.
Sometimes that conversion is perfect. Other times… not so much.
I’ve seen cases where a beautifully smooth Rhino model turns into a messy mesh full of tiny gaps or flipped faces. And the frustrating part is that you won’t always see those issues inside Rhino unless you know where to look.
There’s also a balancing act involved.
If the mesh is too coarse, curves will look faceted and you’ll see flat edges in your print. Think of a cylinder that suddenly looks like a hexagon.
If the mesh is too dense, the file becomes huge. Tens of millions of triangles. That can slow down slicers, crash software, or make edits painfully slow.
Most people only discover this the hard way after exporting their first STL.
In my experience, learning how Rhino converts NURBS to meshes is one of the biggest turning points for designers who want reliable prints. Once you understand that step, many common printing problems suddenly make sense.
If you are comparing modeling tools for design or 3D printing workflows, you can read our detailed comparison of Blender vs Rhino here.
The Most Important Rule: Your Model Must Be Watertight
If there’s one rule that saves more failed prints than anything else, it’s this:
Your model must be watertight.
In Rhino terms, that means your object should be a closed polysurface. No gaps. No missing faces. No exposed edges.
Think of it like a real object sitting on your desk. If you filled it with water, nothing would leak out. That’s essentially what “watertight” geometry means in 3D printing.
The problem is that Rhino can display objects that look solid even when they aren’t.
A surface model might appear perfectly fine in the viewport. Shaded mode hides a lot of small problems. But underneath, there might be tiny open edges that prevent the object from being interpreted as a solid volume.
And printers need a solid volume.
The slicer has to understand what’s inside and what’s outside so it can generate layers correctly. If the geometry is open, the software may guess incorrectly. That’s when you get strange results like missing walls or random holes.
Rhino actually gives you several tools to catch these problems.

One of the most useful is ShowEdges. When you run the command and enable the naked edges option, Rhino highlights any open edges in bright colors. If you see lines appearing on your supposedly solid model, that’s a sign something needs fixing.
Another quick check is simply selecting the object. Rhino will tell you in the command line whether the geometry is an open polysurface or a closed polysurface. You want the second one.
I’ve seen prints fail because of a gap smaller than a tenth of a millimeter. Completely invisible unless you inspect the model closely.
Annoying, yes. But once you get used to checking for naked edges before exporting, you’ll avoid a huge percentage of early printing failures.
If you are still choosing hardware for your workflow, you can explore some of the best 3D printers in 2026 here.
Units, Scale, and Tolerances
Here’s a mistake almost every Rhino user makes at least once.
You export the STL, load it into your slicer… and the model is either the size of a house or smaller than a grain of rice.
That’s a unit problem.
Rhino lets you work in almost any unit system. Millimeters, centimeters, inches, meters. It’s flexible, which is great for design work. But 3D printers and slicers usually expect millimeters by default.
If your Rhino file is set to inches and your slicer assumes millimeters, your model suddenly becomes 25.4 times smaller than intended. Not ideal.
So before doing anything else, check your file settings.
Go to File → Properties → Units and confirm what unit system the model is using. For most 3D printing workflows, millimeters are the safest choice.

Now let’s talk about something slightly more subtle: tolerances.
Rhino’s modeling tolerance determines how accurately surfaces join and how precisely geometry is calculated. If the tolerance is too loose, Rhino may treat edges as joined even when tiny gaps exist.
And those gaps can cause real trouble when converting to meshes for printing.
A common rule many manufacturing workflows follow is simple:
Set Rhino’s tolerance roughly ten times smaller than the printer’s tolerance.
For example:
Typical FDM printer accuracy: about 0.1 mm
Recommended Rhino tolerance: around 0.01 mm
That level of precision helps Rhino generate cleaner meshes and more reliable solids.
Do you always need to think about this? Not necessarily.
But if you’re working on mechanical parts, tight fits, or models with lots of small details, tolerance settings start to matter a lot. Ignore them, and weird geometry issues tend to show up later during export or slicing.
Convert NURBS to Mesh
Most Rhino users export directly to STL and call it a day.
Technically that works. Rhino will automatically convert your NURBS surfaces into a mesh during export. But here’s the catch. You don’t get much control over what that mesh actually looks like.
And that mesh is what the printer will use.
In my experience, it’s often better to generate the mesh yourself first. That way you can inspect it before the file ever reaches a slicer.
The command is simple: Mesh.
Select your object, run the command, and Rhino will ask how the mesh should be created. You can use preset options, but most of the time I recommend choosing Detailed Controls so you understand what’s happening.
A few settings matter more than the others.
Maximum distance edge to surface controls how closely the mesh follows the original NURBS geometry. Smaller values produce smoother results but increase triangle count.
Maximum angle controls how sharply the mesh can bend between triangles. Lower values create smoother curved surfaces.
Maximum edge length limits how large individual triangles can become.
The goal isn’t to crank everything to the smallest possible number. That’s a common beginner instinct. The result is often a mesh with millions of triangles that slows down everything from slicing to file sharing.
Instead, aim for balance.
For most desktop printers, a tolerance somewhere around 0.01–0.1 mm produces good results. Curved surfaces stay smooth while file sizes remain manageable.
Once the mesh is generated, switch to FlatShade or Rendered mode and inspect the model. Rotate it. Zoom in. Look for obvious faceting or strange shading.
If something looks wrong here, it will definitely look wrong when printed.
Taking a minute to create and check the mesh manually might feel like an extra step. In reality, it’s one of the easiest ways to avoid printing surprises later.
Inspecting the Mesh Before Export
Once your mesh is generated, don’t rush to export it yet.
This is the moment where you can catch problems that would otherwise show up halfway through a print. And fixing them now takes seconds instead of hours.
Start with a simple visual check.
Switch Rhino to FlatShade or Rendered mode and rotate the model slowly. If you notice strange shading, sharp triangles where smooth curves should be, or surfaces that look slightly broken, something probably went wrong during mesh creation.
But visual inspection only goes so far. Rhino also includes a few commands that make mesh problems easier to spot.
One of the most useful is CheckMesh. This command analyzes the mesh and reports issues like non-manifold edges, degenerate faces, or other geometry errors that slicers often struggle with.
Another helpful command is SelNakedMeshEdgePt. If Rhino highlights points along the mesh boundary, that means the mesh isn’t closed. In other words, your object still has holes.

That’s a problem for 3D printing.
A proper printable mesh should be closed and manifold, meaning every edge belongs to exactly two faces and the object forms a sealed volume.
Flipped normals are another issue that sometimes appears. Normals determine which direction a face is pointing. If they flip inward, slicers may treat parts of the model as empty space.
Rhino can usually fix this quickly using the UnifyMeshNormals command.
I’ve seen models that looked perfectly fine in the viewport but had dozens of tiny mesh errors underneath. Most slicers try to repair these automatically, but the results can be unpredictable.
Spending a minute inspecting the mesh in Rhino gives you far more control over the final print.
Wall Thickness, Overhangs, and Other Design Constraints
Here’s something Rhino won’t warn you about.
You can design shapes that look perfectly valid in the software but are physically impossible to print.
Rhino is a modeling tool. It doesn’t really care about gravity, material strength, or how a printer builds objects layer by layer. That responsibility falls on the designer.
One of the most common issues is wall thickness.
If a wall is too thin, the printer either won’t generate toolpaths or the printed part will come out fragile and inconsistent. I’ve seen beautiful Rhino models where half the surfaces simply disappeared in the slicer preview because they were thinner than the printer could handle.
As a rough starting point:
FDM printers usually need walls around 1.2–2 mm thick
SLA or resin printers can go thinner, often around 0.8–1 mm
These numbers vary by machine and material, but they’re good sanity checks.
Another design constraint is overhangs.
Most printers build objects layer by layer from the bottom up. When geometry extends outward without support underneath, the printer ends up depositing material in mid-air. Sometimes that works for small angles, but beyond a certain point the layers start sagging.
A common rule in FDM printing is the 45-degree guideline. If an overhang exceeds roughly 45 degrees, it will likely need supports.
Then there’s hollow models, which many designers use to save material. That’s fine, but if you’re working with resin printers you’ll often need drain holes so uncured resin can escape from the inside.
These are the kinds of details that don’t show up while modeling. Everything looks perfect in Rhino.
But once the file reaches a slicer and becomes a physical object, those constraints suddenly matter a lot.
The more you think about manufacturability while modeling, the fewer surprises you’ll face later.
Exporting STL Without Destroying Your Model
Once your mesh looks clean and the geometry checks out, exporting the STL should be straightforward.
But this is another step where small decisions can quietly affect the final result.
The workflow is simple.
Select the object you want to print. Then go to File → Export Selected and choose STL as the file format. Exporting only the selected object helps avoid accidentally including construction geometry, reference curves, or other objects that don’t belong in the print.
Rhino will then ask how the mesh should be generated for the STL file.
If you already created and inspected your mesh earlier, Rhino can simply use that. Otherwise, you’ll see the same mesh settings we talked about before. This is where people sometimes create unnecessarily heavy files by pushing every value to the extreme.
You usually don’t need millions of triangles for a clean print.
For most desktop printers, a mesh tolerance somewhere around 0.01–0.02 mm works well. It keeps curved surfaces smooth without producing enormous STL files.
You’ll also see an option between Binary and ASCII STL formats.
Choose Binary.
Binary files are dramatically smaller and load faster in slicers. ASCII STL files are mostly used for debugging or specialized workflows and can become massive for complex models.
After export, the next step isn’t printing yet.
Always open the STL inside your slicer and inspect it. That preview will tell you quickly whether the geometry translated correctly from Rhino to the printable mesh.
If you are curious how mesh-based workflows work in other modeling tools, you can also explore how to use Blender for 3D printing here.
Checking the STL in a Slicer
Once the STL is exported, open it in your slicer before you even think about pressing print.
This step sounds obvious, but a lot of people skip it. They export from Rhino, drop the file into the printer queue, and assume everything translated perfectly. Sometimes it does. Sometimes it doesn’t.
The slicer preview is your last safety check.
Tools like Cura, PrusaSlicer, Lychee, or PreForm will immediately show how the printer interprets your model. If something went wrong during export, it usually becomes obvious here.
The first thing to check is scale.
Does the model appear at the expected size? If a 100 mm object suddenly loads as 3.9 mm or 2540 mm, you’re looking at a unit mismatch somewhere between Rhino and the slicer.
Next, look closely at the geometry.
Rotate the model in the preview window and scan for missing walls, strange gaps, or surfaces that seem to vanish when slicing begins. Most slicers also show a layer-by-layer preview, which is incredibly useful. You can literally see how each layer will be built.
If the layers look broken or incomplete, the STL likely has mesh issues.
Orientation matters too. A model that prints perfectly when rotated one way might require tons of supports when rotated another way. Spending a minute adjusting orientation here can save hours of printing time and material.
In short, the slicer preview is your reality check. Rhino shows the design. The slicer shows how the printer actually understands it.
Mistakes I See Rhino Users Make All the Time
After watching a lot of Rhino users move into 3D printing, I’ve noticed the same mistakes popping up again and again.
None of them are complicated. But they quietly cause a surprising number of failed prints.
The first one is modeling with open surfaces.
Rhino makes it very easy to build beautiful surface models that aren’t actually solids. For rendering or visualization that’s perfectly fine. For 3D printing, it’s a problem. Printers need closed volumes. If the geometry isn’t sealed, slicers start guessing. And slicers are not always good at guessing.
Another common one is exporting directly from NURBS without inspecting the mesh.
Rhino will happily generate an STL for you, but that doesn’t mean the mesh is clean. Small problems can sneak in during the conversion. When designers take a minute to generate and inspect the mesh themselves, they catch most of these issues early.
Then there’s the opposite problem: overly dense meshes.
I’ve opened STL files that contained 20 or 30 million triangles for objects that could have printed perfectly with a fraction of that. The slicer slows down. File transfers become painful. And sometimes the software crashes before slicing even finishes.
More triangles don’t automatically mean better prints.
Another mistake is ignoring units and tolerances. The model looks correct in Rhino, but when it reaches the slicer it’s either microscopic or enormous. It’s a small setting that causes big confusion.
None of these mistakes are unusual. Most of us make them at least once.
The good news is that once you build a habit of checking meshes, verifying scale, and making sure geometry is watertight, your print success rate improves dramatically.
When Rhino Gets Heavy
At some point, many Rhino users hit a different kind of problem.
The model works. The geometry is clean. The mesh looks good. But the file itself starts getting… heavy.
This usually happens when projects become more complex. Maybe you're working with a large assembly. Maybe you're generating geometry through Grasshopper. Or maybe you're preparing a high-resolution mesh for a detailed print.
Suddenly Rhino starts slowing down.
Orbiting the viewport lags. Mesh generation takes longer than expected. Exporting an STL becomes a several-minute process. If you’ve ever watched Rhino freeze while processing a dense model, you know the feeling.
It’s not unusual, especially when meshes start reaching millions of polygons.
I’ve seen this happen a lot with designers creating sculpture models, architectural prototypes, or intricate product parts. The geometry itself isn’t wrong. It’s just demanding more computing power than a typical laptop is comfortable with.
So people develop workarounds.
Some reduce mesh density and accept slightly lower resolution. Others split models into smaller pieces. Some designers move heavy operations like meshing or rendering to a more powerful workstation.
There’s also another approach that’s becoming more common lately.
Instead of upgrading hardware every time projects become more demanding, some designers run Rhino on cloud workstations. The idea is simple: the heavy computation happens on a powerful remote machine, while you access it from almost any device.
For complex models, large assemblies, or detailed meshes, that extra power can make a noticeable difference in how smoothly the workflow runs.
Running Rhino for 3D Printing on Vagon Cloud Computer
Eventually many Rhino users run into the same issue. The workflow is fine. The geometry is correct. But the computer starts struggling.
It usually happens when models get heavier. High resolution meshes, complex Grasshopper definitions, or detailed printable models can push Rhino pretty hard. Generating meshes with millions of polygons or exporting large STL files isn’t always friendly to a typical laptop.
I’ve seen designers wait several minutes just for Rhino to process a mesh.
That’s where Vagon Cloud Computer becomes genuinely useful.
Instead of relying on your local machine, you run Rhino on a powerful cloud workstation through Vagon. The Rhino session actually runs on a high performance remote computer, while you access it from your browser or a lightweight device.
So the heavy work like mesh generation, STL exports, or large assemblies happens on hardware that’s built for it.
The nice part is that the experience still feels familiar. You open Rhino, load your project, and continue working as usual. The difference is that you’re no longer limited by your laptop’s CPU or GPU.
This becomes especially helpful when working with:
high resolution meshes for detailed prints
large Rhino scenes or assemblies
computationally heavy Grasshopper models
collaborative workflows where files move between devices
Instead of upgrading hardware every time projects grow in complexity, many designers simply move the heavy part of the workflow to the cloud. For Rhino users dealing with dense geometry and large print files, that shift can make the whole process feel much smoother.
The Real Skill Isn’t Modeling. It’s Preparing Geometry
When people start using Rhino for 3D printing, they usually focus on modeling first.
That makes sense. Modeling is the visible part of the work. It’s where the design takes shape. The curves, the surfaces, the form of the object.
But after a while, most designers realize something.
The difference between a failed print and a perfect one usually isn’t the design. It’s the geometry preparation that happens afterward.
Making sure the model is watertight.
Checking mesh quality.
Setting correct units and tolerances.
Inspecting the STL before sending it to the printer.
Those small steps often matter more than the modeling itself.
Once you get into the habit of doing them, Rhino becomes a very reliable tool for 3D printing. The workflow stops feeling unpredictable. Prints start succeeding more consistently.
And when your projects grow larger or more complex, tools like Vagon Cloud Computer can help keep the process smooth by giving Rhino the computing power it sometimes needs.
At the end of the day, good 3D printing isn’t just about creating shapes. It’s about preparing those shapes so a real machine can build them layer by layer.
If you are exploring how other design tools compare in modeling workflows, you can check our guide on AutoCAD vs Blender here.
FAQs
1. Can Rhino3D be used for 3D printing?
Yes, Rhino is widely used for 3D printing, especially in product design, architecture, and jewelry. The main thing to understand is that Rhino models are built using NURBS geometry, while printers require mesh files, usually STL. Before printing, your Rhino model needs to be converted into a clean mesh. As long as the geometry is watertight, properly scaled, and exported correctly, Rhino works very reliably for 3D printing.
2. What file format should I export from Rhino for 3D printing?
The most common format is STL. STL files describe objects using thousands of small triangles, which makes them easy for slicers to process. In Rhino you can export using File → Export Selected → STL. When asked to choose a format, Binary STL is usually the best option because it creates smaller files and loads faster in slicers.
3. Why does my Rhino model look fine but fail in the slicer?
This usually happens because of hidden geometry issues. Rhino can display objects that appear solid even when there are tiny gaps, open edges, or mesh errors. When the model is converted to a mesh and opened in a slicer, those problems become visible. Running commands like ShowEdges, Check, or CheckMesh before exporting helps catch these issues early.
4. How dense should the mesh be when exporting STL?
The mesh should be dense enough to keep curves smooth but not so dense that the file becomes huge. For most desktop printers, a mesh tolerance around 0.01–0.02 mm works well. Higher densities usually increase file size without improving print quality.
5. Can Rhino handle complex models on a laptop?
For small models, yes. But detailed meshes or large scenes can slow things down. That’s why some designers run Rhino on Vagon Cloud Computer, which provides powerful cloud workstations that handle heavy geometry and large print files more comfortably.
Most Rhino users remember their first failed print.
You build a model that looks perfect on screen. Smooth curves. Clean surfaces. Everything joins nicely. You export the file, load it into your slicer, start the print, and wait.
A few hours later you come back to something… strange. Maybe the model has holes. Maybe a surface disappeared. Sometimes half the object simply doesn’t exist in the preview.
The confusing part? The model looked completely fine in Rhino.
What’s happening here is simpler than it seems. Rhino and 3D printers speak two different geometric languages.
Rhino models are built using NURBS surfaces, which describe curves mathematically. That’s why Rhino geometry stays perfectly smooth even when you zoom in close.
3D printers don’t understand NURBS. They work with polygon meshes, usually exported as STL files, where shapes are made from thousands of tiny triangles.
That translation step is where problems begin.
Here’s the thing many tutorials skip: successful 3D printing in Rhino isn’t mostly about modeling. It’s about preparing your geometry correctly.
Rhino vs 3D Printers: Why Your Perfect Model Isn’t Printable
Rhino is fantastic at creating precise geometry. That’s exactly why architects, product designers, and jewelry designers love it. The modeling system is built on NURBS, which stands for Non-Uniform Rational B-Splines. A complicated name for something pretty simple: mathematically perfect curves and surfaces.
If you draw a circle in Rhino, it’s not made from segments. It’s a true curve defined by an equation. Same thing with surfaces. They remain smooth no matter how close you zoom in.
3D printers don’t work like that.
Printers need polygon meshes. Instead of smooth mathematical surfaces, a mesh represents objects using thousands of small flat faces, usually triangles. Every curve becomes an approximation built from many tiny polygons.
That’s why the most common file format for 3D printing is STL. An STL file is basically a list of triangles describing the outer shell of your model.
So when you export from Rhino to STL, something important happens behind the scenes.
Rhino converts your NURBS surfaces into a mesh.
Sometimes that conversion is perfect. Other times… not so much.
I’ve seen cases where a beautifully smooth Rhino model turns into a messy mesh full of tiny gaps or flipped faces. And the frustrating part is that you won’t always see those issues inside Rhino unless you know where to look.
There’s also a balancing act involved.
If the mesh is too coarse, curves will look faceted and you’ll see flat edges in your print. Think of a cylinder that suddenly looks like a hexagon.
If the mesh is too dense, the file becomes huge. Tens of millions of triangles. That can slow down slicers, crash software, or make edits painfully slow.
Most people only discover this the hard way after exporting their first STL.
In my experience, learning how Rhino converts NURBS to meshes is one of the biggest turning points for designers who want reliable prints. Once you understand that step, many common printing problems suddenly make sense.
If you are comparing modeling tools for design or 3D printing workflows, you can read our detailed comparison of Blender vs Rhino here.
The Most Important Rule: Your Model Must Be Watertight
If there’s one rule that saves more failed prints than anything else, it’s this:
Your model must be watertight.
In Rhino terms, that means your object should be a closed polysurface. No gaps. No missing faces. No exposed edges.
Think of it like a real object sitting on your desk. If you filled it with water, nothing would leak out. That’s essentially what “watertight” geometry means in 3D printing.
The problem is that Rhino can display objects that look solid even when they aren’t.
A surface model might appear perfectly fine in the viewport. Shaded mode hides a lot of small problems. But underneath, there might be tiny open edges that prevent the object from being interpreted as a solid volume.
And printers need a solid volume.
The slicer has to understand what’s inside and what’s outside so it can generate layers correctly. If the geometry is open, the software may guess incorrectly. That’s when you get strange results like missing walls or random holes.
Rhino actually gives you several tools to catch these problems.
One of the most useful is ShowEdges. When you run the command and enable the naked edges option, Rhino highlights any open edges in bright colors. If you see lines appearing on your supposedly solid model, that’s a sign something needs fixing.
Another quick check is simply selecting the object. Rhino will tell you in the command line whether the geometry is an open polysurface or a closed polysurface. You want the second one.
I’ve seen prints fail because of a gap smaller than a tenth of a millimeter. Completely invisible unless you inspect the model closely.
Annoying, yes. But once you get used to checking for naked edges before exporting, you’ll avoid a huge percentage of early printing failures.
If you are still choosing hardware for your workflow, you can explore some of the best 3D printers in 2026 here.
Units, Scale, and Tolerances
Here’s a mistake almost every Rhino user makes at least once.
You export the STL, load it into your slicer… and the model is either the size of a house or smaller than a grain of rice.
That’s a unit problem.
Rhino lets you work in almost any unit system. Millimeters, centimeters, inches, meters. It’s flexible, which is great for design work. But 3D printers and slicers usually expect millimeters by default.
If your Rhino file is set to inches and your slicer assumes millimeters, your model suddenly becomes 25.4 times smaller than intended. Not ideal.
So before doing anything else, check your file settings.
Go to File → Properties → Units and confirm what unit system the model is using. For most 3D printing workflows, millimeters are the safest choice.
Now let’s talk about something slightly more subtle: tolerances.
Rhino’s modeling tolerance determines how accurately surfaces join and how precisely geometry is calculated. If the tolerance is too loose, Rhino may treat edges as joined even when tiny gaps exist.
And those gaps can cause real trouble when converting to meshes for printing.
A common rule many manufacturing workflows follow is simple:
Set Rhino’s tolerance roughly ten times smaller than the printer’s tolerance.
For example:
Typical FDM printer accuracy: about 0.1 mm
Recommended Rhino tolerance: around 0.01 mm
That level of precision helps Rhino generate cleaner meshes and more reliable solids.
Do you always need to think about this? Not necessarily.
But if you’re working on mechanical parts, tight fits, or models with lots of small details, tolerance settings start to matter a lot. Ignore them, and weird geometry issues tend to show up later during export or slicing.
Convert NURBS to Mesh
Most Rhino users export directly to STL and call it a day.
Technically that works. Rhino will automatically convert your NURBS surfaces into a mesh during export. But here’s the catch. You don’t get much control over what that mesh actually looks like.
And that mesh is what the printer will use.
In my experience, it’s often better to generate the mesh yourself first. That way you can inspect it before the file ever reaches a slicer.
The command is simple: Mesh.
Select your object, run the command, and Rhino will ask how the mesh should be created. You can use preset options, but most of the time I recommend choosing Detailed Controls so you understand what’s happening.
A few settings matter more than the others.
Maximum distance edge to surface controls how closely the mesh follows the original NURBS geometry. Smaller values produce smoother results but increase triangle count.
Maximum angle controls how sharply the mesh can bend between triangles. Lower values create smoother curved surfaces.
Maximum edge length limits how large individual triangles can become.
The goal isn’t to crank everything to the smallest possible number. That’s a common beginner instinct. The result is often a mesh with millions of triangles that slows down everything from slicing to file sharing.
Instead, aim for balance.
For most desktop printers, a tolerance somewhere around 0.01–0.1 mm produces good results. Curved surfaces stay smooth while file sizes remain manageable.
Once the mesh is generated, switch to FlatShade or Rendered mode and inspect the model. Rotate it. Zoom in. Look for obvious faceting or strange shading.
If something looks wrong here, it will definitely look wrong when printed.
Taking a minute to create and check the mesh manually might feel like an extra step. In reality, it’s one of the easiest ways to avoid printing surprises later.
Inspecting the Mesh Before Export
Once your mesh is generated, don’t rush to export it yet.
This is the moment where you can catch problems that would otherwise show up halfway through a print. And fixing them now takes seconds instead of hours.
Start with a simple visual check.
Switch Rhino to FlatShade or Rendered mode and rotate the model slowly. If you notice strange shading, sharp triangles where smooth curves should be, or surfaces that look slightly broken, something probably went wrong during mesh creation.
But visual inspection only goes so far. Rhino also includes a few commands that make mesh problems easier to spot.
One of the most useful is CheckMesh. This command analyzes the mesh and reports issues like non-manifold edges, degenerate faces, or other geometry errors that slicers often struggle with.
Another helpful command is SelNakedMeshEdgePt. If Rhino highlights points along the mesh boundary, that means the mesh isn’t closed. In other words, your object still has holes.
That’s a problem for 3D printing.
A proper printable mesh should be closed and manifold, meaning every edge belongs to exactly two faces and the object forms a sealed volume.
Flipped normals are another issue that sometimes appears. Normals determine which direction a face is pointing. If they flip inward, slicers may treat parts of the model as empty space.
Rhino can usually fix this quickly using the UnifyMeshNormals command.
I’ve seen models that looked perfectly fine in the viewport but had dozens of tiny mesh errors underneath. Most slicers try to repair these automatically, but the results can be unpredictable.
Spending a minute inspecting the mesh in Rhino gives you far more control over the final print.
Wall Thickness, Overhangs, and Other Design Constraints
Here’s something Rhino won’t warn you about.
You can design shapes that look perfectly valid in the software but are physically impossible to print.
Rhino is a modeling tool. It doesn’t really care about gravity, material strength, or how a printer builds objects layer by layer. That responsibility falls on the designer.
One of the most common issues is wall thickness.
If a wall is too thin, the printer either won’t generate toolpaths or the printed part will come out fragile and inconsistent. I’ve seen beautiful Rhino models where half the surfaces simply disappeared in the slicer preview because they were thinner than the printer could handle.
As a rough starting point:
FDM printers usually need walls around 1.2–2 mm thick
SLA or resin printers can go thinner, often around 0.8–1 mm
These numbers vary by machine and material, but they’re good sanity checks.
Another design constraint is overhangs.
Most printers build objects layer by layer from the bottom up. When geometry extends outward without support underneath, the printer ends up depositing material in mid-air. Sometimes that works for small angles, but beyond a certain point the layers start sagging.
A common rule in FDM printing is the 45-degree guideline. If an overhang exceeds roughly 45 degrees, it will likely need supports.
Then there’s hollow models, which many designers use to save material. That’s fine, but if you’re working with resin printers you’ll often need drain holes so uncured resin can escape from the inside.
These are the kinds of details that don’t show up while modeling. Everything looks perfect in Rhino.
But once the file reaches a slicer and becomes a physical object, those constraints suddenly matter a lot.
The more you think about manufacturability while modeling, the fewer surprises you’ll face later.
Exporting STL Without Destroying Your Model
Once your mesh looks clean and the geometry checks out, exporting the STL should be straightforward.
But this is another step where small decisions can quietly affect the final result.
The workflow is simple.
Select the object you want to print. Then go to File → Export Selected and choose STL as the file format. Exporting only the selected object helps avoid accidentally including construction geometry, reference curves, or other objects that don’t belong in the print.
Rhino will then ask how the mesh should be generated for the STL file.
If you already created and inspected your mesh earlier, Rhino can simply use that. Otherwise, you’ll see the same mesh settings we talked about before. This is where people sometimes create unnecessarily heavy files by pushing every value to the extreme.
You usually don’t need millions of triangles for a clean print.
For most desktop printers, a mesh tolerance somewhere around 0.01–0.02 mm works well. It keeps curved surfaces smooth without producing enormous STL files.
You’ll also see an option between Binary and ASCII STL formats.
Choose Binary.
Binary files are dramatically smaller and load faster in slicers. ASCII STL files are mostly used for debugging or specialized workflows and can become massive for complex models.
After export, the next step isn’t printing yet.
Always open the STL inside your slicer and inspect it. That preview will tell you quickly whether the geometry translated correctly from Rhino to the printable mesh.
If you are curious how mesh-based workflows work in other modeling tools, you can also explore how to use Blender for 3D printing here.
Checking the STL in a Slicer
Once the STL is exported, open it in your slicer before you even think about pressing print.
This step sounds obvious, but a lot of people skip it. They export from Rhino, drop the file into the printer queue, and assume everything translated perfectly. Sometimes it does. Sometimes it doesn’t.
The slicer preview is your last safety check.
Tools like Cura, PrusaSlicer, Lychee, or PreForm will immediately show how the printer interprets your model. If something went wrong during export, it usually becomes obvious here.
The first thing to check is scale.
Does the model appear at the expected size? If a 100 mm object suddenly loads as 3.9 mm or 2540 mm, you’re looking at a unit mismatch somewhere between Rhino and the slicer.
Next, look closely at the geometry.
Rotate the model in the preview window and scan for missing walls, strange gaps, or surfaces that seem to vanish when slicing begins. Most slicers also show a layer-by-layer preview, which is incredibly useful. You can literally see how each layer will be built.
If the layers look broken or incomplete, the STL likely has mesh issues.
Orientation matters too. A model that prints perfectly when rotated one way might require tons of supports when rotated another way. Spending a minute adjusting orientation here can save hours of printing time and material.
In short, the slicer preview is your reality check. Rhino shows the design. The slicer shows how the printer actually understands it.
Mistakes I See Rhino Users Make All the Time
After watching a lot of Rhino users move into 3D printing, I’ve noticed the same mistakes popping up again and again.
None of them are complicated. But they quietly cause a surprising number of failed prints.
The first one is modeling with open surfaces.
Rhino makes it very easy to build beautiful surface models that aren’t actually solids. For rendering or visualization that’s perfectly fine. For 3D printing, it’s a problem. Printers need closed volumes. If the geometry isn’t sealed, slicers start guessing. And slicers are not always good at guessing.
Another common one is exporting directly from NURBS without inspecting the mesh.
Rhino will happily generate an STL for you, but that doesn’t mean the mesh is clean. Small problems can sneak in during the conversion. When designers take a minute to generate and inspect the mesh themselves, they catch most of these issues early.
Then there’s the opposite problem: overly dense meshes.
I’ve opened STL files that contained 20 or 30 million triangles for objects that could have printed perfectly with a fraction of that. The slicer slows down. File transfers become painful. And sometimes the software crashes before slicing even finishes.
More triangles don’t automatically mean better prints.
Another mistake is ignoring units and tolerances. The model looks correct in Rhino, but when it reaches the slicer it’s either microscopic or enormous. It’s a small setting that causes big confusion.
None of these mistakes are unusual. Most of us make them at least once.
The good news is that once you build a habit of checking meshes, verifying scale, and making sure geometry is watertight, your print success rate improves dramatically.
When Rhino Gets Heavy
At some point, many Rhino users hit a different kind of problem.
The model works. The geometry is clean. The mesh looks good. But the file itself starts getting… heavy.
This usually happens when projects become more complex. Maybe you're working with a large assembly. Maybe you're generating geometry through Grasshopper. Or maybe you're preparing a high-resolution mesh for a detailed print.
Suddenly Rhino starts slowing down.
Orbiting the viewport lags. Mesh generation takes longer than expected. Exporting an STL becomes a several-minute process. If you’ve ever watched Rhino freeze while processing a dense model, you know the feeling.
It’s not unusual, especially when meshes start reaching millions of polygons.
I’ve seen this happen a lot with designers creating sculpture models, architectural prototypes, or intricate product parts. The geometry itself isn’t wrong. It’s just demanding more computing power than a typical laptop is comfortable with.
So people develop workarounds.
Some reduce mesh density and accept slightly lower resolution. Others split models into smaller pieces. Some designers move heavy operations like meshing or rendering to a more powerful workstation.
There’s also another approach that’s becoming more common lately.
Instead of upgrading hardware every time projects become more demanding, some designers run Rhino on cloud workstations. The idea is simple: the heavy computation happens on a powerful remote machine, while you access it from almost any device.
For complex models, large assemblies, or detailed meshes, that extra power can make a noticeable difference in how smoothly the workflow runs.
Running Rhino for 3D Printing on Vagon Cloud Computer
Eventually many Rhino users run into the same issue. The workflow is fine. The geometry is correct. But the computer starts struggling.
It usually happens when models get heavier. High resolution meshes, complex Grasshopper definitions, or detailed printable models can push Rhino pretty hard. Generating meshes with millions of polygons or exporting large STL files isn’t always friendly to a typical laptop.
I’ve seen designers wait several minutes just for Rhino to process a mesh.
That’s where Vagon Cloud Computer becomes genuinely useful.
Instead of relying on your local machine, you run Rhino on a powerful cloud workstation through Vagon. The Rhino session actually runs on a high performance remote computer, while you access it from your browser or a lightweight device.
So the heavy work like mesh generation, STL exports, or large assemblies happens on hardware that’s built for it.
The nice part is that the experience still feels familiar. You open Rhino, load your project, and continue working as usual. The difference is that you’re no longer limited by your laptop’s CPU or GPU.
This becomes especially helpful when working with:
high resolution meshes for detailed prints
large Rhino scenes or assemblies
computationally heavy Grasshopper models
collaborative workflows where files move between devices
Instead of upgrading hardware every time projects grow in complexity, many designers simply move the heavy part of the workflow to the cloud. For Rhino users dealing with dense geometry and large print files, that shift can make the whole process feel much smoother.
The Real Skill Isn’t Modeling. It’s Preparing Geometry
When people start using Rhino for 3D printing, they usually focus on modeling first.
That makes sense. Modeling is the visible part of the work. It’s where the design takes shape. The curves, the surfaces, the form of the object.
But after a while, most designers realize something.
The difference between a failed print and a perfect one usually isn’t the design. It’s the geometry preparation that happens afterward.
Making sure the model is watertight.
Checking mesh quality.
Setting correct units and tolerances.
Inspecting the STL before sending it to the printer.
Those small steps often matter more than the modeling itself.
Once you get into the habit of doing them, Rhino becomes a very reliable tool for 3D printing. The workflow stops feeling unpredictable. Prints start succeeding more consistently.
And when your projects grow larger or more complex, tools like Vagon Cloud Computer can help keep the process smooth by giving Rhino the computing power it sometimes needs.
At the end of the day, good 3D printing isn’t just about creating shapes. It’s about preparing those shapes so a real machine can build them layer by layer.
If you are exploring how other design tools compare in modeling workflows, you can check our guide on AutoCAD vs Blender here.
FAQs
1. Can Rhino3D be used for 3D printing?
Yes, Rhino is widely used for 3D printing, especially in product design, architecture, and jewelry. The main thing to understand is that Rhino models are built using NURBS geometry, while printers require mesh files, usually STL. Before printing, your Rhino model needs to be converted into a clean mesh. As long as the geometry is watertight, properly scaled, and exported correctly, Rhino works very reliably for 3D printing.
2. What file format should I export from Rhino for 3D printing?
The most common format is STL. STL files describe objects using thousands of small triangles, which makes them easy for slicers to process. In Rhino you can export using File → Export Selected → STL. When asked to choose a format, Binary STL is usually the best option because it creates smaller files and loads faster in slicers.
3. Why does my Rhino model look fine but fail in the slicer?
This usually happens because of hidden geometry issues. Rhino can display objects that appear solid even when there are tiny gaps, open edges, or mesh errors. When the model is converted to a mesh and opened in a slicer, those problems become visible. Running commands like ShowEdges, Check, or CheckMesh before exporting helps catch these issues early.
4. How dense should the mesh be when exporting STL?
The mesh should be dense enough to keep curves smooth but not so dense that the file becomes huge. For most desktop printers, a mesh tolerance around 0.01–0.02 mm works well. Higher densities usually increase file size without improving print quality.
5. Can Rhino handle complex models on a laptop?
For small models, yes. But detailed meshes or large scenes can slow things down. That’s why some designers run Rhino on Vagon Cloud Computer, which provides powerful cloud workstations that handle heavy geometry and large print files more comfortably.
Get Beyond Your Computer Performance
Run applications on your cloud computer with the latest generation hardware. No more crashes or lags.

Trial includes 1 hour usage + 7 days of storage.
Summarize with AI

Ready to focus on your creativity?
Vagon gives you the ability to create & render projects, collaborate, and stream applications with the power of the best hardware.

Vagon Blog


Run heavy applications on any device with
your personal computer on the cloud.
San Francisco, California
Solutions
Vagon Teams
Vagon Streams
Use Cases
Resources
Vagon Blog
How to Run Audacity on a Cloud Ubuntu Desktop (2026 Guide)
How to Run Darktable on a Cloud Ubuntu Desktop for RAW Photo Editing (2026 Guide)
How to Run Kdenlive on a Cloud Ubuntu Desktop (2026 Guide)
How to Run DaVinci Resolve on Linux in the Cloud (2026 Guide)
How to Run Inkscape on a Cloud Ubuntu Desktop (2026 Guide)
How to Run Krita on a Cloud Ubuntu Desktop for Digital Painting (2026 Guide)
How to Run GIMP on a Cloud Ubuntu Desktop (2026 Guide)
How to Run Jupyter on a Cloud GPU Linux Desktop (2026 Guide)
Vagon vs GitHub Codespaces: Cloud Dev Environments Compared (2026)
Vagon Blog
Run heavy applications on any device with
your personal computer on the cloud.
San Francisco, California
Solutions
Vagon Teams
Vagon Streams
Use Cases
Resources
Vagon Blog