Instant Connection for Pixel Streaming
— New Feature Automated Setup

V-Ray Shortcuts That Actually Save Time
V-Ray Shortcuts That Actually Save Time
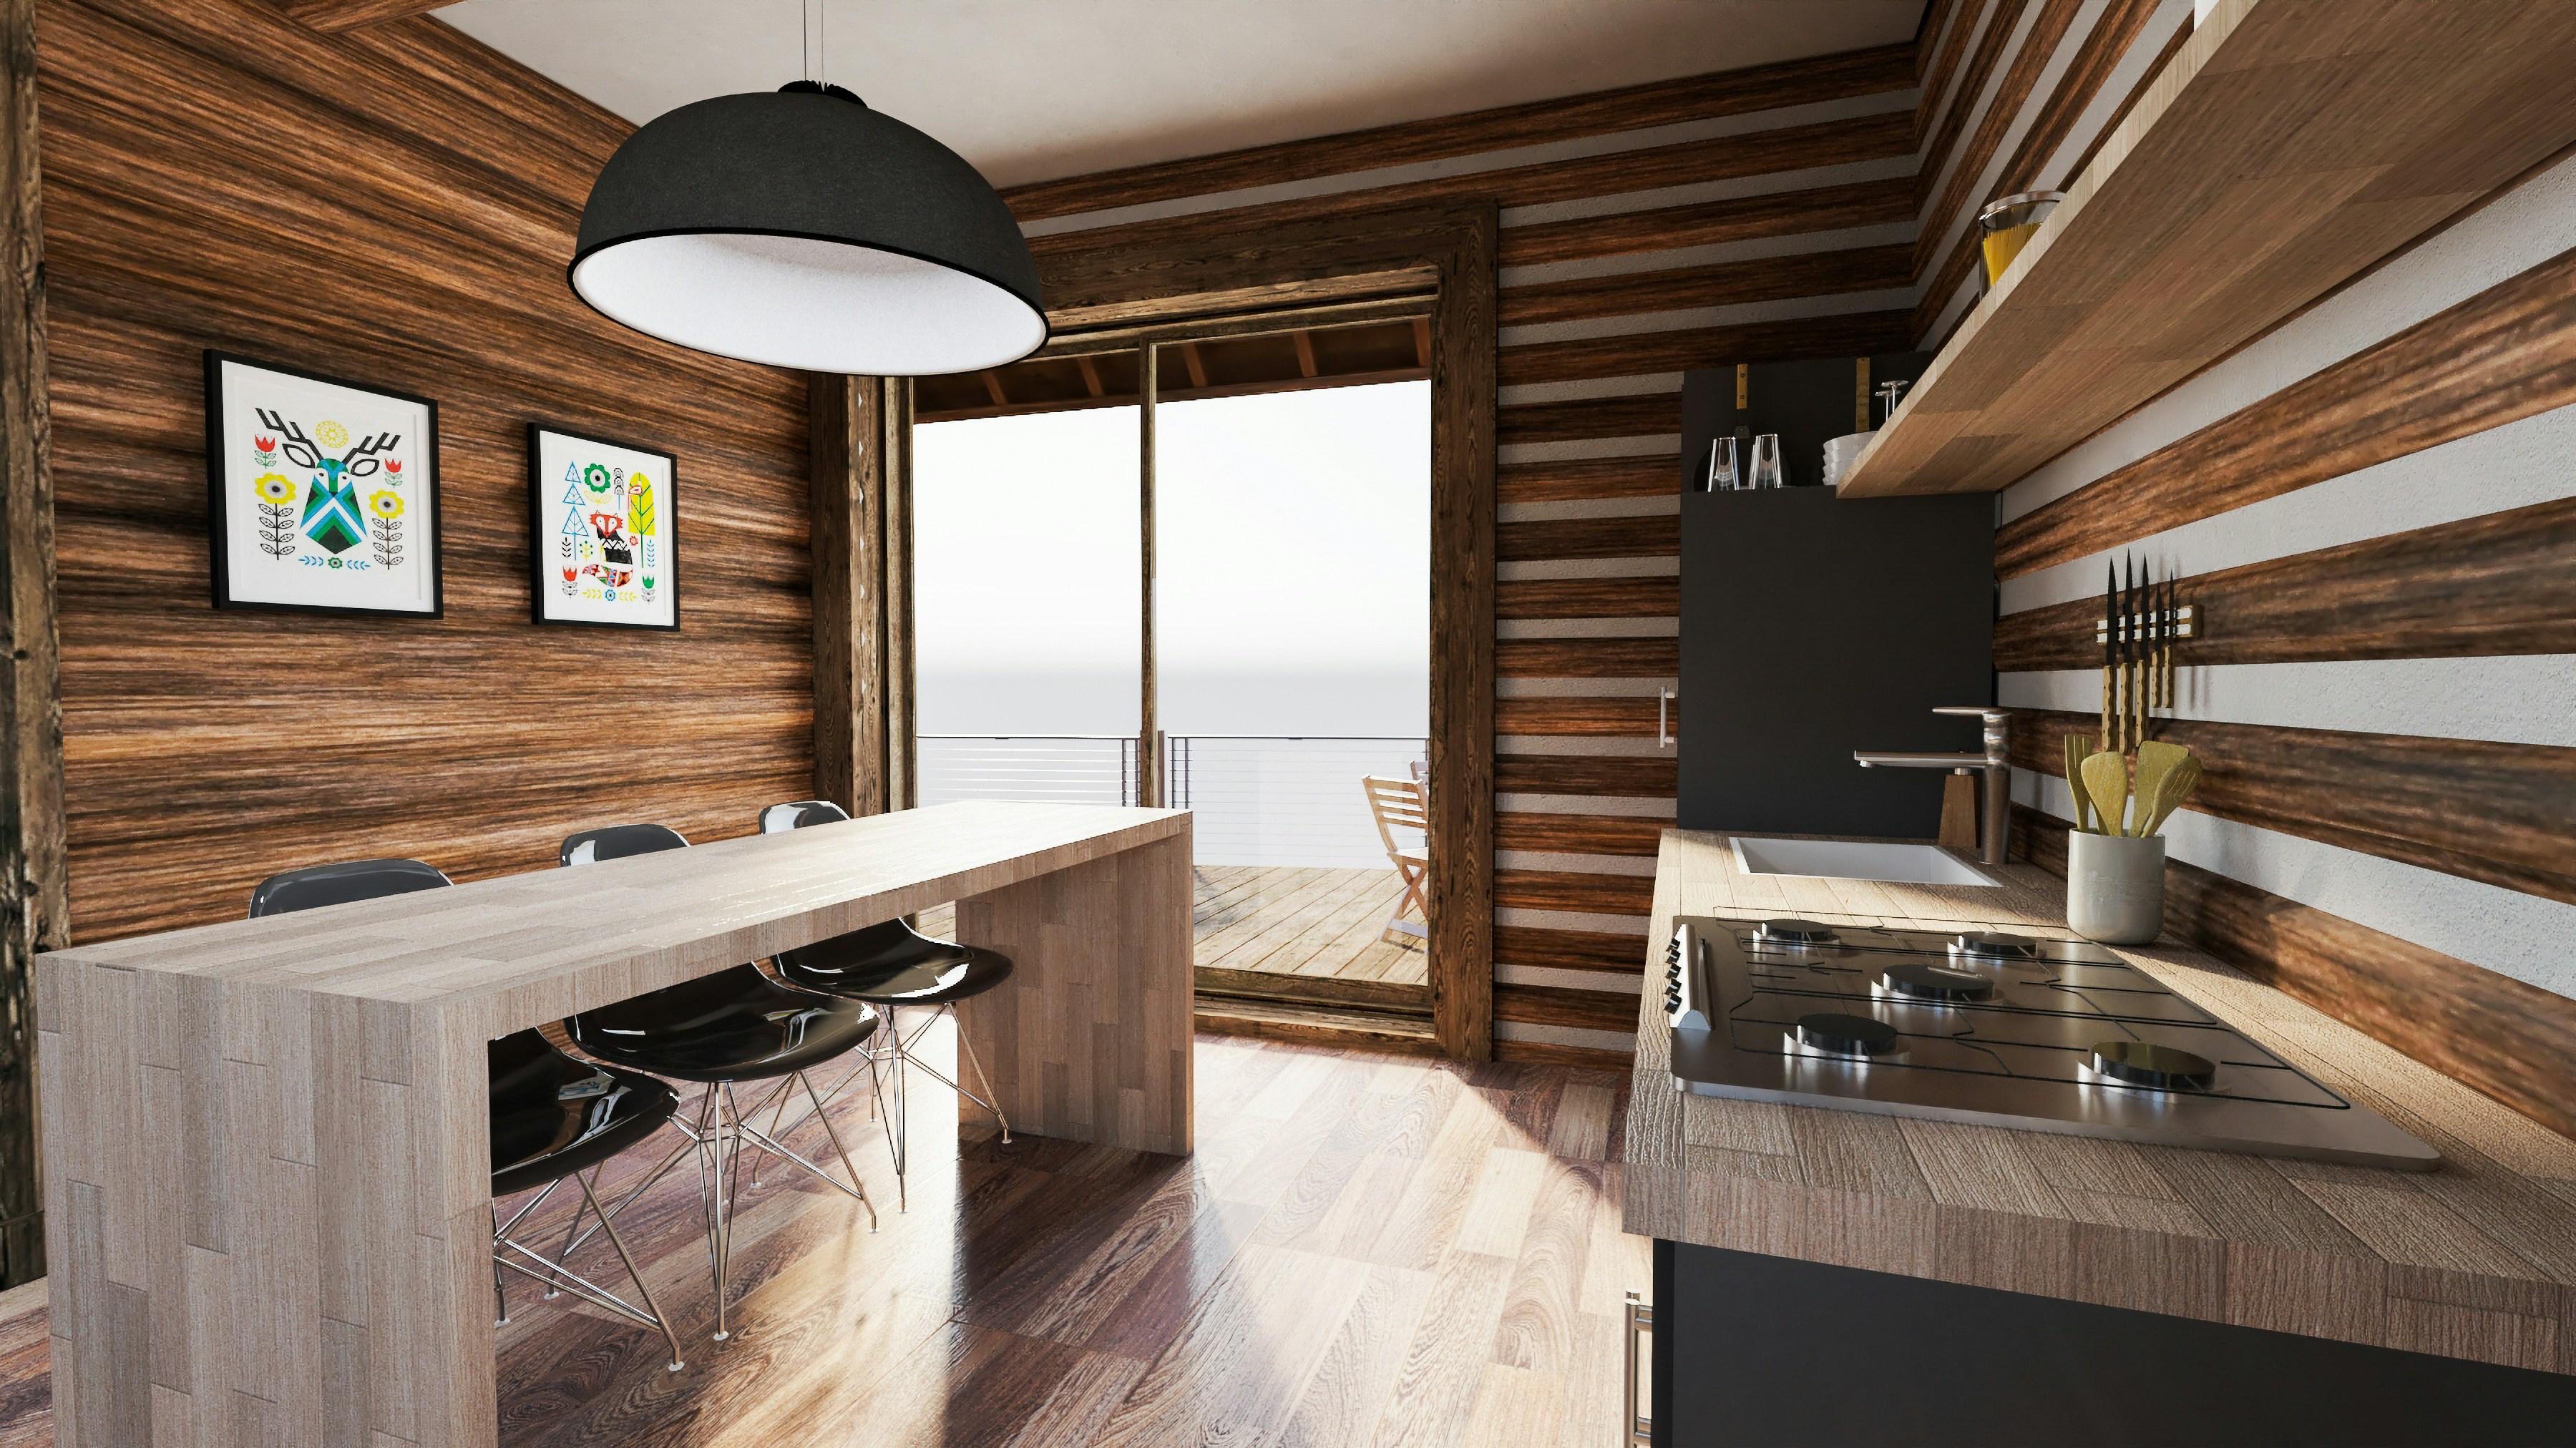
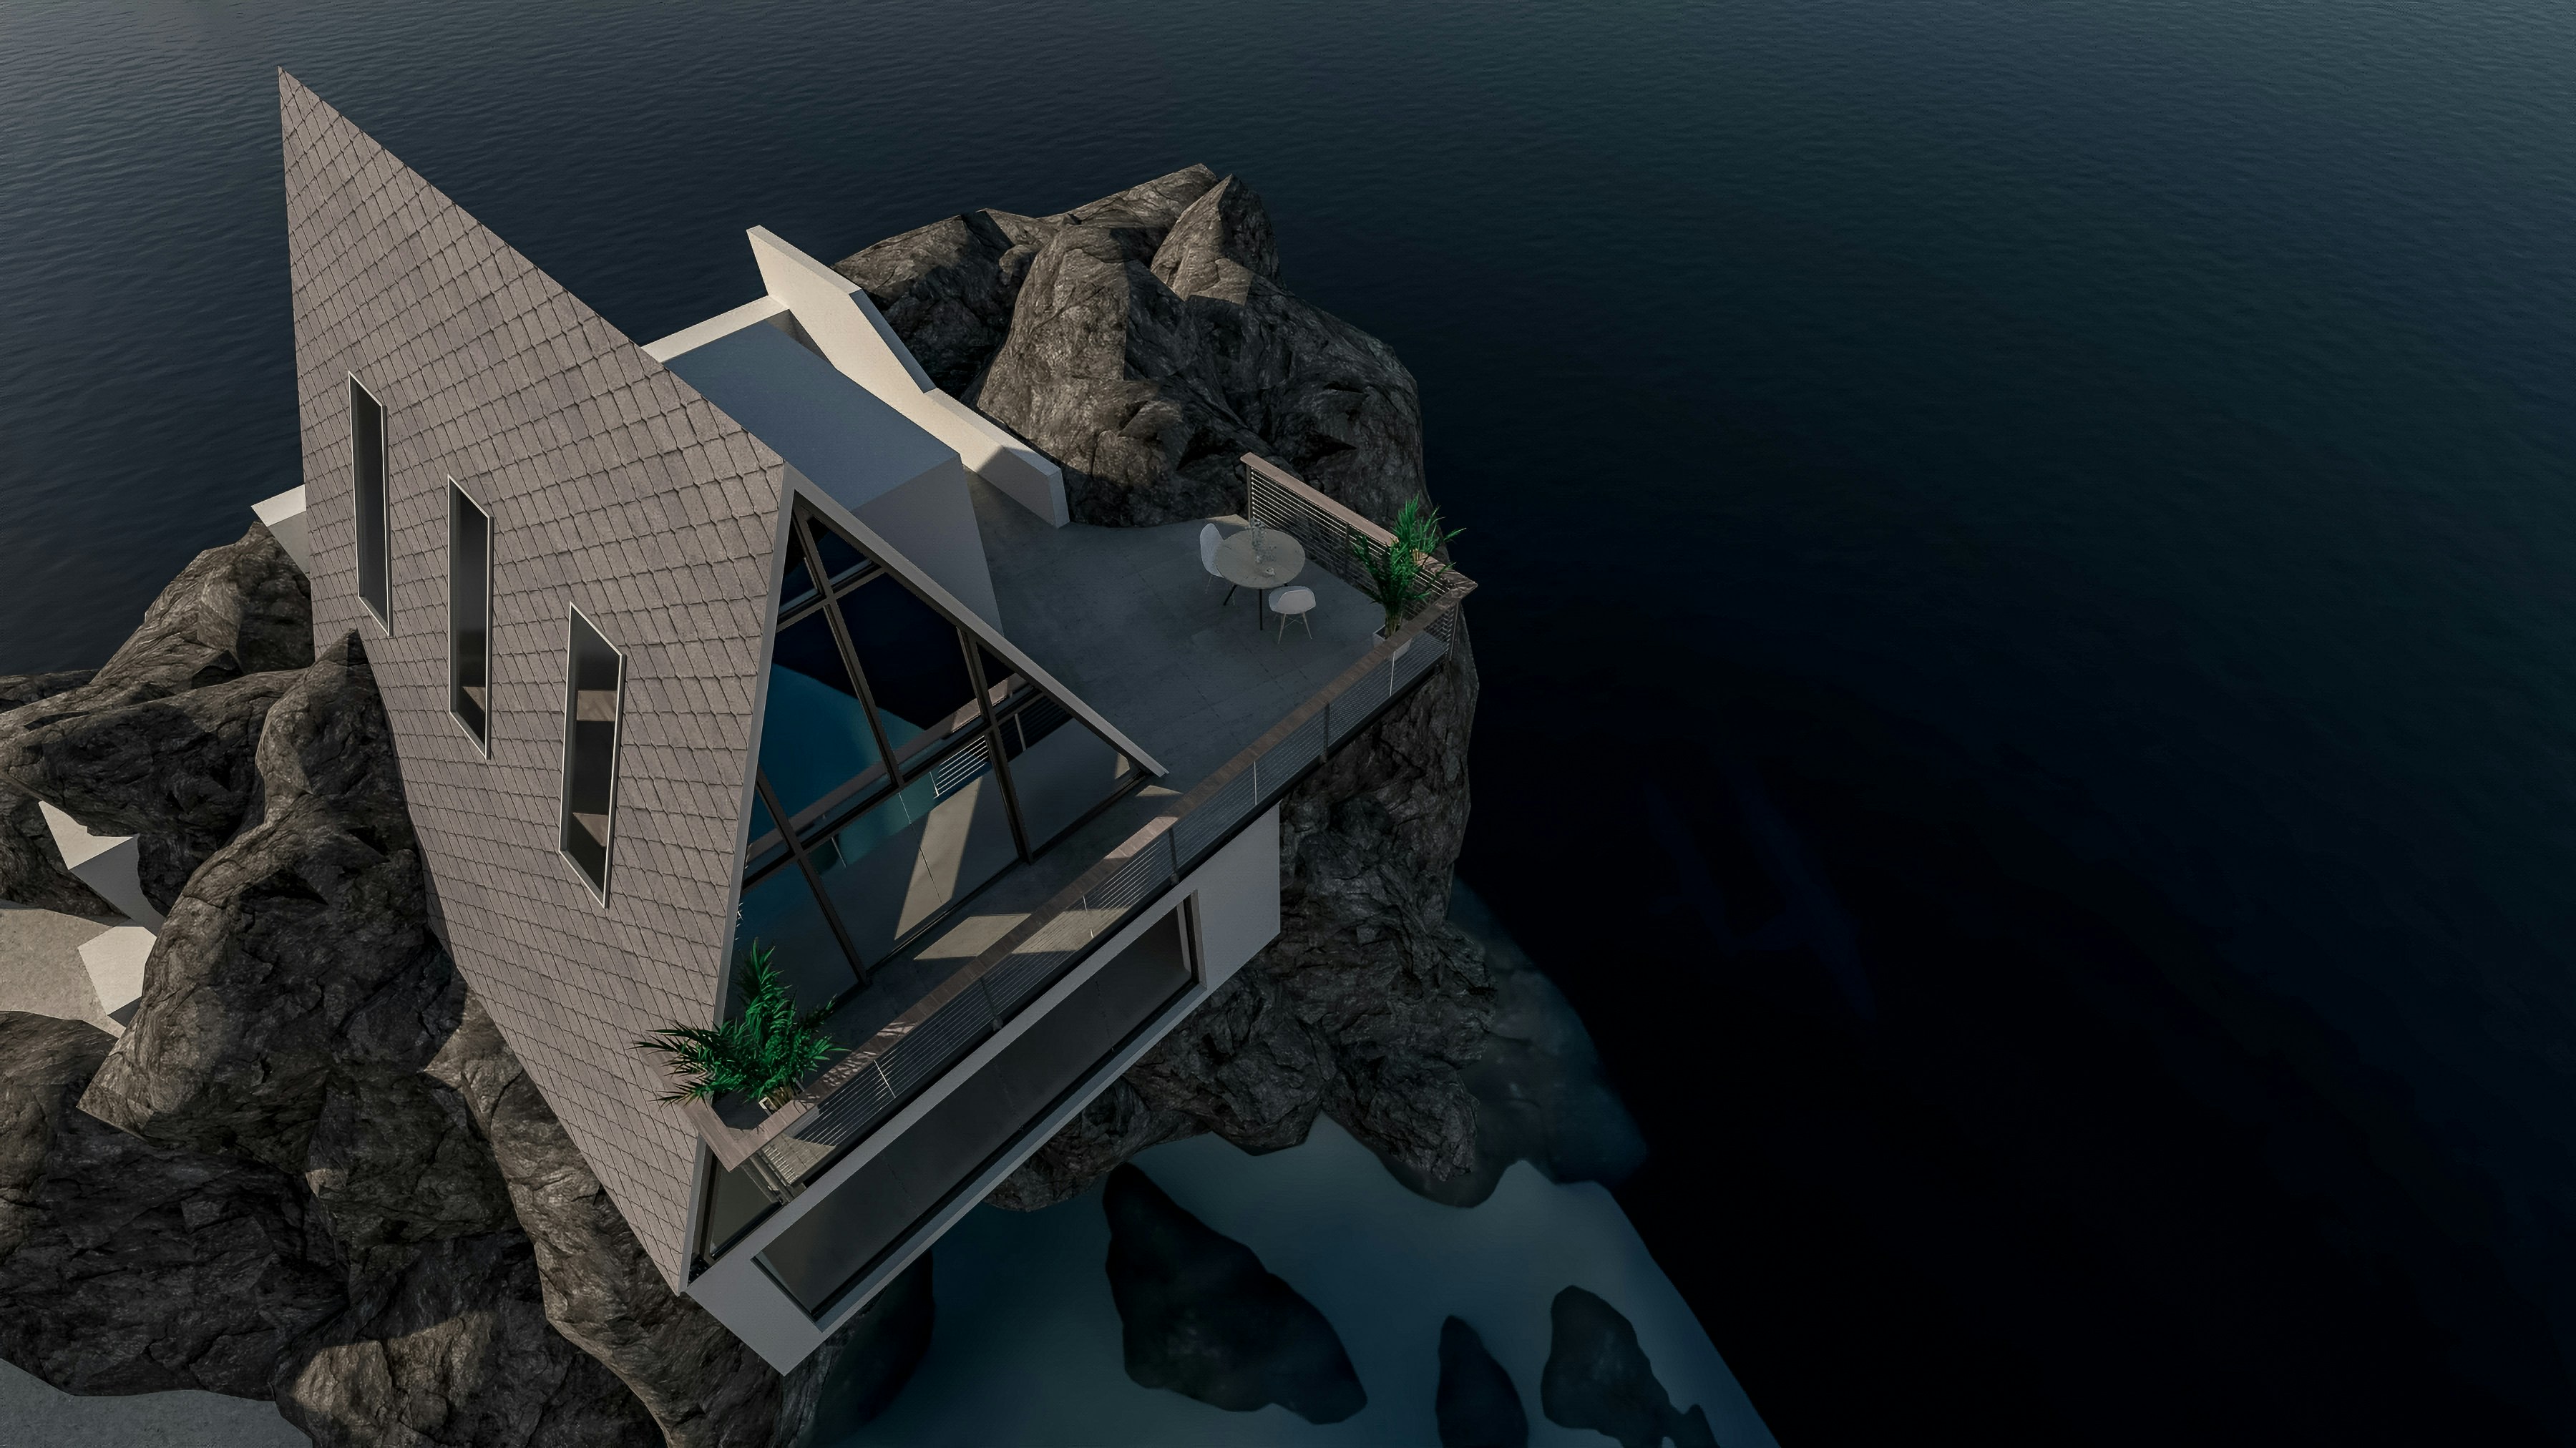
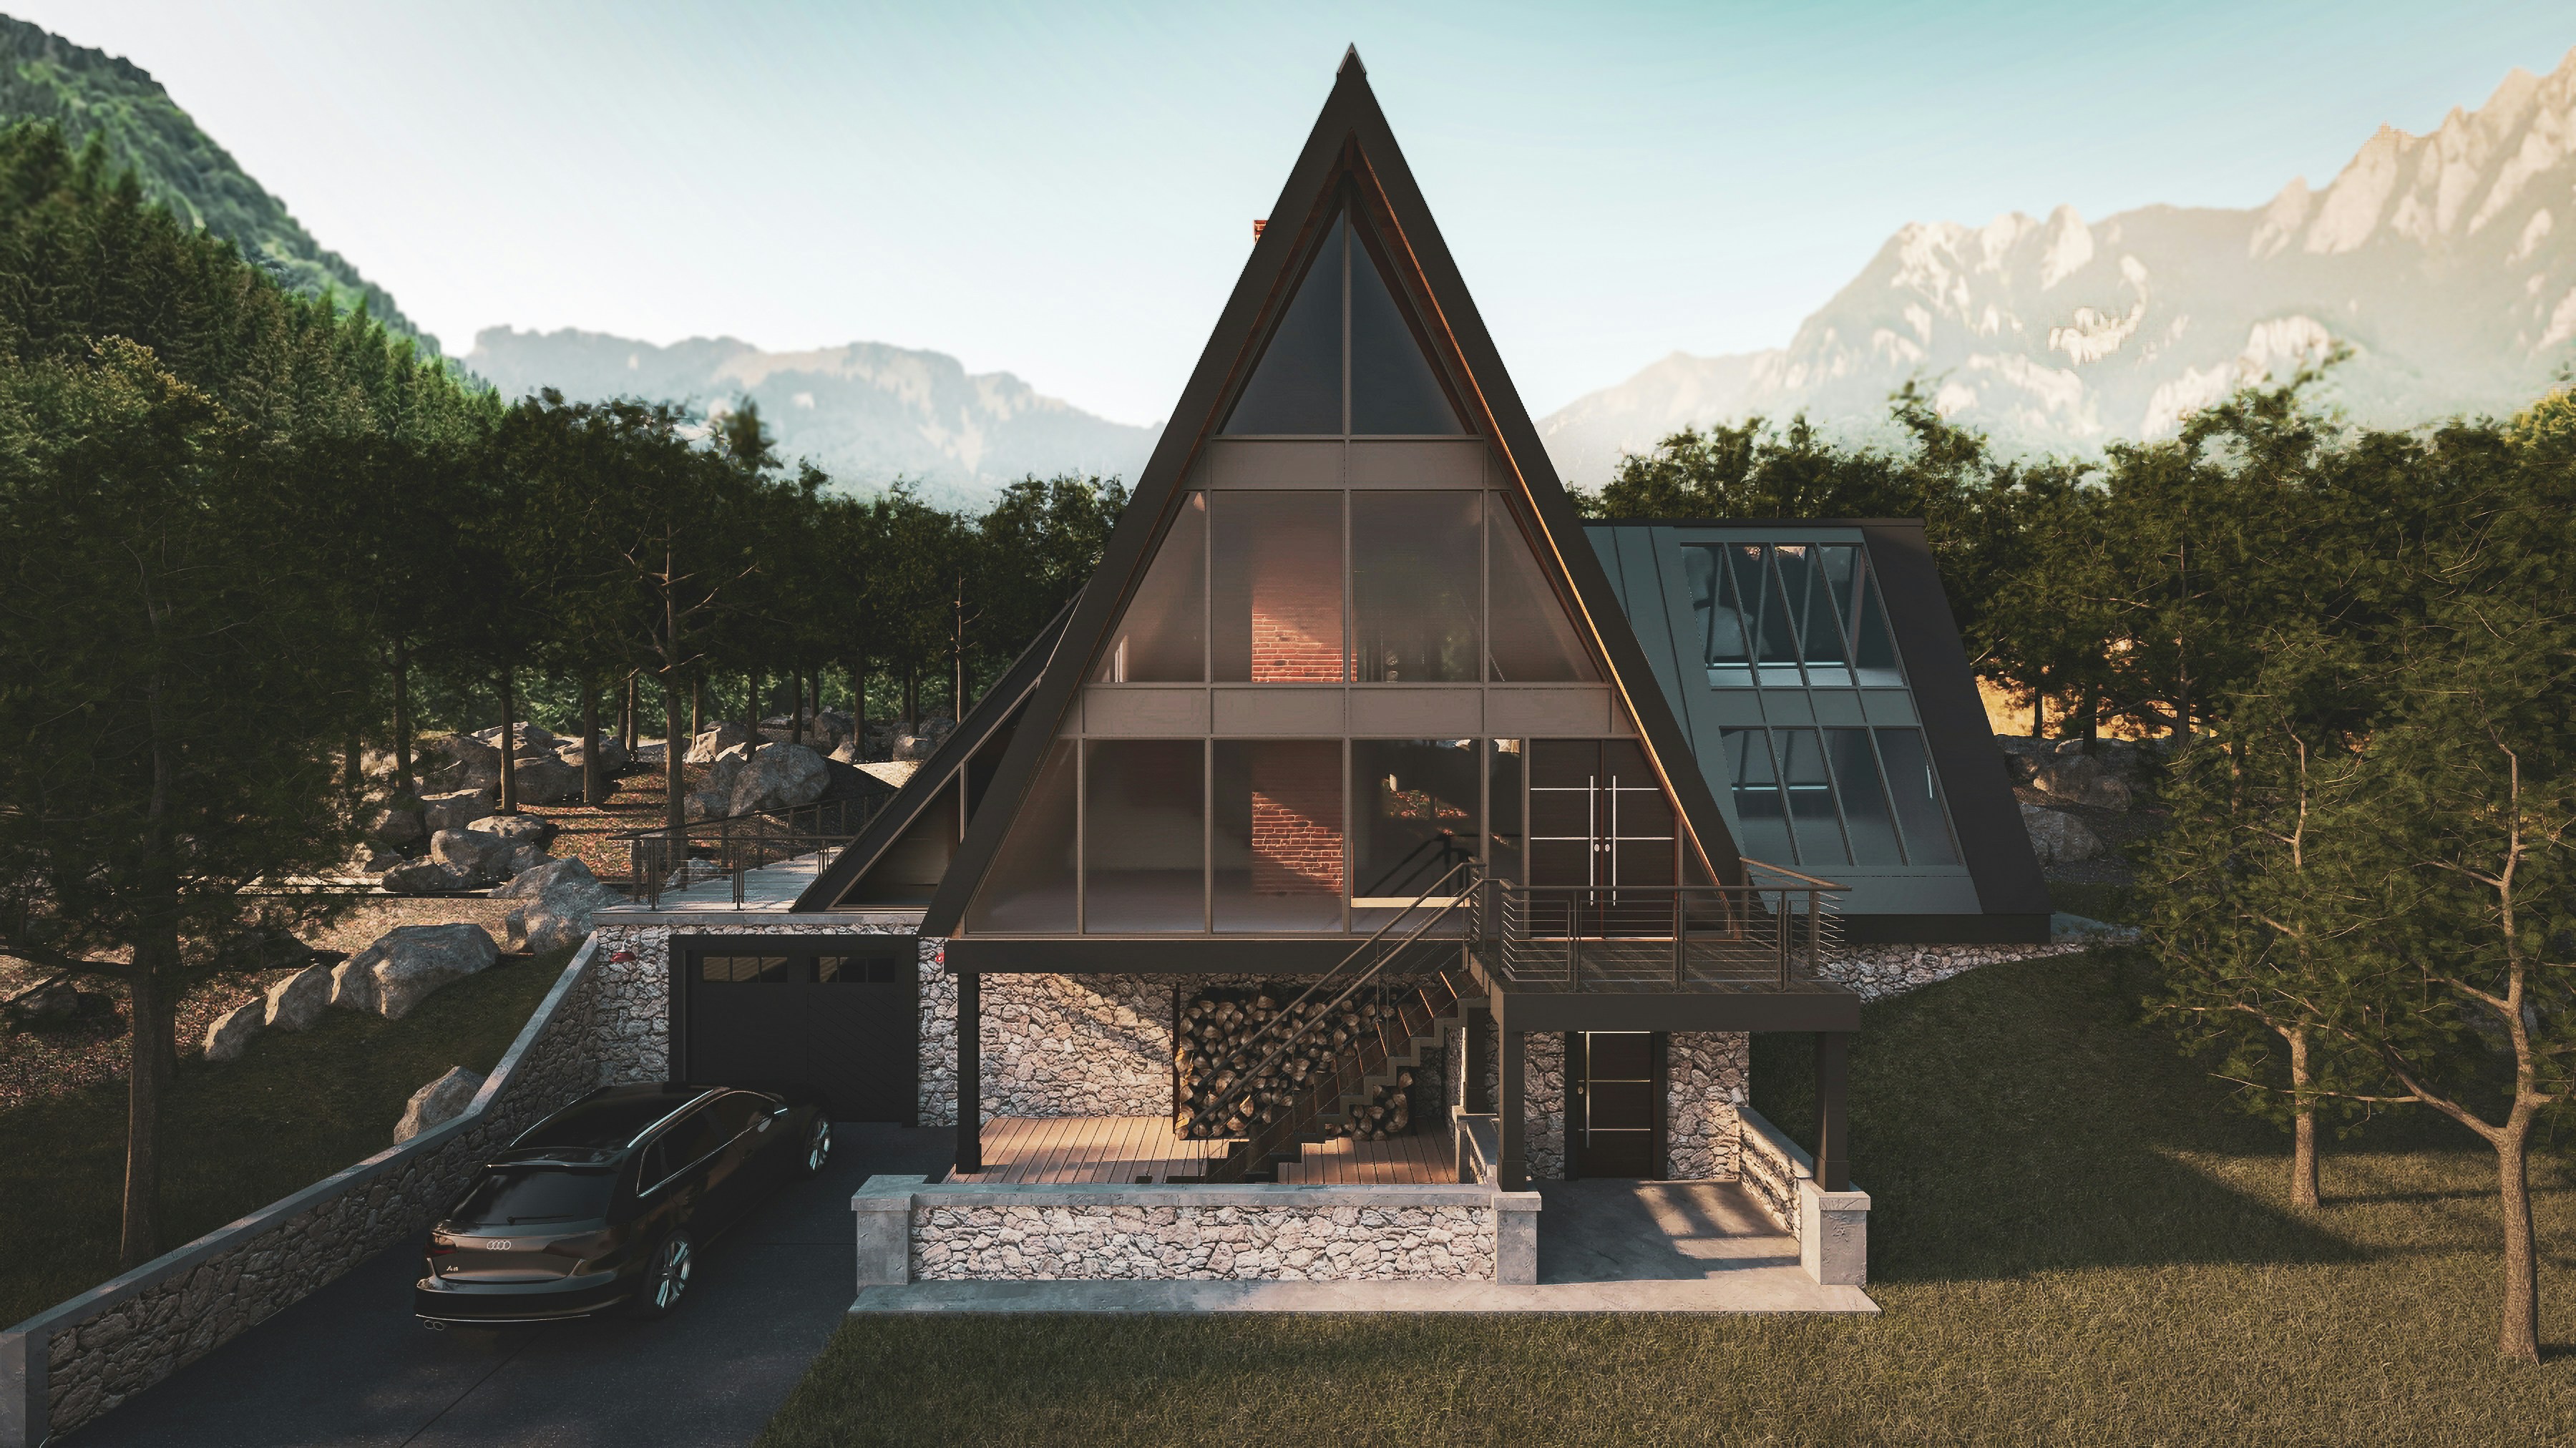
Architecture
V-Ray Shortcuts That Actually Save Time
Table of Contents
Most V-Ray users don’t lose time because they don’t know some secret shortcut hidden three menus deep. They lose time in the small actions they repeat all day without thinking.
Zoom into the render. Pan around. Check the alpha. Switch to a different render element. Compare the last test with the current one. Stop a render that clearly isn’t going anywhere. Save a version before changing the light again.
None of that feels slow on its own. But V-Ray work is basically a loop: preview, inspect, compare, adjust, stop, repeat. When that loop has too much clicking in it, the whole session starts to feel heavier than it needs to.
That’s why the best shortcuts are usually the practical ones. The mouse wheel to zoom in and out inside the V-Ray Frame Buffer. Double-clicking the left mouse button to jump to 100 percent zoom. Page Up and Page Down to move through render elements instead of hunting through a dropdown. 1–9 to load recent images from render history. Esc to abort a render when you already know the result won’t help.
Not glamorous. Very useful.
This guide isn’t about memorizing every V-Ray key command like you’re preparing for a certification test. That approach usually doesn’t stick anyway. The better goal is to build a faster render decision loop.
You want to get from “I wonder if this material works” to “yes, this is the one” with fewer interruptions. Because in V-Ray, speed isn’t only about how fast the render finishes. It’s also about how quickly you can make a good visual decision and move on.
Start with the V-Ray Frame Buffer
If you’re going to build shortcut muscle memory anywhere in V-Ray, start with the V-Ray Frame Buffer.
The VFB is where you judge the render, but it’s also where you inspect problems, switch channels, compare versions, check alpha, review render elements, and decide whether the image is actually improving. So even if your modeling shortcuts are perfect, a slow VFB workflow can still drag the whole process down.
I think this is where a lot of V-Ray users leave speed on the table. They use the VFB like a passive preview window: render, look, save, close. But during lookdev, the VFB should feel more like your control desk.
VFB navigation shortcuts
These are the simple ones, but you’ll use them constantly:
Mouse wheel: Zoom in and out
Double-click left mouse button: Zoom to 100 percent
Middle mouse button drag: Pan around the image
Ctrl + Shift + left click: Zoom in
Ctrl + Shift + right click: Zoom out
Arrow keys: Pan left, right, up, or down
F: Fit the whole image or active region in the VFB
+ / =: Zoom in
- / _: Zoom out
*: Zoom to 100 percent
The 100 percent zoom shortcut is one of the most useful habits here. A render can look clean when it’s scaled down, then suddenly show noise, texture blur, jagged edges, or weird displacement when you inspect it at actual size.
That’s not nitpicking. That’s quality control.
Render elements and channels
Once you’re comfortable moving around the VFB, the next shortcut group to learn is channel and render element switching.
Page Up / Page Down: Switch between render elements
A: View Alpha
R: View Red channel
G: View Green channel
B: View Blue channel
Beauty pass is where everyone looks first, but it doesn’t always tell you what’s wrong. If a reflection feels strange, check the reflection element. If the shadows are muddy, inspect lighting or global illumination. If the render is going into Photoshop, After Effects, or a compositing workflow, check Alpha before exporting.
Finding a broken alpha after delivery is one of those tiny disasters that feels very avoidable. Because it is.
Panels worth opening fast
Some VFB panels are worth keeping close because they help you make decisions faster:
H: Show or hide History
Ctrl + L: Show or hide the right panel
P: Collapse the action bar
History is the big one. If you’re testing lighting, exposure, materials, or denoising, you should not be comparing random screenshots in a folder. Keep versions inside the VFB where you can actually judge them properly.
The more you use the VFB this way, the less it feels like a preview window. It becomes part of the render process itself.
IPR, region render, and preview shortcuts
IPR is where V-Ray starts to feel responsive. You change a light, adjust a material, move a camera, and the render answers back while you’re still thinking. When it works well, it feels almost like sketching.
But IPR can also become weirdly inefficient if you treat every preview like a final render.
The goal is not to watch the whole frame update beautifully every time you move one slider. The goal is to answer smaller questions faster. Is this reflection too strong? Is the fabric roughness working? Is that corner too dark? Is the glass catching the right highlight?
That’s why preview control matters.
Preview control shortcuts
Some preview actions are actual keyboard shortcuts, while others are VFB toolbar commands that are worth assigning to custom shortcuts if you use them constantly.
The important ones are:
Esc: Abort the current render
Start interactive rendering: VFB toolbar command
Stop rendering: VFB toolbar command
Abort rendering: VFB toolbar command
Render: VFB toolbar command
Pause interactive rendering: VFB toolbar command, especially useful with V-Ray GPU IPR
The difference between stopping and aborting is worth understanding. Stop is usually the cleaner choice when you want to keep the current render result usable. Abort is more like saying, “Nope, kill this.” If the render is clearly wrong because the camera moved, the exposure is broken, or the material exploded into chrome for no reason, Esc can save you from waiting politely for a useless result.
And yes, I’ve waited politely for useless results. Too many times.
Region render and test resolution
Region render is one of the most practical V-Ray habits you can build. If you’re checking one chair material, don’t keep rendering the whole living room. If the issue is a noisy reflection under a table, isolate that area. If the product label is the problem, focus there.
Useful commands and actions here include:
F: Fit the active region or whole image in the VFB
Render Region: VFB toolbar command
Test Resolution: VFB toolbar command
Follow Mouse: VFB toolbar command
I’d assign a custom shortcut to Render Region before almost anything fancy. It saves real time because most render decisions are local before they become global.
Test Resolution is just as useful early in the process. A lighting direction doesn’t need a full-resolution preview to prove whether it works. Start rough. Decide quickly. Then raise the quality when the image actually deserves it.
That rhythm matters: preview small, inspect fast, change one thing, compare, then widen the view. This is how V-Ray starts feeling less like waiting and more like working.
Render history and comparison shortcuts
Render history is where V-Ray shortcuts start feeling less like convenience and more like protection against bad decisions.
Because visual memory is unreliable. You can look at one render, change the sun angle, tweak the exposure, warm up the lights, render again, and convince yourself the new version is better. Sometimes it is. Sometimes it’s just newer.
That’s why I like using VFB History as part of the actual lookdev process, not as an afterthought.
Compare renders instead of trusting memory
The useful shortcuts here are simple:
H: Show or hide History
1–9: Load the first nine images from VFB History
Q: Enable A/B vertical compare mode
W: Enable A/B horizontal compare mode
E: Enable A/B/C/D compare mode
This is much cleaner than saving five screenshots to your desktop and flipping between them in Preview, Photoshop, or a browser tab. Inside the VFB, you can keep the comparison close to the render itself.
A typical lighting test might look like this:
Version 1: daylight setup
Version 2: cloudy HDRI
Version 3: warm artificial lighting
Version 4: brighter client-requested exposure
The important thing is not just saving the versions. It’s saving them while you still remember what changed.
That’s where the 1–9 history shortcuts are useful. You can quickly jump back to recent tests without breaking your focus. Then Q, W, or E lets you compare versions directly instead of guessing.
I’d also recommend making one change per saved version when possible. Change the light temperature. Save. Change exposure. Save. Adjust reflection roughness. Save. It feels slower for about five minutes, then it becomes much faster because you’re no longer asking, “Wait, what made this better?”
Render history won’t make creative decisions for you. But it does make them more honest. And in V-Ray, honest comparison usually beats memory, especially after you’ve been staring at the same image for three hours.

Host-app shortcuts that pair well with V-Ray
Some of the best V-Ray shortcuts are not actually inside V-Ray.
That sounds annoying, but it makes sense. V-Ray sits inside another app, and your render workflow depends heavily on how fast you can move through that app. Cameras, materials, object selection, transforms, view changes, isolation, scale checks, model cleanup. All of that happens before the VFB gives you anything useful.
So yes, VFB shortcuts matter. But if you’re slow inside 3ds Max or SketchUp, your V-Ray workflow will still feel slow.
For 3ds Max users
In 3ds Max, V-Ray work usually moves between the viewport, Material Editor, Render Setup, camera views, and the VFB. These shortcuts are worth keeping close:
F10: Open Render Setup
F9: Render Last
Shift + Q: Render
M: Open Material Editor
Alt + Q: Isolate Selection
C: Switch to Camera View
P: Switch to Perspective View
T: Top View
F: Front View
L: Left View
G: Hide or show grid
F3: Toggle wireframe and shaded view
F4: Toggle edged faces
Alt + W: Maximize viewport
W: Move
E: Rotate
R: Scale
Ctrl + S: Save
The ones I’d prioritize for V-Ray work are F10, M, Alt + Q, C, and Alt + W.
Render Setup is obvious. You’ll use it for resolution, render output, engine settings, render elements, and other scene-level decisions. Material Editor matters because V-Ray lookdev is basically endless tiny material edits: roughness, reflection, bump, displacement, texture scale, color correction, maps, masks.
Alt + Q is a lifesaver when one object is causing trouble. Isolate the chair, fixture, plant, faucet, facade panel, or whatever else is making the render noisy, then test it without the entire scene getting in your way.
If you’re working mostly inside 3ds Max, this guide on how to use GPU on V-Ray GPU Next for 3ds Max is a useful next step once your shortcut workflow is already comfortable.
For SketchUp users
SketchUp has a different rhythm. It’s lighter and more direct, but that also means shortcuts shape almost everything you do before rendering.
Useful SketchUp shortcuts include:
O: Orbit
H: Pan
Z: Zoom
T: Tape Measure
B: Paint Bucket
M: Move
Q: Rotate
P: Push / Pull
F: Offset
S: Scale
Spacebar: Select
L: Line
R: Rectangle
G: Make Component, depending on your setup
These may look like basic modeling shortcuts, but they affect V-Ray more than people think. Bad scale, loose geometry, messy groups, repeated unoptimized objects, and careless material assignment can all slow down your render process or create strange results later.
A cleaner SketchUp model gives V-Ray less nonsense to deal with. That means faster previews, fewer material issues, better camera setup, and fewer surprises when you finally open the VFB.
If your team is comparing real-time visualization against more traditional ray-traced workflows, this Enscape vs V-Ray comparison is a good companion read.
Custom V-Ray shortcuts: build a setup you’ll actually use
Custom shortcuts are where V-Ray can start feeling personal. Not fancy. Personal.
The mistake is trying to assign a key to everything on day one. It feels productive for about ten minutes, then you forget half of them and accidentally override shortcuts you already use in 3ds Max, SketchUp, Rhino, or Maya.
I’d keep it much simpler. Start with the actions you repeat every single day, then build from there.
Start with five custom shortcuts
Some V-Ray actions already have default keys, like H for History, Ctrl + L for the right panel, Esc for aborting a render, and 1–9 for loading recent history images. Keep those. They’re useful.
For the rest, I’d start by assigning custom shortcuts to these:
Start IPR
Stop Render
Save current image to History
Toggle Render Region
Show or hide Layers or LightMix
That’s enough to make the workflow feel faster without turning your keyboard into a flight simulator.
Start IPR and Stop Render are obvious choices because they sit at the center of look development. Save to History is just as important because it encourages better version comparison. Toggle Render Region is a daily time-saver if you’re testing materials, reflections, lighting problems, or noisy details.
Layers and LightMix depend on how you work. If you’re doing a lot of color correction inside the VFB, assign Layers. If you’re adjusting light intensity and color after rendering, LightMix deserves a shortcut too.
If you’re still deciding which 3D environment fits your rendering workflow best, this Blender vs 3ds Max comparison can help you think through the tradeoffs before building your V-Ray pipeline around one tool.
Save your shortcut profile
Once your setup feels natural, save it.
In the VFB, go to Settings > Shortcuts. From there, you can enable or edit VFB shortcuts, resolve conflicts, and save your shortcut profile as a .vrhk file.
That matters more than it sounds. If you switch machines, reinstall V-Ray, work in a studio setup, or move between a desktop and a laptop, you don’t want to rebuild your shortcut system from memory.
One small warning: VFB shortcuts usually work when the VFB window is focused. If your viewport is active, your host app may catch the key press instead. So before assuming a shortcut is broken, click into the VFB and try again.
If you use Maya in your pipeline, you can also pair this shortcut setup with a more GPU-focused workflow using this guide on how to use GPU on V-Ray GPU Next for Maya.
A practical shortcut workflow for one render test
Let’s put the shortcuts into a normal V-Ray situation.
Say you’re working on an interior render and something feels off. Maybe the sofa fabric looks too smooth, the corner near the window is noisy, or the client wants the room to feel “a little warmer,” which can mean five different things depending on the day.
Here’s a simple shortcut-driven workflow I’d use:
Set your camera first. In 3ds Max, press C to switch to Camera View.
Open Render Setup if you need to check output size or render settings. In 3ds Max, use F10.
Start IPR from the VFB toolbar, or use your custom shortcut if you’ve assigned one.
Use the mouse wheel to zoom into the area you’re testing.
Use middle mouse button drag or the arrow keys to pan around the image.
Turn on Render Region from the VFB toolbar, especially if the issue is local.
Press F to fit the active region or image in the VFB.
Use Page Up and Page Down to check render elements.
Press A to check Alpha if the render will be used in compositing.
Save the current render to History.
Make one change. Just one. Light temperature, exposure, roughness, texture scale, whatever you’re testing.
Save the new version to History.
Press 1–9 to load recent history images.
Use Q, W, or E to compare versions.
Press Esc only when you actually want to abort a render that is no longer useful.
The boring part is also the useful part: one change, one saved version, one comparison.
That rhythm keeps you from accidentally improving one thing while breaking three others. It also makes client feedback easier to handle because you can return to earlier versions without digging through a folder full of confusing filenames.
This is where shortcuts stop being “keyboard tricks” and start becoming workflow structure. You’re not just pressing keys faster. You’re creating a cleaner way to test, judge, and move forward.
When shortcuts are not enough
Shortcuts can make V-Ray feel faster, but they can’t bend physics.
At some point, the bottleneck is not your workflow. It’s the machine. You can use region render perfectly, compare versions cleanly, keep your VFB shortcuts sharp, and still hit a wall when the scene is simply too heavy for your hardware.
That usually shows up in familiar places:
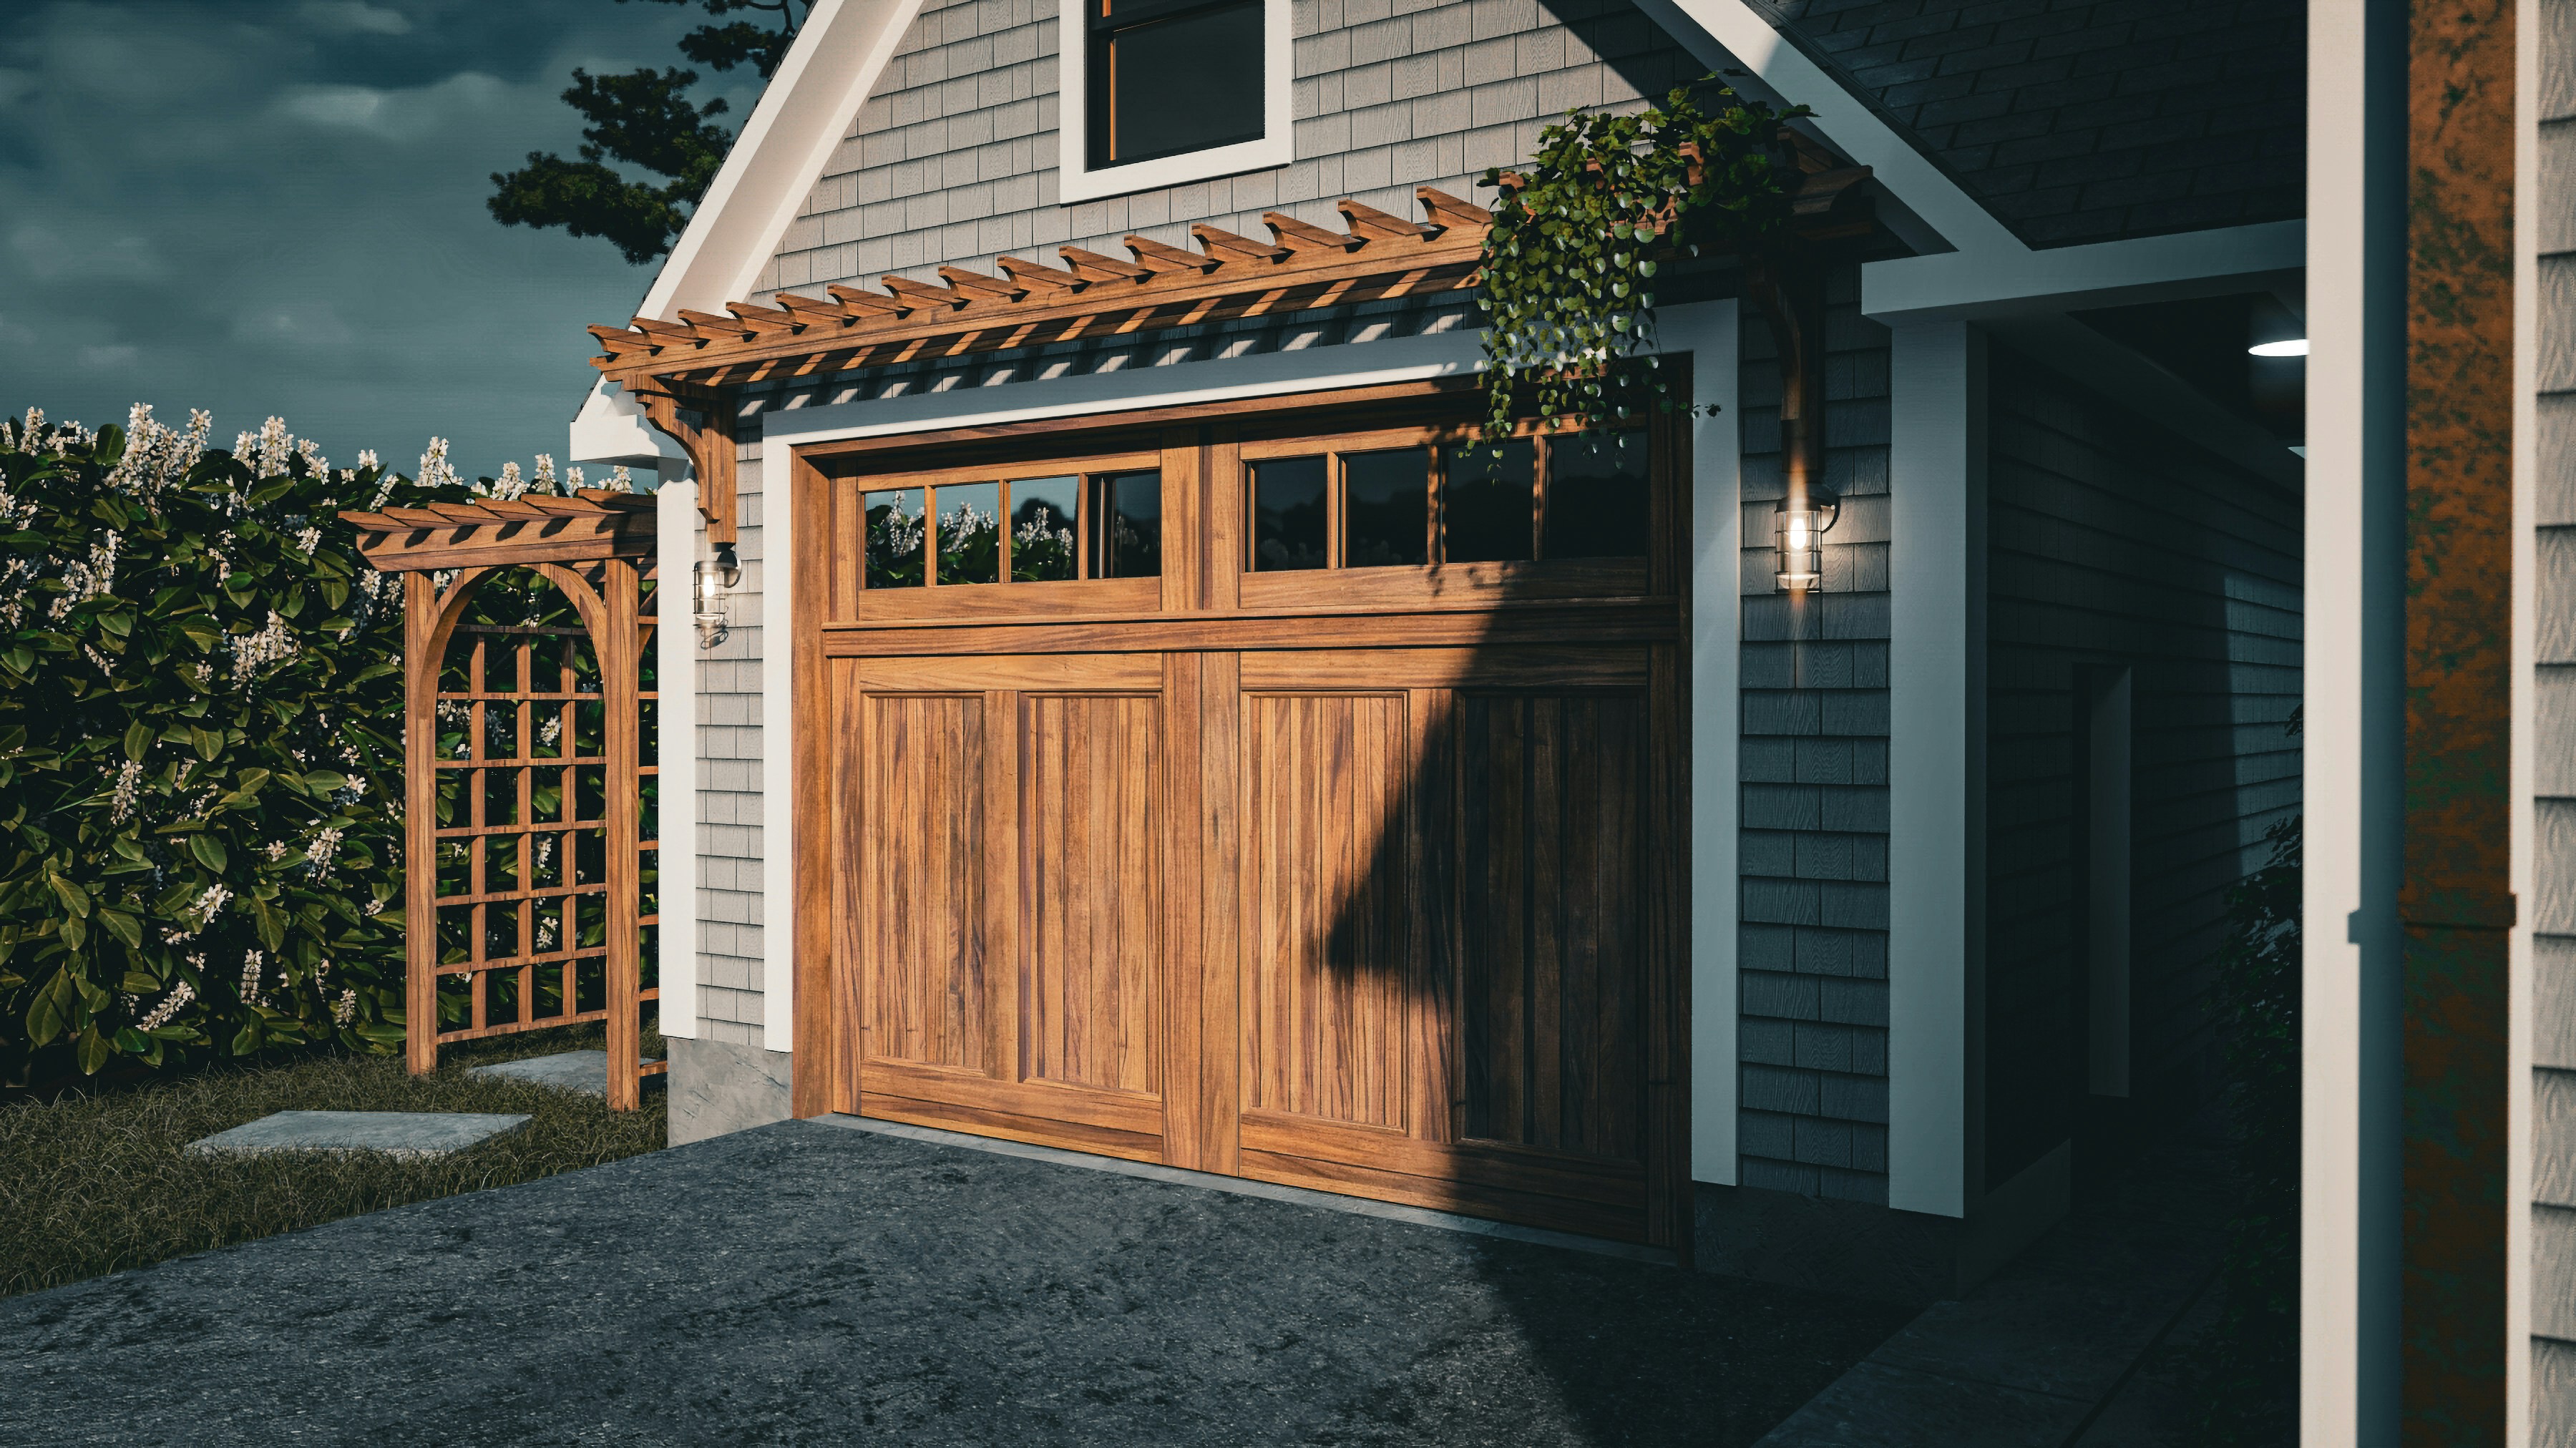
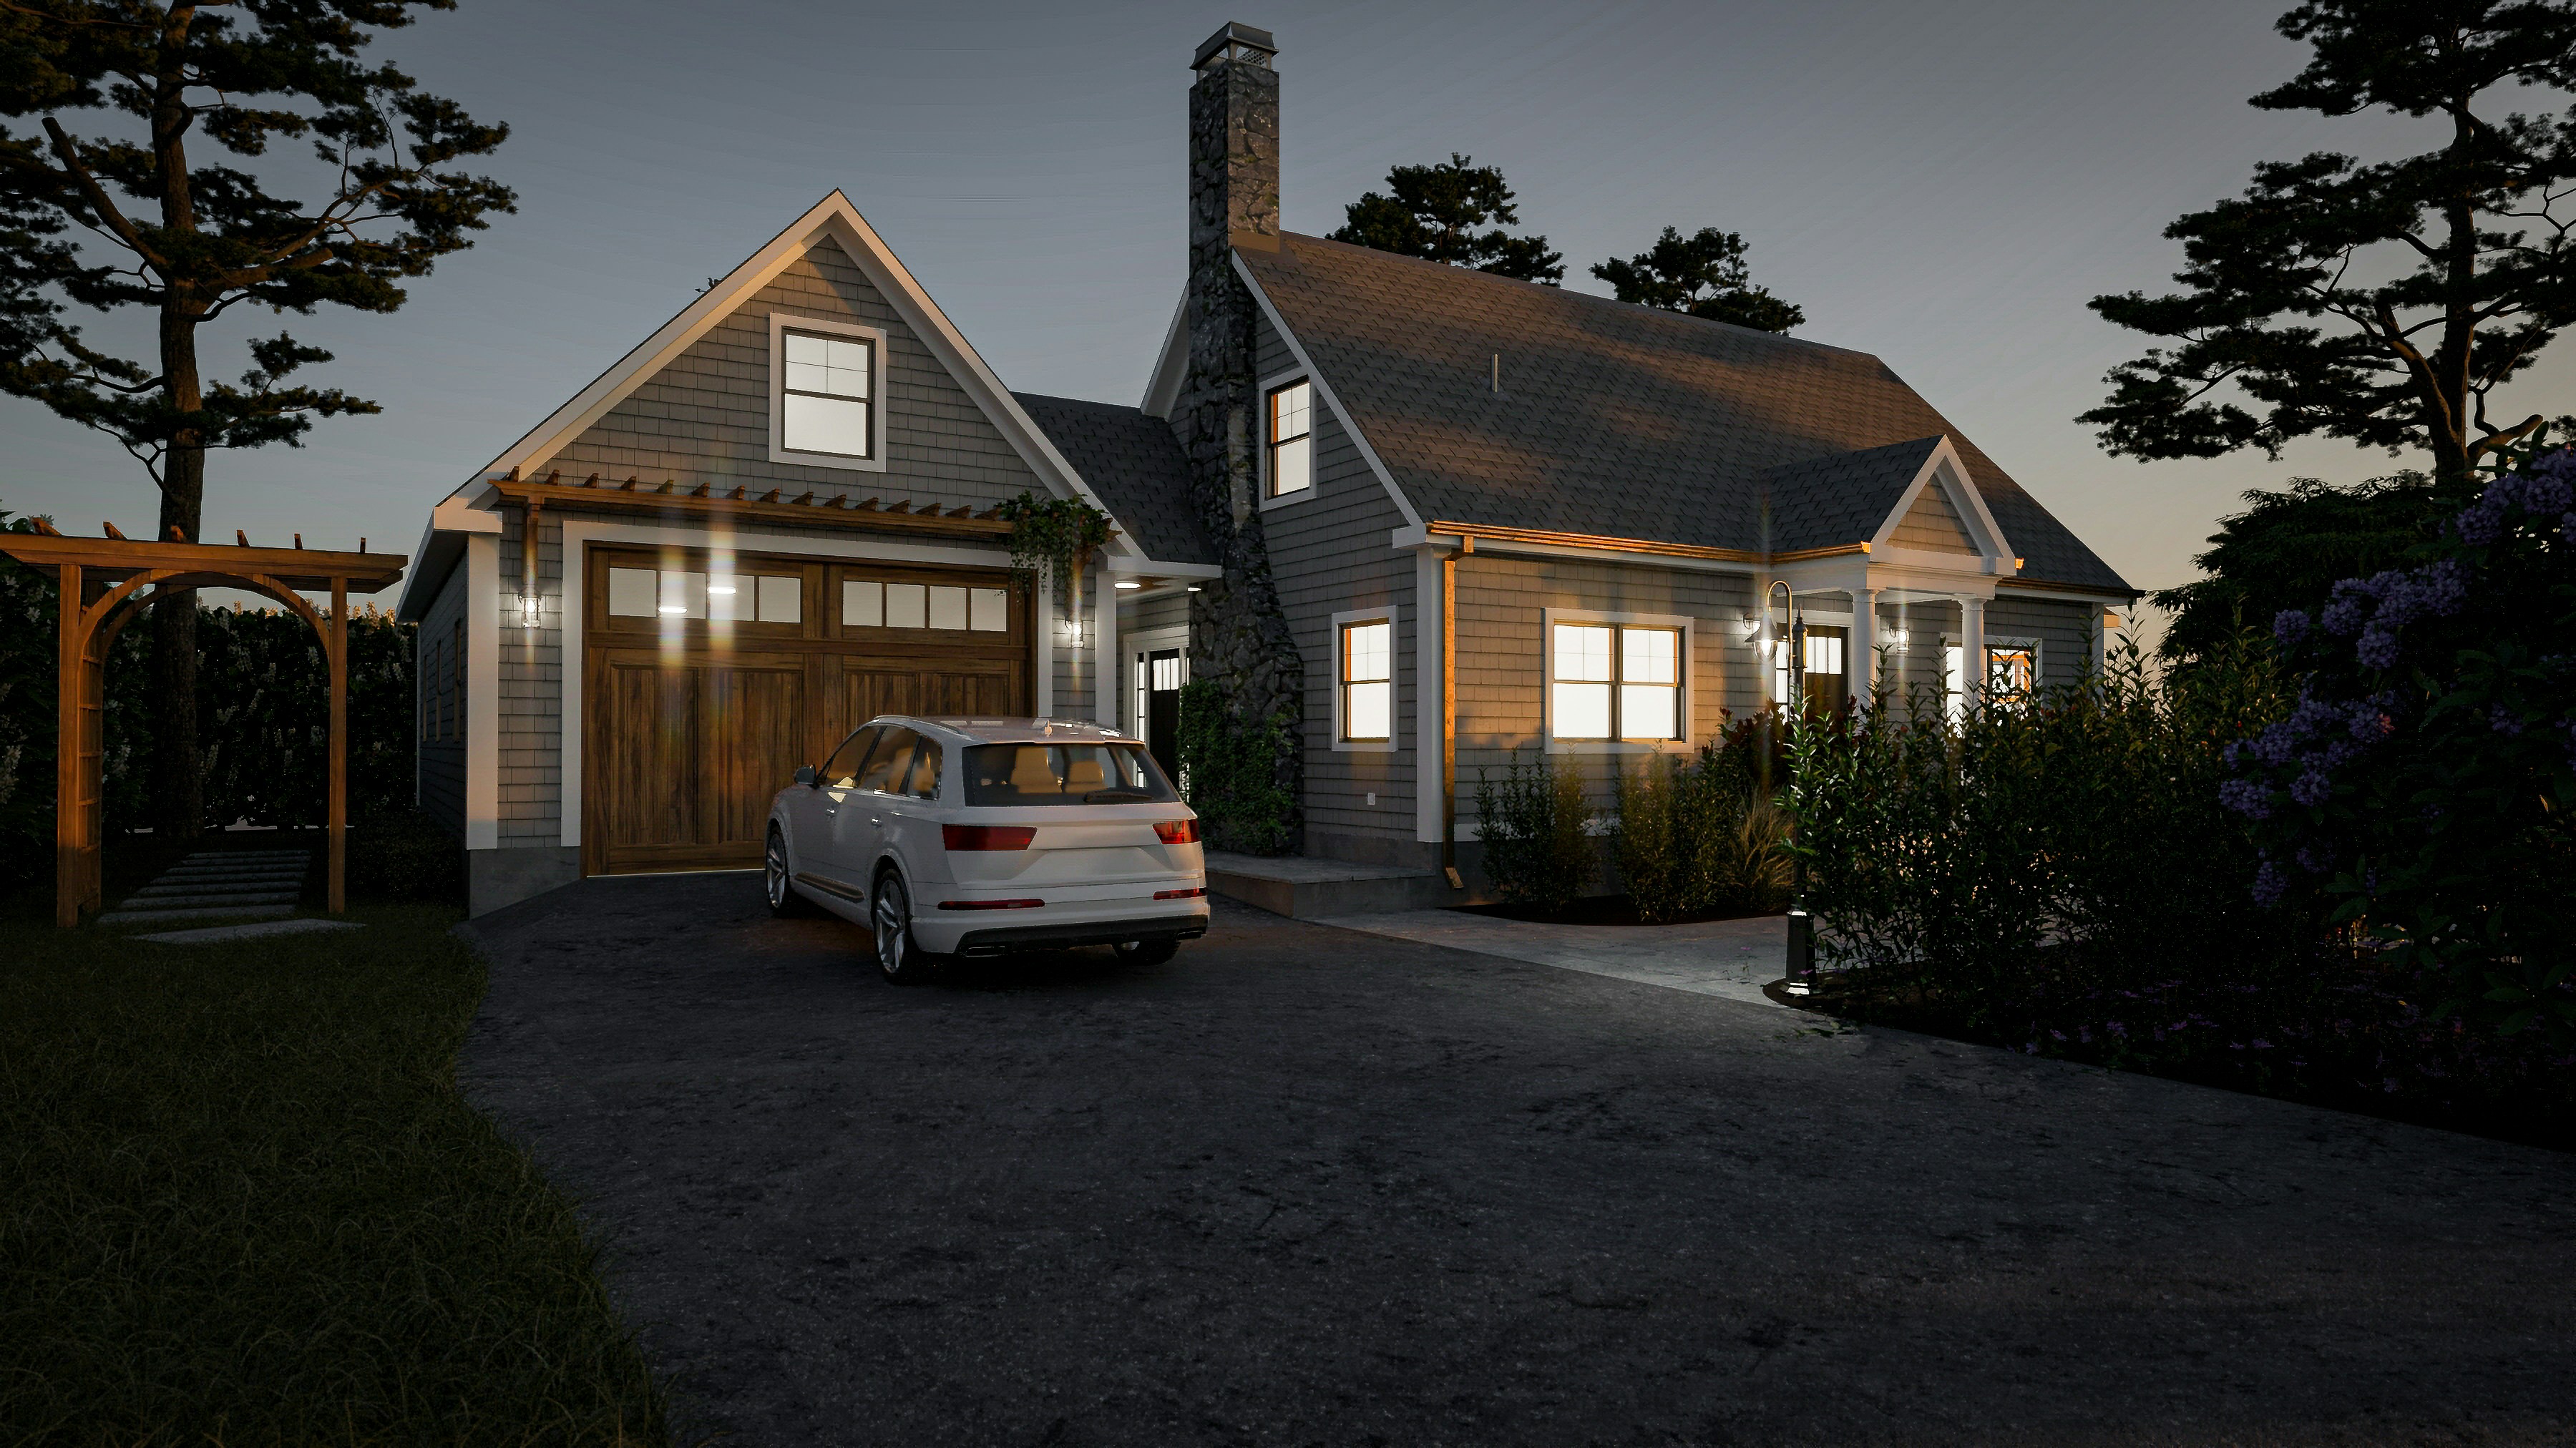
Large architectural interiors with too many high-poly assets
Product scenes with complex glass, metal, or caustics
4K and 8K textures stacked across multiple materials
Displacement-heavy surfaces like rugs, stone, fabric, or terrain
GPU rendering with limited VRAM
Vegetation, proxies, scanned assets, and detailed furniture libraries
High-resolution client previews that need to look close to final
AI-assisted V-Ray workflows where you generate more versions than before
This is where I think people sometimes blame the wrong thing. They keep hunting for another shortcut, another tiny render setting, another optimization trick. And yes, scene optimization matters. Clean geometry matters. Texture management matters. Render settings absolutely matter.
But sometimes the project has just outgrown the workstation.
You feel it when IPR stops feeling interactive. You feel it when every material tweak takes long enough to break your focus. You feel it when you avoid testing an idea because you already know the preview will take too long.
That’s the real problem. Not just waiting, but making fewer creative decisions because the machine is slowing you down.
Shortcuts reduce friction around the render process. They help you inspect faster, compare faster, and stop wasting time on repeated clicks. But they don’t create more VRAM. They don’t turn a weak laptop into a proper render machine. And they don’t make a massive V-Ray scene lightweight by magic.
If GPU limits are the part slowing you down most, this guide to the best GPU for V-Ray is a helpful place to understand what actually matters before upgrading or moving to a cloud setup.
Where Vagon Cloud Computer fits
This is where a cloud computer starts to make sense.
Not because shortcuts stop mattering. The opposite, actually. A good shortcut workflow becomes more valuable when the machine can keep up with it. If you’ve built a fast loop around IPR, render history, region rendering, and comparisons, you don’t want that loop constantly interrupted by weak hardware.
Vagon Cloud Computer fits into that gap. It gives V-Ray users access to a more powerful cloud machine when their local setup starts slowing down the actual creative process.
Keep the workflow, change the machine
The nice thing about this approach is that you don’t have to change the way you think about V-Ray. You’re still using the same habits: start IPR, isolate the problem area, save versions, compare results, adjust materials, check render elements, export when ready.
The difference is that the machine doing the work has more room to breathe.
That can be useful if you’re working from a lightweight laptop, traveling, using a setup that wasn’t built for heavy rendering, or handling scenes that have slowly grown beyond what your local workstation can comfortably manage. Architectural interiors are a good example. They start simple, then suddenly you have detailed furniture, high-resolution textures, displacement rugs, vegetation outside the windows, glass, reflections, and a client asking for another version by the end of the day.
At that point, the question is not “Do I know enough shortcuts?” It’s “Can my machine keep up with the number of decisions I need to make?”
Vagon Cloud Computer is practical for that kind of work because it lets you open heavier projects, test more versions, and render on stronger hardware without immediately buying a new workstation. For freelancers, studios, architects, product designers, and 3D artists who move between devices, that flexibility can be a real advantage.
It also matters when the final output is not just a still image. More V-Ray users are now expected to share visual experiences with clients, not just send a JPEG and wait for comments. If you’re preparing interactive reviews, heavier scenes, or client-facing presentations, having cloud performance available can make the process much easier to manage.
Vagon doesn’t replace good V-Ray habits. You still need clean scenes, smart previews, render history, and a sane shortcut setup. But when the project gets too heavy, it helps those habits stay useful instead of getting buried under hardware limits.

Final thoughts: don’t memorize everything
The point of learning V-Ray shortcuts is not to become the person who knows every key command and still renders slowly.
The point is to remove friction from the parts of the workflow you repeat constantly. Preview, inspect, compare, stop, adjust, save. That’s the loop. If shortcuts make that loop faster, they’re worth learning. If they only sound impressive in a shortcut list, you probably don’t need them yet.
Start with the ones that touch your daily work:
Mouse wheel: Zoom in and out in the VFB
Double-click left mouse button: Jump to 100 percent zoom
Middle mouse button drag: Pan around the image
F: Fit the image or active region
Page Up / Page Down: Switch render elements
A / R / G / B: Check Alpha, Red, Green, and Blue channels
H: Show or hide History
1–9: Load recent render history images
Q / W / E: Compare history versions
Esc: Abort a render that no longer helps
F10 / F9 / Shift + Q: Useful 3ds Max render shortcuts
O / H / Z / T / B / M / Q / P: Useful SketchUp setup shortcuts
Learn those first. Use them until they become boring.
That’s when shortcuts start working properly. Not when you memorize them, but when they disappear into your process. You stop thinking about the interface and spend more time judging the image.
And really, that’s the whole point. Better V-Ray work usually comes from better decisions. Shortcuts just help you reach those decisions faster.
FAQs
1. What are the most useful V-Ray shortcuts to learn first?
Start with the shortcuts you’ll use inside the V-Ray Frame Buffer every day: Mouse wheel for zooming, double-click left mouse button for 100 percent zoom, middle mouse button drag for panning, Page Up / Page Down for switching render elements, A for Alpha, H for History, 1–9 for loading recent history images, and Esc for aborting a render. Those cover the basic loop: inspect, compare, stop, and adjust.
2. Why are my V-Ray shortcuts not working?
The most common reason is focus. Many VFB shortcuts only work when the V-Ray Frame Buffer window is active. If your viewport, Material Editor, or host app is selected, the shortcut may trigger something else or do nothing. Click inside the VFB and try again. If it still doesn’t work, check your VFB shortcut settings and make sure the shortcut hasn’t been changed, disabled, or assigned to a conflicting command.
3. Are V-Ray shortcuts the same in 3ds Max, SketchUp, Rhino, Maya, and Cinema 4D?
Not completely. Many VFB shortcuts are similar across V-Ray workflows, but host-app shortcuts depend on the software you’re using. For example, F10 opens Render Setup in 3ds Max, while SketchUp users rely more on shortcuts like O for Orbit, H for Pan, Z for Zoom, and B for Paint Bucket. The render workflow may feel similar, but the surrounding app changes the shortcut setup.
4. Can I customize V-Ray shortcuts?
Yes. You can customize VFB shortcuts from the V-Ray Frame Buffer settings. I’d start small. Custom shortcuts for Start IPR, Stop Render, Save current image to History, Toggle Render Region, and Show or hide Layers or LightMix are usually enough to make the workflow feel faster without making your setup confusing. Use them for a few days, then add more only when you notice a repeated action slowing you down.
5. What is the best shortcut for faster V-Ray rendering?
There isn’t one magic shortcut that makes rendering faster. The best time-savers usually work together: Render Region, Test Resolution, Start IPR, Stop Render, Save to History, and 1–9 for loading recent render history images. The goal is not just faster rendering. It’s faster decision-making. You want to test smaller areas, compare versions clearly, and avoid wasting full renders on tiny changes.
6. Should I use render history instead of saving image files manually?
Use both, but for different purposes. VFB History is great while you’re actively testing. It lets you compare lighting, materials, exposure, denoising, and color changes without filling your desktop with confusing filenames. Manual file saving still matters for delivery, archiving, client exports, and final versions. But during look development, render history is usually faster and cleaner.
7. Does learning shortcuts matter if my computer is slow?
Yes, but only up to a point. Shortcuts help you move through V-Ray faster, especially when previewing, inspecting, and comparing renders. But they won’t fix limited VRAM, weak GPU performance, or a scene that’s too heavy for your machine. If IPR no longer feels interactive, or you avoid testing ideas because previews take too long, hardware may be the real bottleneck. That’s where using a more powerful workstation or a cloud computer like Vagon can make sense.
8. When should I consider Vagon Cloud Computer for V-Ray?
Consider Vagon Cloud Computer when your local machine starts limiting your V-Ray workflow. Common signs include slow IPR, GPU memory limits, heavy architectural interiors, large product scenes, 4K or 8K textures, displacement-heavy materials, or client previews that need stronger hardware. It’s not a replacement for good shortcuts or clean scene setup. It’s more like extra headroom when your project outgrows your current machine.
Most V-Ray users don’t lose time because they don’t know some secret shortcut hidden three menus deep. They lose time in the small actions they repeat all day without thinking.
Zoom into the render. Pan around. Check the alpha. Switch to a different render element. Compare the last test with the current one. Stop a render that clearly isn’t going anywhere. Save a version before changing the light again.
None of that feels slow on its own. But V-Ray work is basically a loop: preview, inspect, compare, adjust, stop, repeat. When that loop has too much clicking in it, the whole session starts to feel heavier than it needs to.
That’s why the best shortcuts are usually the practical ones. The mouse wheel to zoom in and out inside the V-Ray Frame Buffer. Double-clicking the left mouse button to jump to 100 percent zoom. Page Up and Page Down to move through render elements instead of hunting through a dropdown. 1–9 to load recent images from render history. Esc to abort a render when you already know the result won’t help.
Not glamorous. Very useful.
This guide isn’t about memorizing every V-Ray key command like you’re preparing for a certification test. That approach usually doesn’t stick anyway. The better goal is to build a faster render decision loop.
You want to get from “I wonder if this material works” to “yes, this is the one” with fewer interruptions. Because in V-Ray, speed isn’t only about how fast the render finishes. It’s also about how quickly you can make a good visual decision and move on.
Start with the V-Ray Frame Buffer
If you’re going to build shortcut muscle memory anywhere in V-Ray, start with the V-Ray Frame Buffer.
The VFB is where you judge the render, but it’s also where you inspect problems, switch channels, compare versions, check alpha, review render elements, and decide whether the image is actually improving. So even if your modeling shortcuts are perfect, a slow VFB workflow can still drag the whole process down.
I think this is where a lot of V-Ray users leave speed on the table. They use the VFB like a passive preview window: render, look, save, close. But during lookdev, the VFB should feel more like your control desk.
VFB navigation shortcuts
These are the simple ones, but you’ll use them constantly:
Mouse wheel: Zoom in and out
Double-click left mouse button: Zoom to 100 percent
Middle mouse button drag: Pan around the image
Ctrl + Shift + left click: Zoom in
Ctrl + Shift + right click: Zoom out
Arrow keys: Pan left, right, up, or down
F: Fit the whole image or active region in the VFB
+ / =: Zoom in
- / _: Zoom out
*: Zoom to 100 percent
The 100 percent zoom shortcut is one of the most useful habits here. A render can look clean when it’s scaled down, then suddenly show noise, texture blur, jagged edges, or weird displacement when you inspect it at actual size.
That’s not nitpicking. That’s quality control.
Render elements and channels
Once you’re comfortable moving around the VFB, the next shortcut group to learn is channel and render element switching.
Page Up / Page Down: Switch between render elements
A: View Alpha
R: View Red channel
G: View Green channel
B: View Blue channel
Beauty pass is where everyone looks first, but it doesn’t always tell you what’s wrong. If a reflection feels strange, check the reflection element. If the shadows are muddy, inspect lighting or global illumination. If the render is going into Photoshop, After Effects, or a compositing workflow, check Alpha before exporting.
Finding a broken alpha after delivery is one of those tiny disasters that feels very avoidable. Because it is.
Panels worth opening fast
Some VFB panels are worth keeping close because they help you make decisions faster:
H: Show or hide History
Ctrl + L: Show or hide the right panel
P: Collapse the action bar
History is the big one. If you’re testing lighting, exposure, materials, or denoising, you should not be comparing random screenshots in a folder. Keep versions inside the VFB where you can actually judge them properly.
The more you use the VFB this way, the less it feels like a preview window. It becomes part of the render process itself.
IPR, region render, and preview shortcuts
IPR is where V-Ray starts to feel responsive. You change a light, adjust a material, move a camera, and the render answers back while you’re still thinking. When it works well, it feels almost like sketching.
But IPR can also become weirdly inefficient if you treat every preview like a final render.
The goal is not to watch the whole frame update beautifully every time you move one slider. The goal is to answer smaller questions faster. Is this reflection too strong? Is the fabric roughness working? Is that corner too dark? Is the glass catching the right highlight?
That’s why preview control matters.
Preview control shortcuts
Some preview actions are actual keyboard shortcuts, while others are VFB toolbar commands that are worth assigning to custom shortcuts if you use them constantly.
The important ones are:
Esc: Abort the current render
Start interactive rendering: VFB toolbar command
Stop rendering: VFB toolbar command
Abort rendering: VFB toolbar command
Render: VFB toolbar command
Pause interactive rendering: VFB toolbar command, especially useful with V-Ray GPU IPR
The difference between stopping and aborting is worth understanding. Stop is usually the cleaner choice when you want to keep the current render result usable. Abort is more like saying, “Nope, kill this.” If the render is clearly wrong because the camera moved, the exposure is broken, or the material exploded into chrome for no reason, Esc can save you from waiting politely for a useless result.
And yes, I’ve waited politely for useless results. Too many times.
Region render and test resolution
Region render is one of the most practical V-Ray habits you can build. If you’re checking one chair material, don’t keep rendering the whole living room. If the issue is a noisy reflection under a table, isolate that area. If the product label is the problem, focus there.
Useful commands and actions here include:
F: Fit the active region or whole image in the VFB
Render Region: VFB toolbar command
Test Resolution: VFB toolbar command
Follow Mouse: VFB toolbar command
I’d assign a custom shortcut to Render Region before almost anything fancy. It saves real time because most render decisions are local before they become global.
Test Resolution is just as useful early in the process. A lighting direction doesn’t need a full-resolution preview to prove whether it works. Start rough. Decide quickly. Then raise the quality when the image actually deserves it.
That rhythm matters: preview small, inspect fast, change one thing, compare, then widen the view. This is how V-Ray starts feeling less like waiting and more like working.
Render history and comparison shortcuts
Render history is where V-Ray shortcuts start feeling less like convenience and more like protection against bad decisions.
Because visual memory is unreliable. You can look at one render, change the sun angle, tweak the exposure, warm up the lights, render again, and convince yourself the new version is better. Sometimes it is. Sometimes it’s just newer.
That’s why I like using VFB History as part of the actual lookdev process, not as an afterthought.
Compare renders instead of trusting memory
The useful shortcuts here are simple:
H: Show or hide History
1–9: Load the first nine images from VFB History
Q: Enable A/B vertical compare mode
W: Enable A/B horizontal compare mode
E: Enable A/B/C/D compare mode
This is much cleaner than saving five screenshots to your desktop and flipping between them in Preview, Photoshop, or a browser tab. Inside the VFB, you can keep the comparison close to the render itself.
A typical lighting test might look like this:
Version 1: daylight setup
Version 2: cloudy HDRI
Version 3: warm artificial lighting
Version 4: brighter client-requested exposure
The important thing is not just saving the versions. It’s saving them while you still remember what changed.
That’s where the 1–9 history shortcuts are useful. You can quickly jump back to recent tests without breaking your focus. Then Q, W, or E lets you compare versions directly instead of guessing.
I’d also recommend making one change per saved version when possible. Change the light temperature. Save. Change exposure. Save. Adjust reflection roughness. Save. It feels slower for about five minutes, then it becomes much faster because you’re no longer asking, “Wait, what made this better?”
Render history won’t make creative decisions for you. But it does make them more honest. And in V-Ray, honest comparison usually beats memory, especially after you’ve been staring at the same image for three hours.
Host-app shortcuts that pair well with V-Ray
Some of the best V-Ray shortcuts are not actually inside V-Ray.
That sounds annoying, but it makes sense. V-Ray sits inside another app, and your render workflow depends heavily on how fast you can move through that app. Cameras, materials, object selection, transforms, view changes, isolation, scale checks, model cleanup. All of that happens before the VFB gives you anything useful.
So yes, VFB shortcuts matter. But if you’re slow inside 3ds Max or SketchUp, your V-Ray workflow will still feel slow.
For 3ds Max users
In 3ds Max, V-Ray work usually moves between the viewport, Material Editor, Render Setup, camera views, and the VFB. These shortcuts are worth keeping close:
F10: Open Render Setup
F9: Render Last
Shift + Q: Render
M: Open Material Editor
Alt + Q: Isolate Selection
C: Switch to Camera View
P: Switch to Perspective View
T: Top View
F: Front View
L: Left View
G: Hide or show grid
F3: Toggle wireframe and shaded view
F4: Toggle edged faces
Alt + W: Maximize viewport
W: Move
E: Rotate
R: Scale
Ctrl + S: Save
The ones I’d prioritize for V-Ray work are F10, M, Alt + Q, C, and Alt + W.
Render Setup is obvious. You’ll use it for resolution, render output, engine settings, render elements, and other scene-level decisions. Material Editor matters because V-Ray lookdev is basically endless tiny material edits: roughness, reflection, bump, displacement, texture scale, color correction, maps, masks.
Alt + Q is a lifesaver when one object is causing trouble. Isolate the chair, fixture, plant, faucet, facade panel, or whatever else is making the render noisy, then test it without the entire scene getting in your way.
If you’re working mostly inside 3ds Max, this guide on how to use GPU on V-Ray GPU Next for 3ds Max is a useful next step once your shortcut workflow is already comfortable.
For SketchUp users
SketchUp has a different rhythm. It’s lighter and more direct, but that also means shortcuts shape almost everything you do before rendering.
Useful SketchUp shortcuts include:
O: Orbit
H: Pan
Z: Zoom
T: Tape Measure
B: Paint Bucket
M: Move
Q: Rotate
P: Push / Pull
F: Offset
S: Scale
Spacebar: Select
L: Line
R: Rectangle
G: Make Component, depending on your setup
These may look like basic modeling shortcuts, but they affect V-Ray more than people think. Bad scale, loose geometry, messy groups, repeated unoptimized objects, and careless material assignment can all slow down your render process or create strange results later.
A cleaner SketchUp model gives V-Ray less nonsense to deal with. That means faster previews, fewer material issues, better camera setup, and fewer surprises when you finally open the VFB.
If your team is comparing real-time visualization against more traditional ray-traced workflows, this Enscape vs V-Ray comparison is a good companion read.
Custom V-Ray shortcuts: build a setup you’ll actually use
Custom shortcuts are where V-Ray can start feeling personal. Not fancy. Personal.
The mistake is trying to assign a key to everything on day one. It feels productive for about ten minutes, then you forget half of them and accidentally override shortcuts you already use in 3ds Max, SketchUp, Rhino, or Maya.
I’d keep it much simpler. Start with the actions you repeat every single day, then build from there.
Start with five custom shortcuts
Some V-Ray actions already have default keys, like H for History, Ctrl + L for the right panel, Esc for aborting a render, and 1–9 for loading recent history images. Keep those. They’re useful.
For the rest, I’d start by assigning custom shortcuts to these:
Start IPR
Stop Render
Save current image to History
Toggle Render Region
Show or hide Layers or LightMix
That’s enough to make the workflow feel faster without turning your keyboard into a flight simulator.
Start IPR and Stop Render are obvious choices because they sit at the center of look development. Save to History is just as important because it encourages better version comparison. Toggle Render Region is a daily time-saver if you’re testing materials, reflections, lighting problems, or noisy details.
Layers and LightMix depend on how you work. If you’re doing a lot of color correction inside the VFB, assign Layers. If you’re adjusting light intensity and color after rendering, LightMix deserves a shortcut too.
If you’re still deciding which 3D environment fits your rendering workflow best, this Blender vs 3ds Max comparison can help you think through the tradeoffs before building your V-Ray pipeline around one tool.
Save your shortcut profile
Once your setup feels natural, save it.
In the VFB, go to Settings > Shortcuts. From there, you can enable or edit VFB shortcuts, resolve conflicts, and save your shortcut profile as a .vrhk file.
That matters more than it sounds. If you switch machines, reinstall V-Ray, work in a studio setup, or move between a desktop and a laptop, you don’t want to rebuild your shortcut system from memory.
One small warning: VFB shortcuts usually work when the VFB window is focused. If your viewport is active, your host app may catch the key press instead. So before assuming a shortcut is broken, click into the VFB and try again.
If you use Maya in your pipeline, you can also pair this shortcut setup with a more GPU-focused workflow using this guide on how to use GPU on V-Ray GPU Next for Maya.
A practical shortcut workflow for one render test
Let’s put the shortcuts into a normal V-Ray situation.
Say you’re working on an interior render and something feels off. Maybe the sofa fabric looks too smooth, the corner near the window is noisy, or the client wants the room to feel “a little warmer,” which can mean five different things depending on the day.
Here’s a simple shortcut-driven workflow I’d use:
Set your camera first. In 3ds Max, press C to switch to Camera View.
Open Render Setup if you need to check output size or render settings. In 3ds Max, use F10.
Start IPR from the VFB toolbar, or use your custom shortcut if you’ve assigned one.
Use the mouse wheel to zoom into the area you’re testing.
Use middle mouse button drag or the arrow keys to pan around the image.
Turn on Render Region from the VFB toolbar, especially if the issue is local.
Press F to fit the active region or image in the VFB.
Use Page Up and Page Down to check render elements.
Press A to check Alpha if the render will be used in compositing.
Save the current render to History.
Make one change. Just one. Light temperature, exposure, roughness, texture scale, whatever you’re testing.
Save the new version to History.
Press 1–9 to load recent history images.
Use Q, W, or E to compare versions.
Press Esc only when you actually want to abort a render that is no longer useful.
The boring part is also the useful part: one change, one saved version, one comparison.
That rhythm keeps you from accidentally improving one thing while breaking three others. It also makes client feedback easier to handle because you can return to earlier versions without digging through a folder full of confusing filenames.
This is where shortcuts stop being “keyboard tricks” and start becoming workflow structure. You’re not just pressing keys faster. You’re creating a cleaner way to test, judge, and move forward.
When shortcuts are not enough
Shortcuts can make V-Ray feel faster, but they can’t bend physics.
At some point, the bottleneck is not your workflow. It’s the machine. You can use region render perfectly, compare versions cleanly, keep your VFB shortcuts sharp, and still hit a wall when the scene is simply too heavy for your hardware.
That usually shows up in familiar places:
Large architectural interiors with too many high-poly assets
Product scenes with complex glass, metal, or caustics
4K and 8K textures stacked across multiple materials
Displacement-heavy surfaces like rugs, stone, fabric, or terrain
GPU rendering with limited VRAM
Vegetation, proxies, scanned assets, and detailed furniture libraries
High-resolution client previews that need to look close to final
AI-assisted V-Ray workflows where you generate more versions than before
This is where I think people sometimes blame the wrong thing. They keep hunting for another shortcut, another tiny render setting, another optimization trick. And yes, scene optimization matters. Clean geometry matters. Texture management matters. Render settings absolutely matter.
But sometimes the project has just outgrown the workstation.
You feel it when IPR stops feeling interactive. You feel it when every material tweak takes long enough to break your focus. You feel it when you avoid testing an idea because you already know the preview will take too long.
That’s the real problem. Not just waiting, but making fewer creative decisions because the machine is slowing you down.
Shortcuts reduce friction around the render process. They help you inspect faster, compare faster, and stop wasting time on repeated clicks. But they don’t create more VRAM. They don’t turn a weak laptop into a proper render machine. And they don’t make a massive V-Ray scene lightweight by magic.
If GPU limits are the part slowing you down most, this guide to the best GPU for V-Ray is a helpful place to understand what actually matters before upgrading or moving to a cloud setup.
Where Vagon Cloud Computer fits
This is where a cloud computer starts to make sense.
Not because shortcuts stop mattering. The opposite, actually. A good shortcut workflow becomes more valuable when the machine can keep up with it. If you’ve built a fast loop around IPR, render history, region rendering, and comparisons, you don’t want that loop constantly interrupted by weak hardware.
Vagon Cloud Computer fits into that gap. It gives V-Ray users access to a more powerful cloud machine when their local setup starts slowing down the actual creative process.
Keep the workflow, change the machine
The nice thing about this approach is that you don’t have to change the way you think about V-Ray. You’re still using the same habits: start IPR, isolate the problem area, save versions, compare results, adjust materials, check render elements, export when ready.
The difference is that the machine doing the work has more room to breathe.
That can be useful if you’re working from a lightweight laptop, traveling, using a setup that wasn’t built for heavy rendering, or handling scenes that have slowly grown beyond what your local workstation can comfortably manage. Architectural interiors are a good example. They start simple, then suddenly you have detailed furniture, high-resolution textures, displacement rugs, vegetation outside the windows, glass, reflections, and a client asking for another version by the end of the day.
At that point, the question is not “Do I know enough shortcuts?” It’s “Can my machine keep up with the number of decisions I need to make?”
Vagon Cloud Computer is practical for that kind of work because it lets you open heavier projects, test more versions, and render on stronger hardware without immediately buying a new workstation. For freelancers, studios, architects, product designers, and 3D artists who move between devices, that flexibility can be a real advantage.
It also matters when the final output is not just a still image. More V-Ray users are now expected to share visual experiences with clients, not just send a JPEG and wait for comments. If you’re preparing interactive reviews, heavier scenes, or client-facing presentations, having cloud performance available can make the process much easier to manage.
Vagon doesn’t replace good V-Ray habits. You still need clean scenes, smart previews, render history, and a sane shortcut setup. But when the project gets too heavy, it helps those habits stay useful instead of getting buried under hardware limits.
Final thoughts: don’t memorize everything
The point of learning V-Ray shortcuts is not to become the person who knows every key command and still renders slowly.
The point is to remove friction from the parts of the workflow you repeat constantly. Preview, inspect, compare, stop, adjust, save. That’s the loop. If shortcuts make that loop faster, they’re worth learning. If they only sound impressive in a shortcut list, you probably don’t need them yet.
Start with the ones that touch your daily work:
Mouse wheel: Zoom in and out in the VFB
Double-click left mouse button: Jump to 100 percent zoom
Middle mouse button drag: Pan around the image
F: Fit the image or active region
Page Up / Page Down: Switch render elements
A / R / G / B: Check Alpha, Red, Green, and Blue channels
H: Show or hide History
1–9: Load recent render history images
Q / W / E: Compare history versions
Esc: Abort a render that no longer helps
F10 / F9 / Shift + Q: Useful 3ds Max render shortcuts
O / H / Z / T / B / M / Q / P: Useful SketchUp setup shortcuts
Learn those first. Use them until they become boring.
That’s when shortcuts start working properly. Not when you memorize them, but when they disappear into your process. You stop thinking about the interface and spend more time judging the image.
And really, that’s the whole point. Better V-Ray work usually comes from better decisions. Shortcuts just help you reach those decisions faster.
FAQs
1. What are the most useful V-Ray shortcuts to learn first?
Start with the shortcuts you’ll use inside the V-Ray Frame Buffer every day: Mouse wheel for zooming, double-click left mouse button for 100 percent zoom, middle mouse button drag for panning, Page Up / Page Down for switching render elements, A for Alpha, H for History, 1–9 for loading recent history images, and Esc for aborting a render. Those cover the basic loop: inspect, compare, stop, and adjust.
2. Why are my V-Ray shortcuts not working?
The most common reason is focus. Many VFB shortcuts only work when the V-Ray Frame Buffer window is active. If your viewport, Material Editor, or host app is selected, the shortcut may trigger something else or do nothing. Click inside the VFB and try again. If it still doesn’t work, check your VFB shortcut settings and make sure the shortcut hasn’t been changed, disabled, or assigned to a conflicting command.
3. Are V-Ray shortcuts the same in 3ds Max, SketchUp, Rhino, Maya, and Cinema 4D?
Not completely. Many VFB shortcuts are similar across V-Ray workflows, but host-app shortcuts depend on the software you’re using. For example, F10 opens Render Setup in 3ds Max, while SketchUp users rely more on shortcuts like O for Orbit, H for Pan, Z for Zoom, and B for Paint Bucket. The render workflow may feel similar, but the surrounding app changes the shortcut setup.
4. Can I customize V-Ray shortcuts?
Yes. You can customize VFB shortcuts from the V-Ray Frame Buffer settings. I’d start small. Custom shortcuts for Start IPR, Stop Render, Save current image to History, Toggle Render Region, and Show or hide Layers or LightMix are usually enough to make the workflow feel faster without making your setup confusing. Use them for a few days, then add more only when you notice a repeated action slowing you down.
5. What is the best shortcut for faster V-Ray rendering?
There isn’t one magic shortcut that makes rendering faster. The best time-savers usually work together: Render Region, Test Resolution, Start IPR, Stop Render, Save to History, and 1–9 for loading recent render history images. The goal is not just faster rendering. It’s faster decision-making. You want to test smaller areas, compare versions clearly, and avoid wasting full renders on tiny changes.
6. Should I use render history instead of saving image files manually?
Use both, but for different purposes. VFB History is great while you’re actively testing. It lets you compare lighting, materials, exposure, denoising, and color changes without filling your desktop with confusing filenames. Manual file saving still matters for delivery, archiving, client exports, and final versions. But during look development, render history is usually faster and cleaner.
7. Does learning shortcuts matter if my computer is slow?
Yes, but only up to a point. Shortcuts help you move through V-Ray faster, especially when previewing, inspecting, and comparing renders. But they won’t fix limited VRAM, weak GPU performance, or a scene that’s too heavy for your machine. If IPR no longer feels interactive, or you avoid testing ideas because previews take too long, hardware may be the real bottleneck. That’s where using a more powerful workstation or a cloud computer like Vagon can make sense.
8. When should I consider Vagon Cloud Computer for V-Ray?
Consider Vagon Cloud Computer when your local machine starts limiting your V-Ray workflow. Common signs include slow IPR, GPU memory limits, heavy architectural interiors, large product scenes, 4K or 8K textures, displacement-heavy materials, or client previews that need stronger hardware. It’s not a replacement for good shortcuts or clean scene setup. It’s more like extra headroom when your project outgrows your current machine.
Get Beyond Your Computer Performance
Run applications on your cloud computer with the latest generation hardware. No more crashes or lags.

Trial includes 1 hour usage + 7 days of storage.
Summarize with AI

Ready to focus on your creativity?
Vagon gives you the ability to create & render projects, collaborate, and stream applications with the power of the best hardware.

Vagon Blog


Run heavy applications on any device with
your personal computer on the cloud.
San Francisco, California
Solutions
Vagon Teams
Vagon Streams
Use Cases
Resources
Vagon Blog
How to Run Audacity on a Cloud Ubuntu Desktop (2026 Guide)
How to Run Darktable on a Cloud Ubuntu Desktop for RAW Photo Editing (2026 Guide)
How to Run Kdenlive on a Cloud Ubuntu Desktop (2026 Guide)
How to Run DaVinci Resolve on Linux in the Cloud (2026 Guide)
How to Run Inkscape on a Cloud Ubuntu Desktop (2026 Guide)
How to Run Krita on a Cloud Ubuntu Desktop for Digital Painting (2026 Guide)
How to Run GIMP on a Cloud Ubuntu Desktop (2026 Guide)
How to Run Jupyter on a Cloud GPU Linux Desktop (2026 Guide)
Vagon vs GitHub Codespaces: Cloud Dev Environments Compared (2026)
Vagon Blog
Run heavy applications on any device with
your personal computer on the cloud.
San Francisco, California
Solutions
Vagon Teams
Vagon Streams
Use Cases
Resources
Vagon Blog