Instant Connection for Pixel Streaming
— New Feature Automated Setup

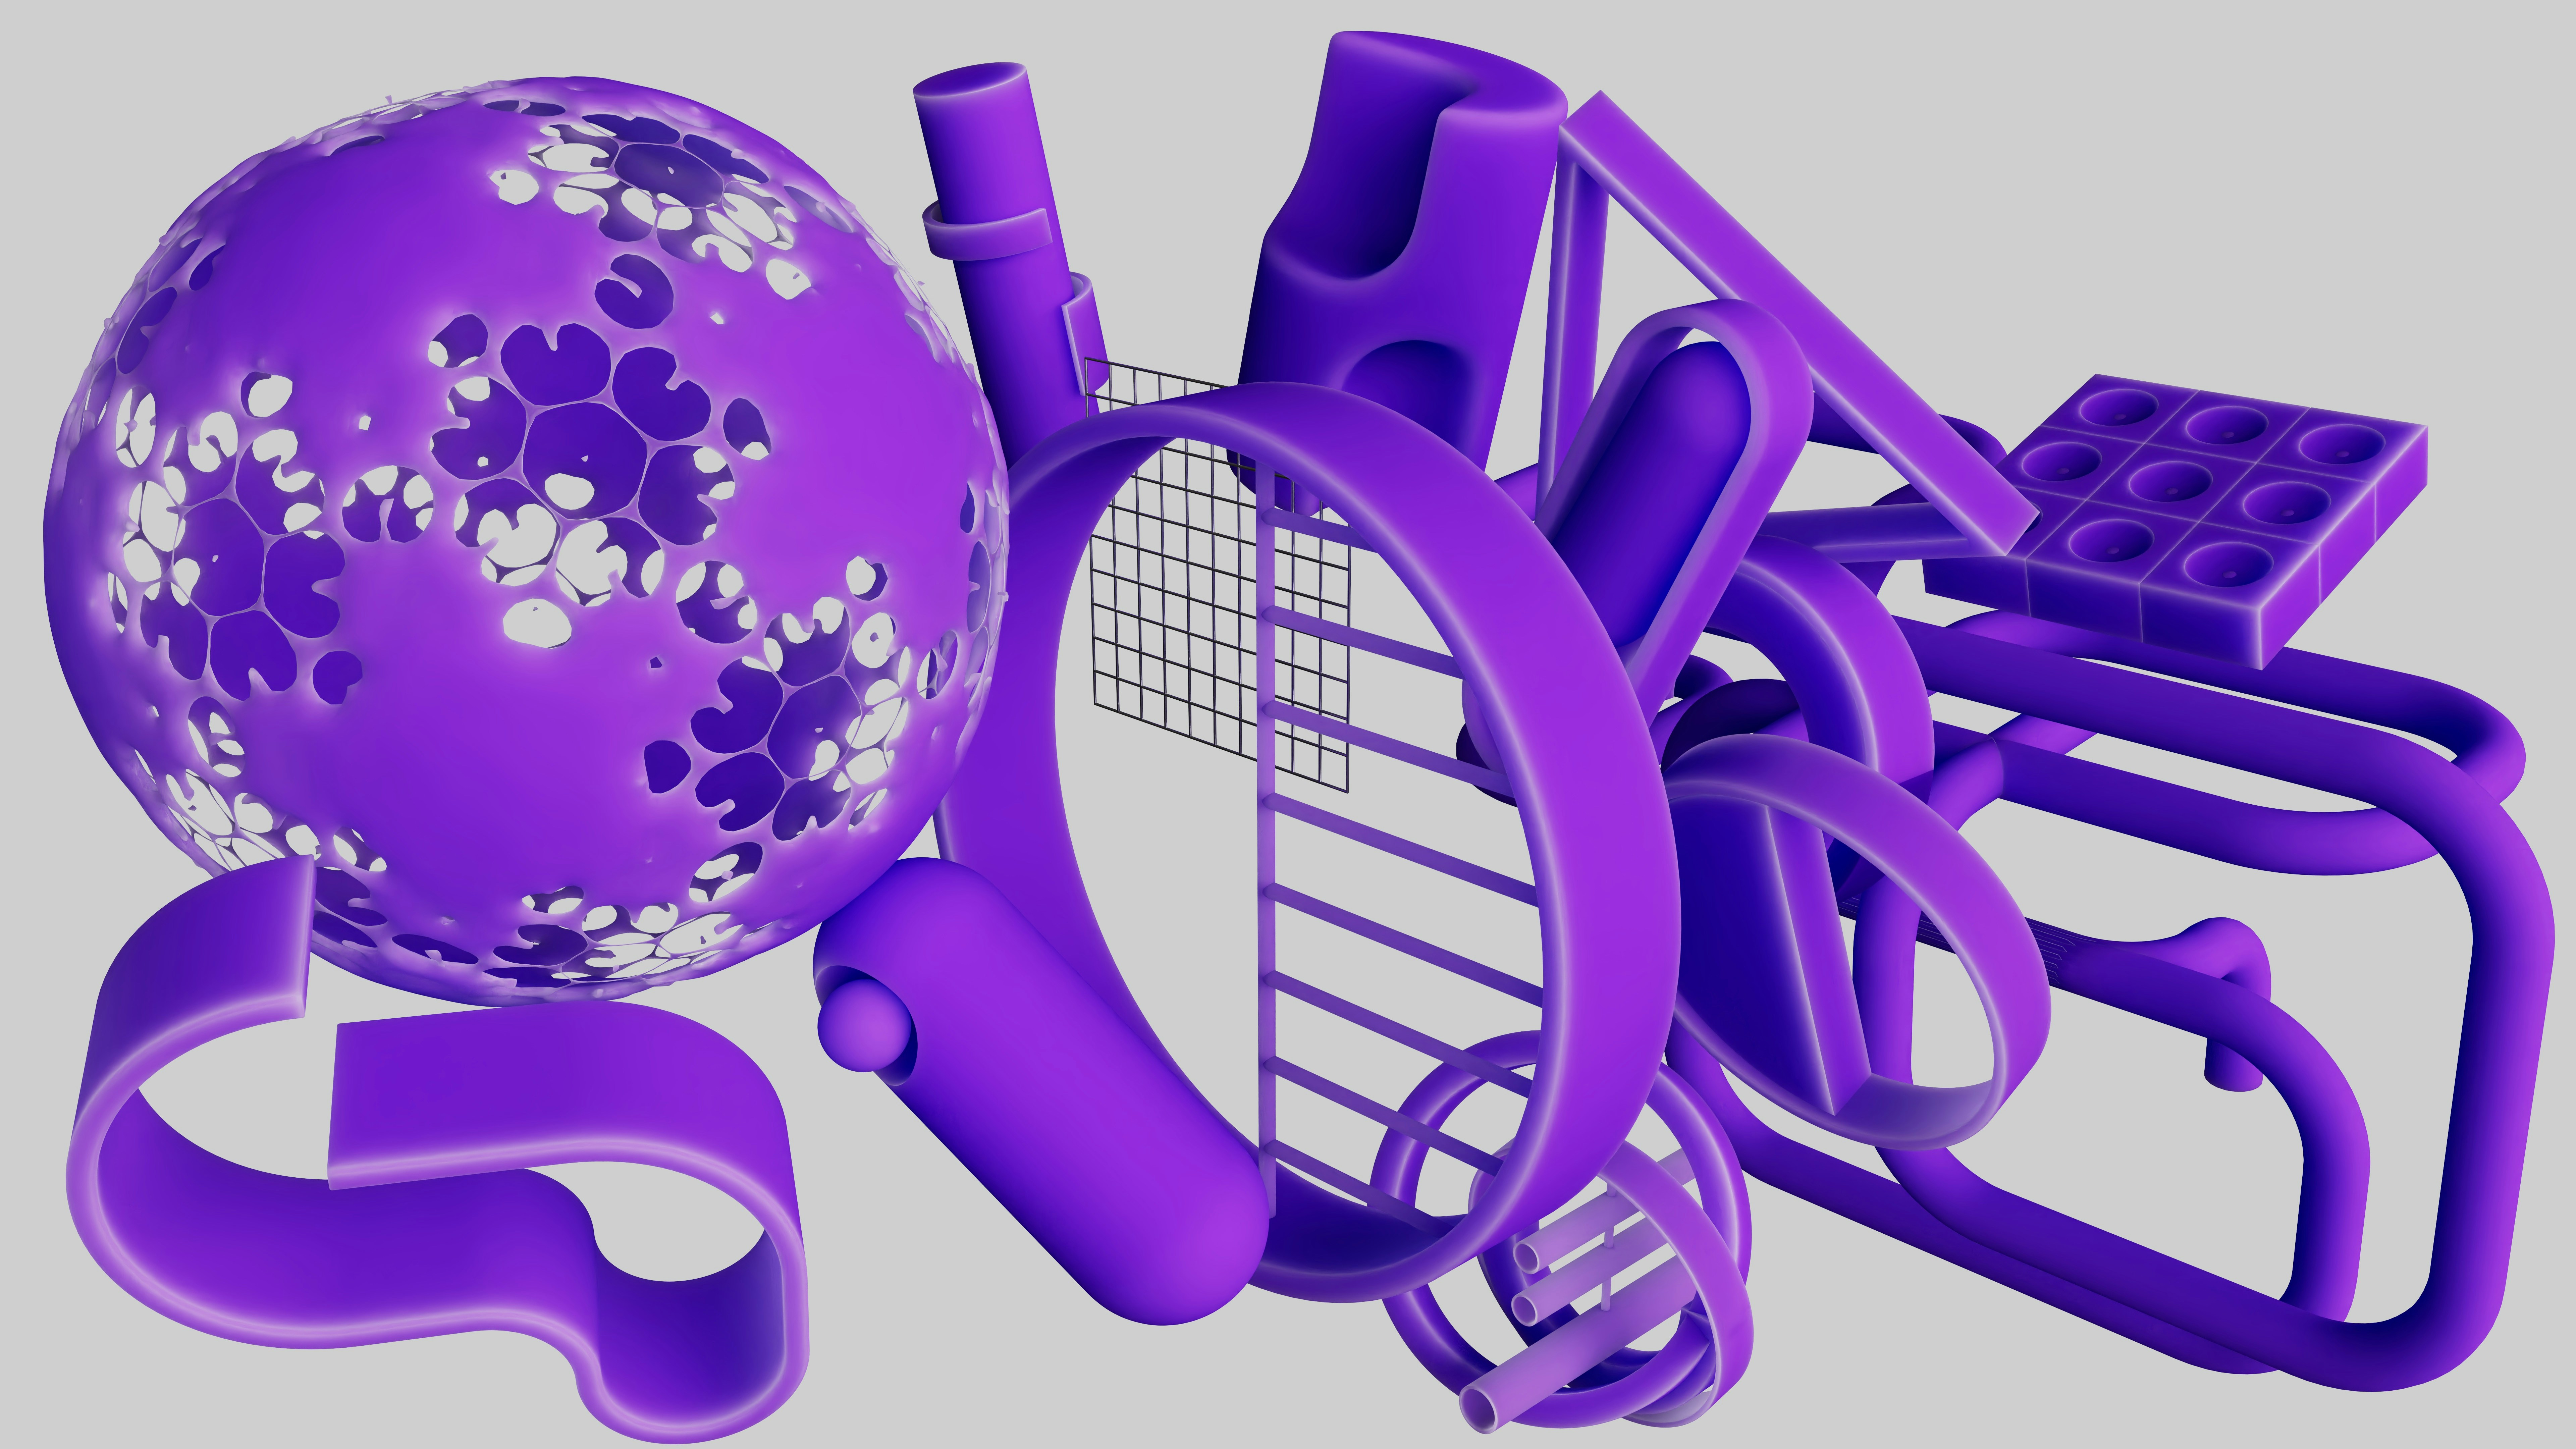
Best V-Ray Alternatives Worth Switching to in 2026
Best V-Ray Alternatives Worth Switching to in 2026
Architecture
Best V-Ray Alternatives Worth Switching to in 2026
Table of Contents
I’ve seen people spend months mastering V-Ray… then switch tools halfway through a project.
Not because V-Ray isn’t good. It’s still one of the most powerful render engines out there. The realism, the control, the lighting accuracy. When everything clicks, it really delivers.
But the world around it has changed.
Deadlines are tighter. Clients expect multiple variations fast, sometimes the same day. Real-time tools let you tweak a scene and see results instantly, which makes traditional rendering feel slower than it used to.
Then there’s hardware. Heavy scenes, long render times, constant pressure to upgrade. It adds up.
So people aren’t necessarily abandoning V-Ray. They’re just starting to ask a different question:
Is this still the fastest way to get the job done?
That’s what this guide is about. Not replacing V-Ray blindly, but figuring out when it makes sense to look at something else.
What Actually Matters in 2026
Before jumping to another renderer, it’s worth slowing down for a second. Because most people switch tools for the wrong reasons… and end up in the same situation a few months later.
I’ve done it. Learned a new engine, got excited, then realized my bottleneck didn’t magically disappear.
So what actually matters now?
First, speed vs realism.
Not in theory, in practice. If you’re working on marketing visuals or high-end stills, you probably still care about perfect lighting, subtle reflections, tiny details most people won’t consciously notice. That’s where traditional engines still shine.
But if you’re doing client work with constant revisions? Speed wins. Every time. Getting 90% of the quality in a fraction of the time is often the better trade.
Then there’s GPU vs CPU workflows.
Engines like V-Ray and Arnold traditionally leaned heavily on CPU rendering. Super stable, very accurate… but not exactly fast. Meanwhile, GPU engines like Redshift or Octane Render changed expectations completely.
You can see how much this shift matters when you start looking into setups like the best GPU for V-Ray. Hardware decisions alone can completely change your rendering speed.
You get near real-time feedback, but you’re also dealing with VRAM limits and hardware quirks.
It’s not just “GPU is better.” It’s “GPU is faster until it isn’t.”

Another thing people underestimate is the learning curve.
Switching from V-Ray to something like Blender or Unreal Engine isn’t just learning a renderer. It’s often learning an entirely different way of working. That can take weeks… sometimes months… before you’re actually faster again.
And yeah, ecosystem matters more than ever.
If your workflow lives inside SketchUp, 3ds Max, or Rhino, some tools will fit naturally. Others will fight you every step of the way. That friction adds up quickly.
Finally, there’s cost. Not just license fees, but time, hardware upgrades, render delays. The hidden stuff.
So before you switch, ask yourself something simple:
What’s actually slowing me down right now?
Because the answer to that question usually points you to the right tool… and sometimes, it’s not even a different renderer.
#1. Corona Renderer
If you like how V-Ray works but hate how long it takes to get there, Corona Renderer is usually the first place people look.
And honestly, that makes sense.
Corona feels familiar. Not identical, but close enough that you’re not relearning everything from scratch. The biggest difference? It’s way more forgiving. You don’t spend hours tweaking settings just to get a clean image. A lot of the complexity is handled for you.
In my experience, that’s the real appeal. You can focus on lighting and composition instead of constantly second-guessing technical parameters.
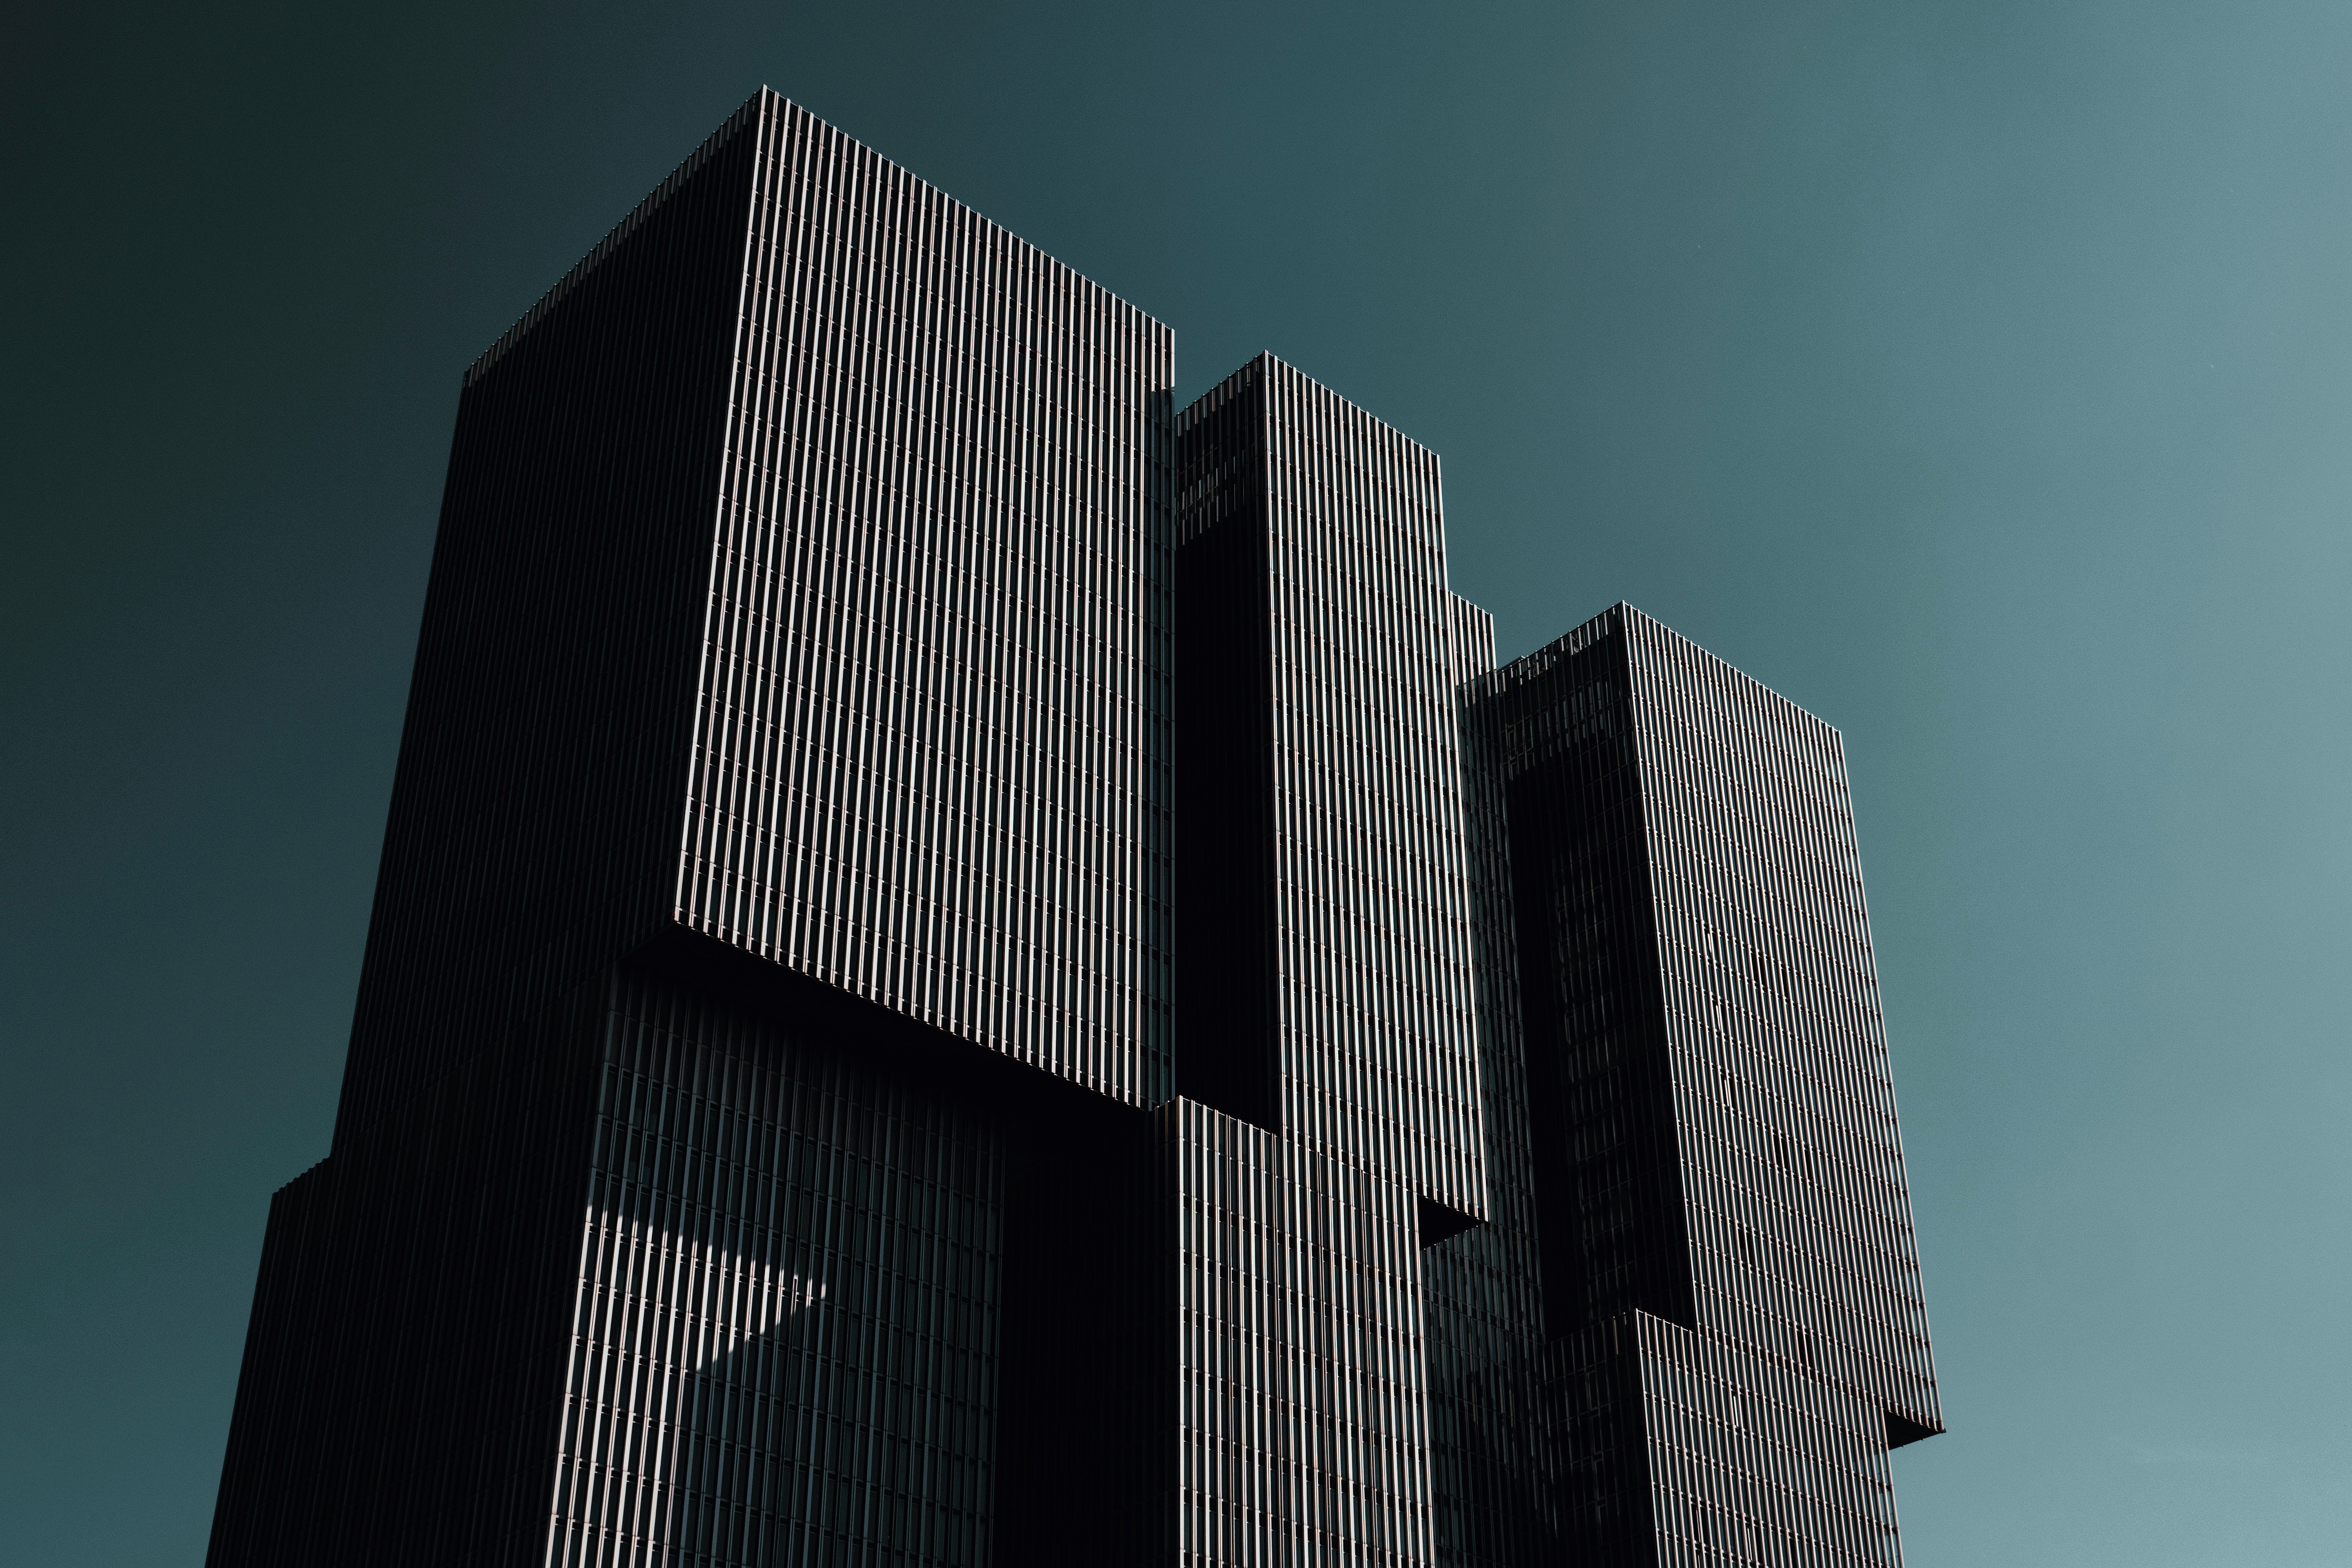
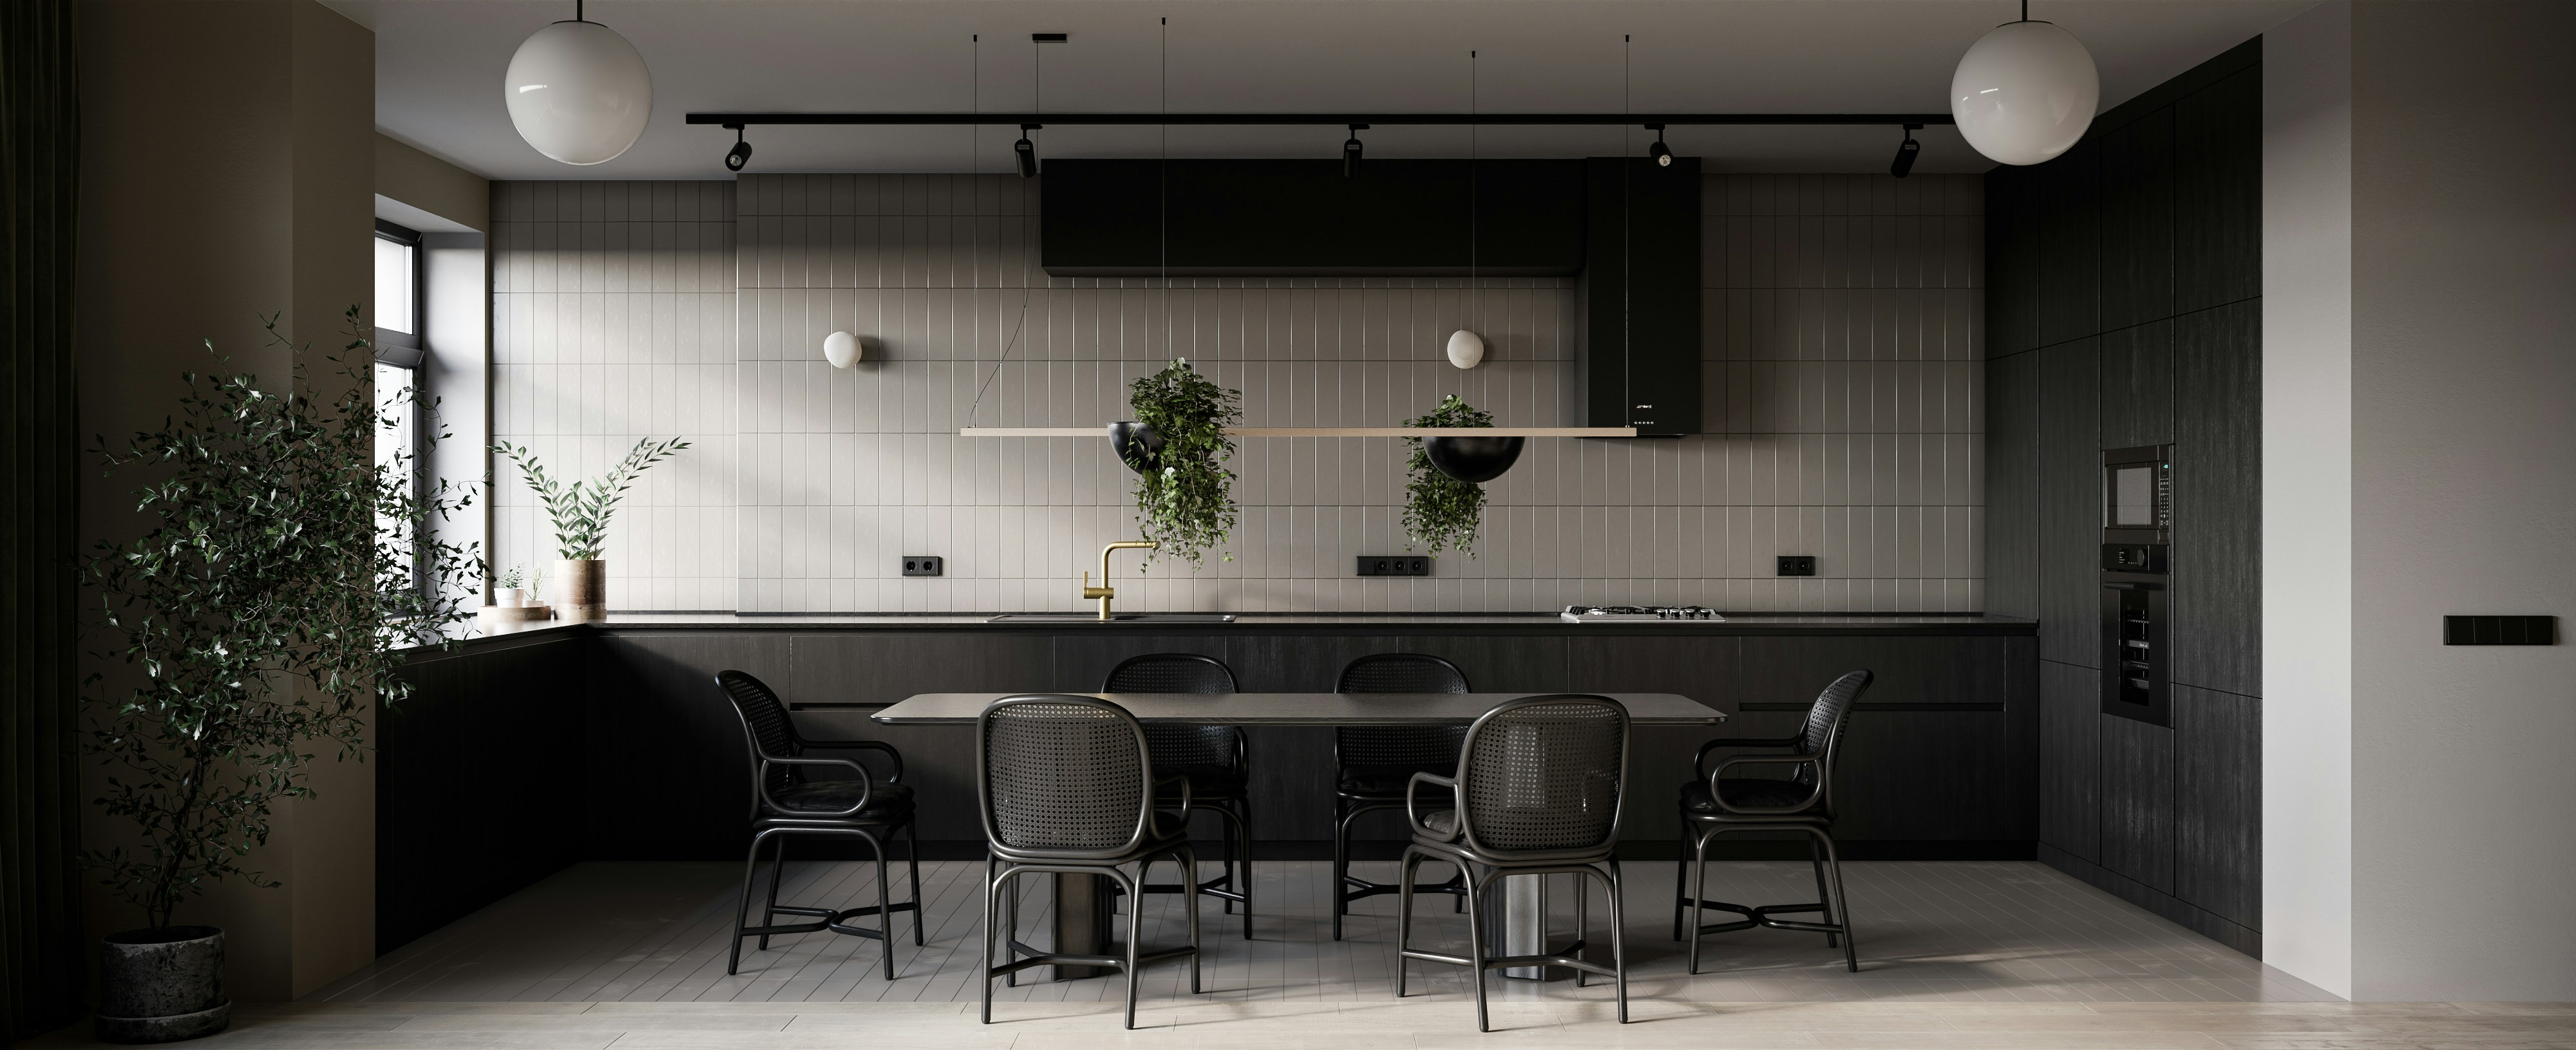
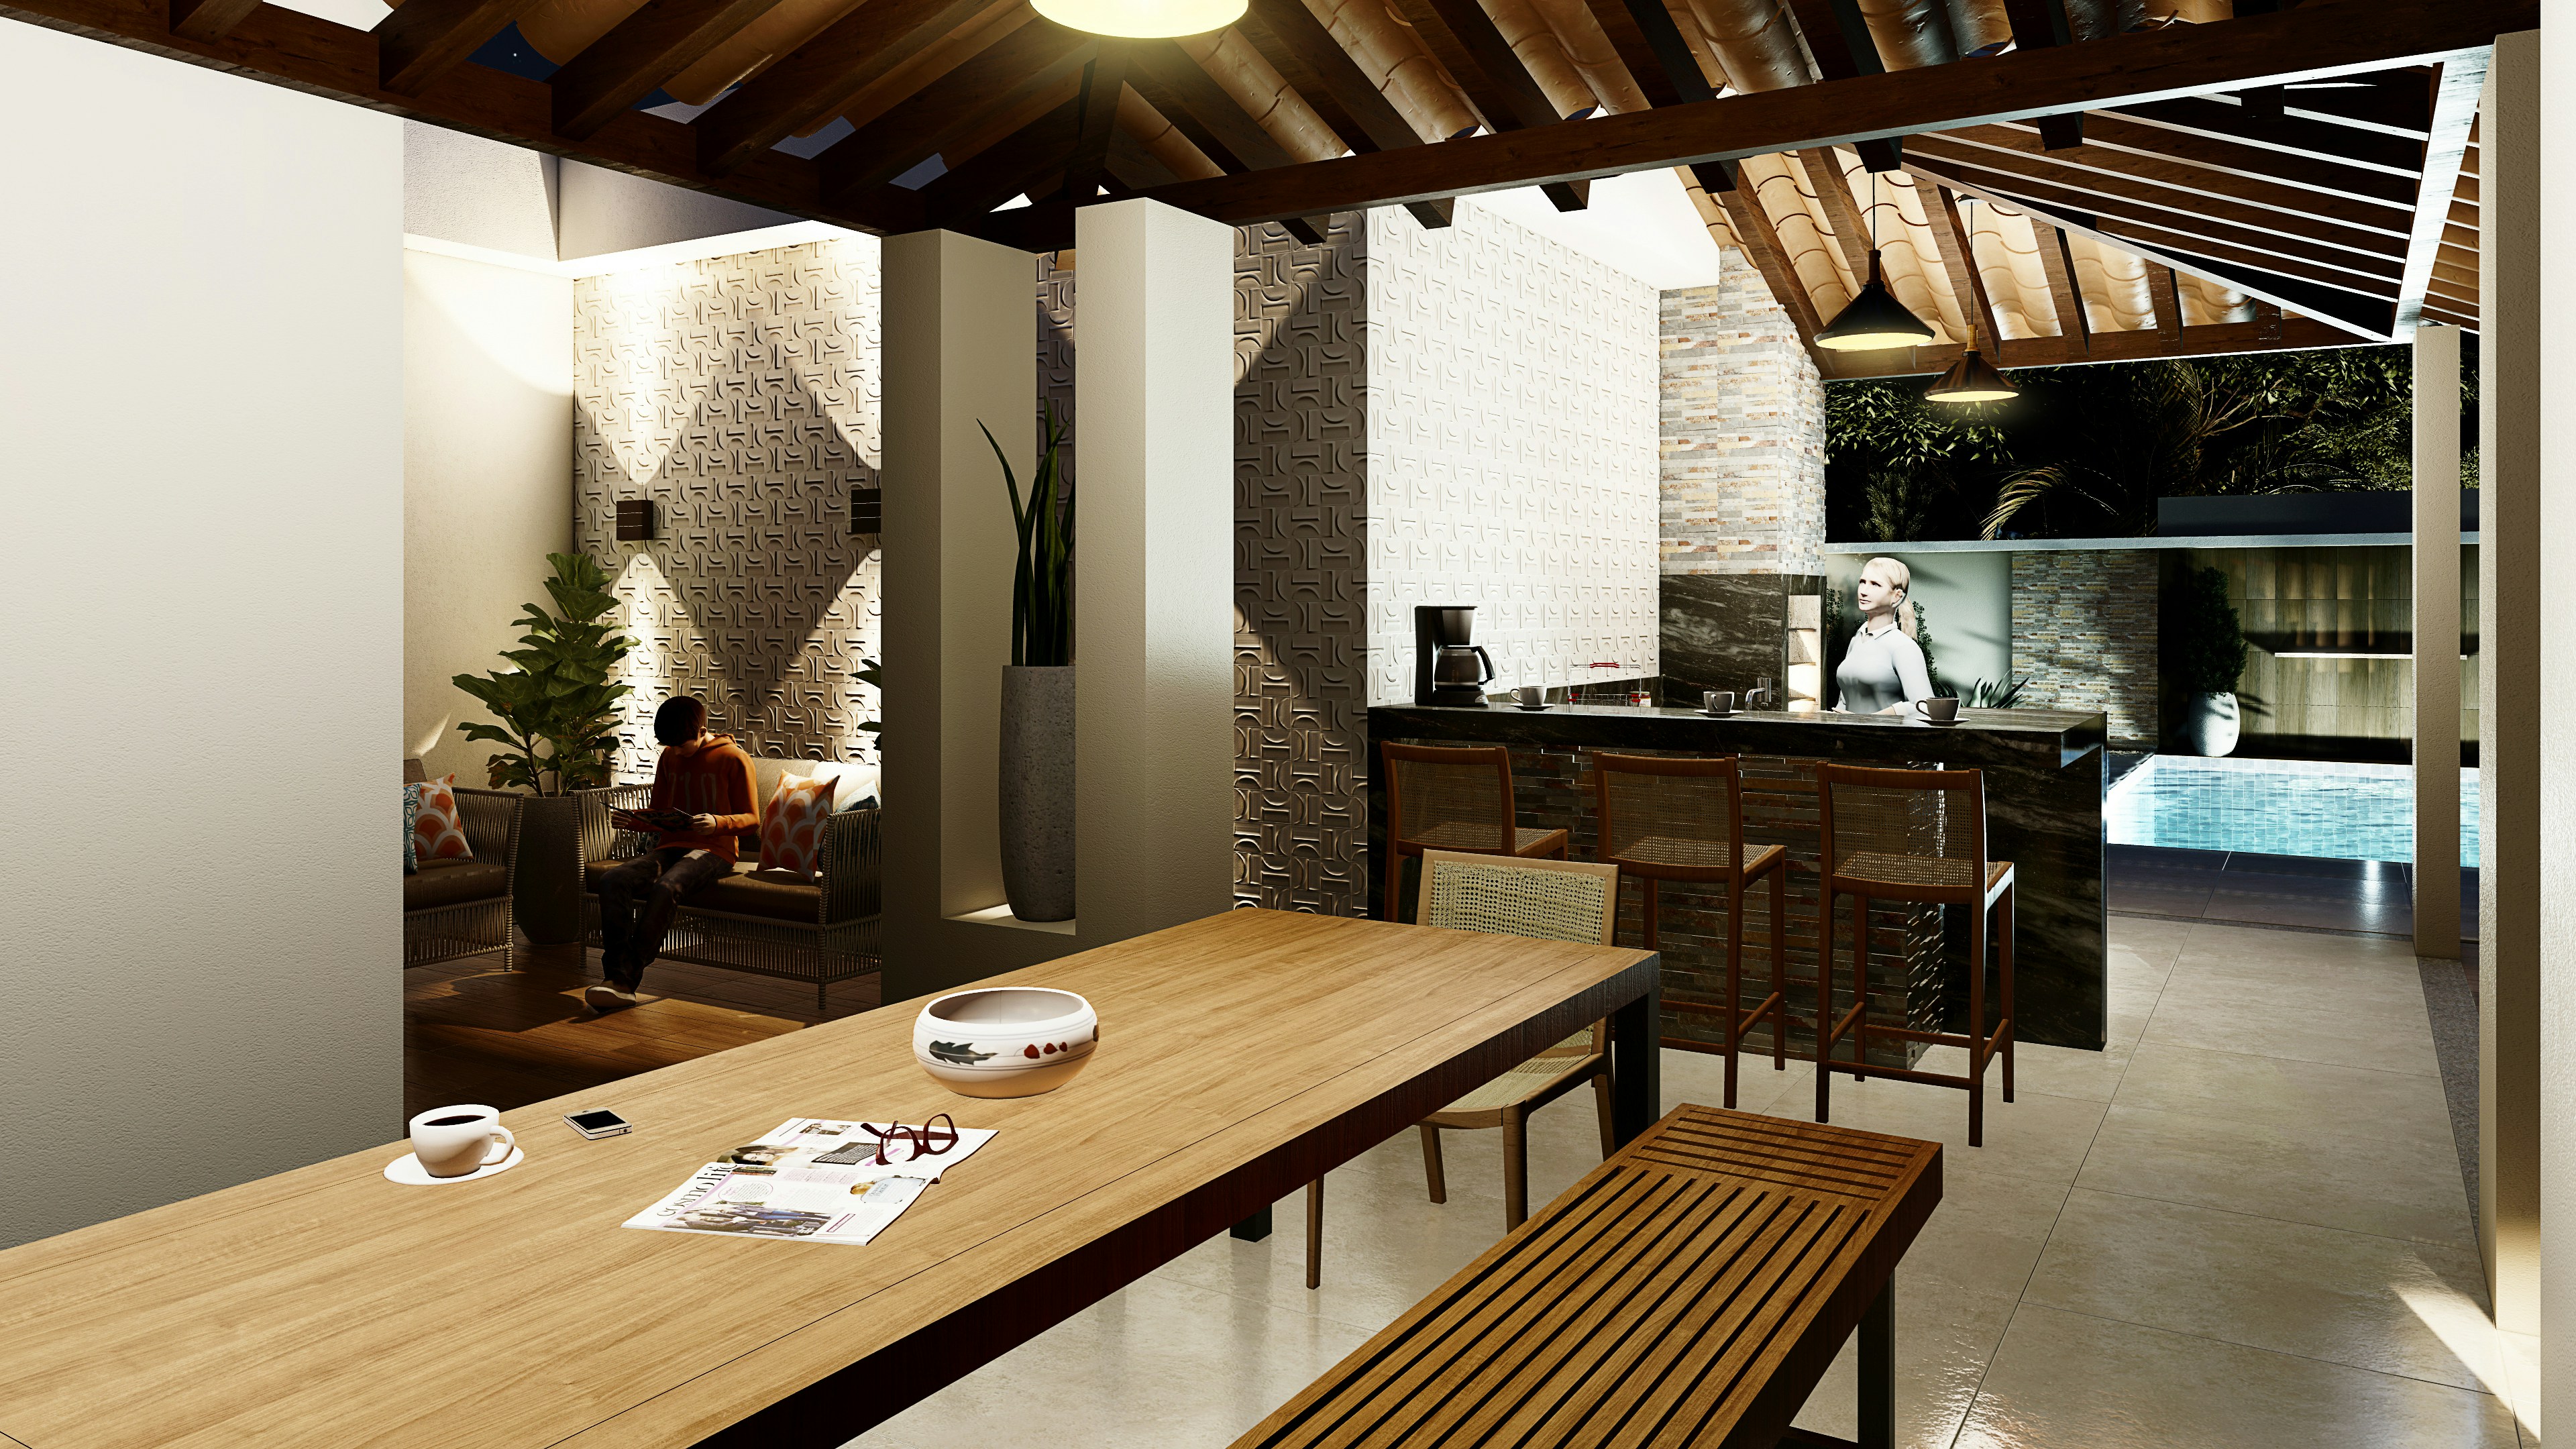
It’s especially strong in architectural visualization. Interiors, soft lighting, natural materials. Corona handles those beautifully without much effort. You set up your scene, hit render, and you’re already 80% there.
But there’s a tradeoff.
Corona is still mostly CPU-based. So while it’s simpler than V-Ray, it’s not dramatically faster in raw rendering time. If your main frustration is waiting on renders, this won’t magically fix that.

Also, it doesn’t have the same level of deep control V-Ray users are used to. For some people, that’s a relief. For others, it feels limiting once you hit more complex scenes.
So who is this actually for?
If you want V-Ray quality without the constant tweaking, Corona is probably the easiest switch you’ll ever make.
If you’re chasing speed above everything else… you’ll likely end up looking at GPU or real-time tools instead.
If you’re using 3ds Max and trying to squeeze more performance out of V-Ray, it’s worth learning how GPU workflows actually work in practice.
#2. Blender (Cycles & Eevee)
I’ll be honest. A few years ago, I wouldn’t have seriously recommended Blender to a dedicated V-Ray user.
That changed.
Blender today is… kind of hard to ignore. Not just because it’s free, but because it actually covers a huge part of the pipeline in one place. Modeling, texturing, rendering, even basic compositing. You don’t need five different tools just to finish a project.
Now, the rendering side.
Cycles is where the V-Ray comparison happens. It’s physically based, capable of very solid realism, and with GPU acceleration, it’s fast enough for most workflows. You won’t get a one-to-one match with V-Ray out of the box, but with some experience, you can get surprisingly close.
Then there’s Eevee.
Completely different mindset. Real-time, instant feedback, almost game-engine-like. It’s not built for perfect realism, but for previews, quick animations, or client drafts, it’s ridiculously efficient.
That dual setup is actually Blender’s biggest strength. You can move fast when you need to, then switch to higher-quality rendering without leaving the same environment.
But let’s not pretend it’s all smooth.
The learning curve is real. Especially if you’re coming from something like 3ds Max + V-Ray. Shortcuts, workflow logic, even basic navigation can feel off at first. I’ve seen people give up in the first week because of that friction.
And while Cycles is powerful, it still requires some setup knowledge to get consistently great results. It’s not “click and done.”
So where does Blender make the most sense?
If you want flexibility, control, and a full pipeline without paying for multiple tools, it’s one of the best options right now.
If you just want something that feels like V-Ray but easier… this probably isn’t it.
#3. Redshift
If your main issue with V-Ray is speed, not quality, Redshift is usually where the conversation gets serious.
This is where a lot of people have that “wait… why didn’t I switch earlier?” moment.
Redshift is GPU-based, and it’s built for production. Not just quick previews, but full scenes, heavy assets, complex lighting setups. Compared to CPU rendering, the difference can feel dramatic. You tweak something, hit render, and you’re not waiting minutes to see if it worked.
That feedback loop changes how you work.
You iterate more. You test ideas faster. You take risks you wouldn’t bother with in V-Ray because you know the cost of a bad render is low.
But there’s a catch. Actually, a few.
First, VRAM.
Everything lives inside your GPU memory. Once you hit that limit, things get messy. You either optimize your scene aggressively or start looking at workarounds. If you’re used to throwing huge scenes at V-Ray and letting the CPU handle it, this can feel restrictive.
Second, setup.
Redshift isn’t “automatic.” It gives you speed, but you still need to understand what you’re doing. Materials, lighting, optimization… it’s more technical than something like Corona.
And stability depends a lot on your hardware. A strong GPU setup isn’t optional here, it’s the whole point.
So where does it land?
If you’re working in motion graphics, product visualization, or anything with frequent revisions, Redshift can be a massive upgrade in day-to-day workflow.
If your scenes are extremely heavy and you don’t want to think about memory limits… V-Ray might still feel more comfortable.
#4. Octane Render
Octane Render is one of those tools that looks almost too good the first time you use it.
You move a light… and the result updates instantly.
You tweak a material… same thing.
That real-time feedback is addictive. Not in a vague way. It genuinely changes how you approach a scene because you’re no longer guessing what a change will look like.
In terms of raw visual output, Octane can absolutely compete. It’s physically accurate, handles light beautifully, and produces very clean, cinematic results without a ton of setup. A lot of artists lean on it for product renders, motion work, and anything where lighting mood really matters.
But like Redshift, it comes with tradeoffs.
It’s heavily GPU-dependent. No strong GPU, no smooth experience. And yes, VRAM limits show up here too. Large scenes can force you into optimization mode pretty quickly.
I’ve also noticed that Octane can feel a bit less predictable compared to something like V-Ray. You’ll get great results fast, but dialing things in exactly the way you want can take some experimentation.
And stability… depends. Some setups run perfectly. Others, not so much.
So who is this really for?
If you want speed, real-time feedback, and high-quality visuals without spending hours tweaking settings, Octane is a strong option.
If you prefer full control and absolute consistency, it might feel a little loose around the edges.
#5. Unreal Engine
This is where things start to feel very different.
Unreal Engine isn’t just a renderer. It’s a full real-time environment. And once you step into it, you’re not just “rendering images” anymore. You’re building scenes you can walk through, animate, even interact with.
That shift is bigger than it sounds.
With Unreal, lighting, materials, and cameras all update instantly. You don’t render frames in the traditional sense. You stage them. That alone can cut hours, sometimes days, out of a project when you’re dealing with multiple revisions.

It’s also why a lot of studios are moving toward it for presentations. Instead of sending still images, they’re sending interactive walkthroughs. Clients can explore the space, change angles, experience it in real time.
Hard to go back after that.
But yeah, there’s a learning curve. A real one.
If you’re coming from V-Ray, this isn’t just a new renderer. It’s a new mindset. Scene optimization, real-time lighting tricks, asset management. It takes time before you feel comfortable, let alone fast.
And while Unreal can look incredible, getting that high-end cinematic quality isn’t automatic. You’ll need to put in the work.
So where does it make sense?
If your work involves presentations, environments, or anything interactive, Unreal opens doors that traditional renderers simply can’t.
If you just need a few perfect still images… it might be more than you actually need.
#6. Lumion, Twinmotion, and Enscape
I’m grouping these together on purpose, because they solve a very specific problem.
Speed. Not “render faster if you optimize everything” speed. Just… fast.
Tools like Lumion, Twinmotion, and Enscape are built for getting something presentable as quickly as possible. You import your model, apply materials, drop in lighting, and you’re already looking at a usable scene within minutes.
That’s why architects love them.
You don’t need to think too much about render settings. You don’t spend hours tweaking noise thresholds or sampling values. It’s more about composition, environment, and storytelling than technical perfection.
And for client work? That’s often enough.
You can walk a client through a space in real time, adjust things on the fly, and keep the conversation moving. That alone can save days of back-and-forth compared to sending static renders.
But let’s be honest about the limitations.
You’re not getting the same level of realism or control as V-Ray. Materials can feel a bit generic. Lighting, while good, doesn’t always hold up in close-up shots. And if you’re aiming for high-end marketing visuals, you’ll probably hit a ceiling.
Still, they’re not trying to replace V-Ray. That’s the wrong way to look at it.
They’re designed for a different stage of the workflow.
If you need speed, quick iterations, and smooth client presentations, these tools are incredibly effective.
If you’re chasing pixel-perfect realism… you’ll likely still need something else for the final output.
If you prefer working outside DCC tools and rely on standalone rendering, getting comfortable with GPU usage there can make a noticeable difference.
The Shift Nobody Talks About Enough
Here’s the part that doesn’t show up in most “best renderer” lists.
The real change isn’t just new engines. It’s how often you actually need them.
A couple of years ago, rendering was the bottleneck. You built your scene, hit render, and waited. That was the workflow.
Now? A lot of the heavy thinking happens before you even open a renderer.
AI tools are starting to creep into the early stages. Not for final images, not yet. But for ideation. You can generate lighting variations, material directions, even rough compositions in minutes. That used to take hours of manual setup.
And once you’ve already explored those directions, you’re not rendering blindly anymore. You’re executing something you’ve already seen.

That changes how often you rely on tools like V-Ray or even Unreal Engine.
At the same time, real-time workflows are becoming the default, not the exception.
People expect instant feedback now. Internally and from clients. Waiting for renders feels like waiting for a file to download on slow internet. You can do it… but it’s frustrating once you’ve experienced something faster.
I’ve noticed this shift especially in smaller teams and freelancers. They’re optimizing for iteration speed, not just final quality. Because in most cases, the ability to explore more ideas beats squeezing out the last 5% of realism.
Does this mean traditional renderers are going away?
No. But their role is changing.
They’re becoming the final step, not the entire process.
If your pipeline is built around Maya, the setup process has its own quirks, and it’s worth understanding them early.
The Real Bottleneck Isn’t Your Render Engine
This is the part people usually avoid.
It’s easier to blame the renderer than to admit your machine just can’t keep up.
I’ve seen artists switch from V-Ray to something like Redshift or Octane Render expecting a huge jump… and yeah, things get faster. For a while.
Then the same issues creep back in.
Scenes get heavier. Textures get larger. Deadlines get tighter. Suddenly you’re optimizing again, watching memory usage, closing background apps just to squeeze out a bit more performance.
Sound familiar?
At some point, it stops being about which renderer you use.
It becomes a hardware problem.

CPU limits. GPU limits. VRAM ceilings that you hit right when the scene gets interesting. And upgrading isn’t cheap. Especially if you’re chasing high-end GPUs just to keep up with your own projects.
The frustrating part is this:
Switching tools feels like progress. Upgrading hardware feels like a sunk cost.
So people keep switching.
But if your core issue is “my machine slows me down,” changing render engines won’t fix that. It just changes how the problem shows up.
That’s why a lot of workflows are starting to shift away from thinking “which renderer is best” to something more practical:
“How do I remove hardware as a limitation altogether?”
If you’re not just switching renderers but questioning your entire workflow, comparing Blender and 3ds Max can give you a clearer picture of what you’re actually gaining or losing.
Why Vagon Cloud Computer Makes More Sense Than Switching Again
At some point, you have to ask a slightly uncomfortable question.
What if the problem isn’t your renderer at all?
Because if your workflow feels slow, switching from V-Ray to something like Redshift or Octane Render might help… but only until you hit the next limit.
And you will.
Scenes get heavier. Expectations go up. Suddenly your “fast” setup starts feeling slow again. Then comes the upgrade cycle. New GPU, more RAM, better CPU. It never really ends.
That’s where Vagon Cloud Computer changes the conversation completely.
Instead of trying to optimize around your hardware, you remove the limitation altogether.
You log in, spin up a powerful machine, and run whatever you need. High-end GPU rendering, heavy V-Ray scenes, real-time workflows in Unreal Engine. No compromises, no “can my system handle this?” in the back of your mind.
And the flexibility is the real advantage here.
You’re not locked into one renderer because your hardware favors it. You can use the right tool for each project. Photoreal stills in V-Ray, fast iterations in something else, real-time presentations when needed.
It also changes how you approach bigger projects.

Instead of simplifying scenes to fit your machine, you just… don’t. You scale up when the project demands it, and scale down when it doesn’t. That alone can save hours of optimization work that nobody actually enjoys doing.
Of course, it’s not perfect.
You need a solid internet connection, and there’s always a small adjustment when moving your workflow to the cloud. But compared to constantly upgrading hardware or limiting your creative options, it’s a pretty easy trade to make.
At a certain point, it stops being about finding the perfect renderer.
It becomes about having the freedom to use any of them without thinking twice.
If you’ve ever thought “maybe I just need a stronger machine,” you’re not alone, and building or buying the right workstation is a bigger decision than it looks.
Should You Actually Leave V-Ray?
This is where things get a bit less black and white.
Because despite everything we just talked about, V-Ray is still incredibly good at what it does. If you’ve already invested time into learning it, that matters more than people admit.
Switching tools isn’t just installing new software. It’s weeks, sometimes months, of rebuilding your speed.
So staying with V-Ray makes perfect sense if:
You rely on high-end photorealism
You already have a solid workflow dialed in
Your projects don’t require constant rapid iteration
In those cases, V-Ray still delivers. No reason to fix what isn’t broken.
But… there are clear situations where switching starts to make more sense.
If your work involves a lot of revisions.
If clients expect faster turnaround times.
If you’re spending more time waiting on renders than actually creating.
That’s usually the tipping point.
I’ve noticed more people moving toward hybrid workflows instead of fully committing to one tool. They’ll use something fast for iteration, then switch to V-Ray for final output. Or skip traditional rendering entirely for certain projects and go fully real-time.
That flexibility is becoming normal.
So the question isn’t really “should you leave V-Ray?”
It’s more like:
Where does V-Ray still make sense in your workflow… and where does it slow you down?
Final Thoughts
A few years ago, choosing a renderer felt like a long-term commitment.
You picked one, learned it deeply, and built your entire workflow around it. That was the safe move.
That’s not really how things work anymore.
Now it’s less about loyalty and more about flexibility. Using V-Ray when you need that last bit of realism. Switching to something faster when deadlines are tight. Jumping into real-time tools when clients want to explore, not just look.
Different tools for different moments.
And honestly, that’s probably a better place to be.
FAQs
1. Is V-Ray still worth learning in 2026?
Short answer? Yes. V-Ray is still one of the best tools for high-end photorealism. If your work depends on detailed lighting, accurate materials, and polished final renders, it absolutely holds up. That said, I wouldn’t rely on it as your only tool anymore. The industry is moving toward faster, more flexible workflows. Knowing when to use V-Ray matters just as much as knowing how.
2. What is the easiest alternative to switch to from V-Ray?
Probably Corona Renderer. It feels familiar, the setup is simpler, and you can get good results quickly without constantly tweaking settings. If you want something that keeps the same general workflow but reduces complexity, this is usually the smoothest transition.
3. Which V-Ray alternative is the fastest?
If speed is your top priority, GPU renderers like Redshift and Octane Render are strong options. They give you near real-time feedback, which makes iteration much faster. But keep in mind, they come with VRAM limitations. Fast doesn’t mean unlimited.
4. Are real-time renderers good enough to replace V-Ray?
Depends on what you’re doing. Tools like Unreal Engine, Lumion, and Enscape are more than good enough for presentations, walkthroughs, and fast client work. But if you’re aiming for ultra-photoreal marketing visuals, V-Ray or similar engines still have the edge.
5. Do I need a powerful computer for these alternatives?
In most cases… yes. Especially for GPU-based tools. You’ll run into limitations pretty quickly if your hardware isn’t strong enough. That’s actually one of the main reasons people feel stuck, even after switching renderers.
6. Can I use multiple renderers in one workflow?
You probably should. A lot of professionals now mix tools depending on the stage of the project. Fast tools for iteration, heavier engines for final output. It’s more flexible and often more efficient than relying on a single renderer for everything.
7. Is cloud computing actually useful for rendering?
If hardware is slowing you down, it can make a big difference. Platforms like Vagon Cloud Computer let you run heavy scenes and high-end renderers without worrying about your local machine. It’s especially useful for larger projects or when you need extra power temporarily.
8. What’s the biggest mistake people make when switching from V-Ray?
Thinking the renderer is the main problem. Sometimes it is. But often it’s workflow, hardware, or unrealistic expectations around speed. Switching tools helps, but it doesn’t fix everything. It’s usually better to understand why you’re struggling first… then choose the tool that actually solves that problem.
I’ve seen people spend months mastering V-Ray… then switch tools halfway through a project.
Not because V-Ray isn’t good. It’s still one of the most powerful render engines out there. The realism, the control, the lighting accuracy. When everything clicks, it really delivers.
But the world around it has changed.
Deadlines are tighter. Clients expect multiple variations fast, sometimes the same day. Real-time tools let you tweak a scene and see results instantly, which makes traditional rendering feel slower than it used to.
Then there’s hardware. Heavy scenes, long render times, constant pressure to upgrade. It adds up.
So people aren’t necessarily abandoning V-Ray. They’re just starting to ask a different question:
Is this still the fastest way to get the job done?
That’s what this guide is about. Not replacing V-Ray blindly, but figuring out when it makes sense to look at something else.
What Actually Matters in 2026
Before jumping to another renderer, it’s worth slowing down for a second. Because most people switch tools for the wrong reasons… and end up in the same situation a few months later.
I’ve done it. Learned a new engine, got excited, then realized my bottleneck didn’t magically disappear.
So what actually matters now?
First, speed vs realism.
Not in theory, in practice. If you’re working on marketing visuals or high-end stills, you probably still care about perfect lighting, subtle reflections, tiny details most people won’t consciously notice. That’s where traditional engines still shine.
But if you’re doing client work with constant revisions? Speed wins. Every time. Getting 90% of the quality in a fraction of the time is often the better trade.
Then there’s GPU vs CPU workflows.
Engines like V-Ray and Arnold traditionally leaned heavily on CPU rendering. Super stable, very accurate… but not exactly fast. Meanwhile, GPU engines like Redshift or Octane Render changed expectations completely.
You can see how much this shift matters when you start looking into setups like the best GPU for V-Ray. Hardware decisions alone can completely change your rendering speed.
You get near real-time feedback, but you’re also dealing with VRAM limits and hardware quirks.
It’s not just “GPU is better.” It’s “GPU is faster until it isn’t.”
Another thing people underestimate is the learning curve.
Switching from V-Ray to something like Blender or Unreal Engine isn’t just learning a renderer. It’s often learning an entirely different way of working. That can take weeks… sometimes months… before you’re actually faster again.
And yeah, ecosystem matters more than ever.
If your workflow lives inside SketchUp, 3ds Max, or Rhino, some tools will fit naturally. Others will fight you every step of the way. That friction adds up quickly.
Finally, there’s cost. Not just license fees, but time, hardware upgrades, render delays. The hidden stuff.
So before you switch, ask yourself something simple:
What’s actually slowing me down right now?
Because the answer to that question usually points you to the right tool… and sometimes, it’s not even a different renderer.
#1. Corona Renderer
If you like how V-Ray works but hate how long it takes to get there, Corona Renderer is usually the first place people look.
And honestly, that makes sense.
Corona feels familiar. Not identical, but close enough that you’re not relearning everything from scratch. The biggest difference? It’s way more forgiving. You don’t spend hours tweaking settings just to get a clean image. A lot of the complexity is handled for you.
In my experience, that’s the real appeal. You can focus on lighting and composition instead of constantly second-guessing technical parameters.
It’s especially strong in architectural visualization. Interiors, soft lighting, natural materials. Corona handles those beautifully without much effort. You set up your scene, hit render, and you’re already 80% there.
But there’s a tradeoff.
Corona is still mostly CPU-based. So while it’s simpler than V-Ray, it’s not dramatically faster in raw rendering time. If your main frustration is waiting on renders, this won’t magically fix that.
Also, it doesn’t have the same level of deep control V-Ray users are used to. For some people, that’s a relief. For others, it feels limiting once you hit more complex scenes.
So who is this actually for?
If you want V-Ray quality without the constant tweaking, Corona is probably the easiest switch you’ll ever make.
If you’re chasing speed above everything else… you’ll likely end up looking at GPU or real-time tools instead.
If you’re using 3ds Max and trying to squeeze more performance out of V-Ray, it’s worth learning how GPU workflows actually work in practice.
#2. Blender (Cycles & Eevee)
I’ll be honest. A few years ago, I wouldn’t have seriously recommended Blender to a dedicated V-Ray user.
That changed.
Blender today is… kind of hard to ignore. Not just because it’s free, but because it actually covers a huge part of the pipeline in one place. Modeling, texturing, rendering, even basic compositing. You don’t need five different tools just to finish a project.
Now, the rendering side.
Cycles is where the V-Ray comparison happens. It’s physically based, capable of very solid realism, and with GPU acceleration, it’s fast enough for most workflows. You won’t get a one-to-one match with V-Ray out of the box, but with some experience, you can get surprisingly close.
Then there’s Eevee.
Completely different mindset. Real-time, instant feedback, almost game-engine-like. It’s not built for perfect realism, but for previews, quick animations, or client drafts, it’s ridiculously efficient.
That dual setup is actually Blender’s biggest strength. You can move fast when you need to, then switch to higher-quality rendering without leaving the same environment.
But let’s not pretend it’s all smooth.
The learning curve is real. Especially if you’re coming from something like 3ds Max + V-Ray. Shortcuts, workflow logic, even basic navigation can feel off at first. I’ve seen people give up in the first week because of that friction.
And while Cycles is powerful, it still requires some setup knowledge to get consistently great results. It’s not “click and done.”
So where does Blender make the most sense?
If you want flexibility, control, and a full pipeline without paying for multiple tools, it’s one of the best options right now.
If you just want something that feels like V-Ray but easier… this probably isn’t it.
#3. Redshift
If your main issue with V-Ray is speed, not quality, Redshift is usually where the conversation gets serious.
This is where a lot of people have that “wait… why didn’t I switch earlier?” moment.
Redshift is GPU-based, and it’s built for production. Not just quick previews, but full scenes, heavy assets, complex lighting setups. Compared to CPU rendering, the difference can feel dramatic. You tweak something, hit render, and you’re not waiting minutes to see if it worked.
That feedback loop changes how you work.
You iterate more. You test ideas faster. You take risks you wouldn’t bother with in V-Ray because you know the cost of a bad render is low.
But there’s a catch. Actually, a few.
First, VRAM.
Everything lives inside your GPU memory. Once you hit that limit, things get messy. You either optimize your scene aggressively or start looking at workarounds. If you’re used to throwing huge scenes at V-Ray and letting the CPU handle it, this can feel restrictive.
Second, setup.
Redshift isn’t “automatic.” It gives you speed, but you still need to understand what you’re doing. Materials, lighting, optimization… it’s more technical than something like Corona.
And stability depends a lot on your hardware. A strong GPU setup isn’t optional here, it’s the whole point.
So where does it land?
If you’re working in motion graphics, product visualization, or anything with frequent revisions, Redshift can be a massive upgrade in day-to-day workflow.
If your scenes are extremely heavy and you don’t want to think about memory limits… V-Ray might still feel more comfortable.
#4. Octane Render
Octane Render is one of those tools that looks almost too good the first time you use it.
You move a light… and the result updates instantly.
You tweak a material… same thing.
That real-time feedback is addictive. Not in a vague way. It genuinely changes how you approach a scene because you’re no longer guessing what a change will look like.
In terms of raw visual output, Octane can absolutely compete. It’s physically accurate, handles light beautifully, and produces very clean, cinematic results without a ton of setup. A lot of artists lean on it for product renders, motion work, and anything where lighting mood really matters.
But like Redshift, it comes with tradeoffs.
It’s heavily GPU-dependent. No strong GPU, no smooth experience. And yes, VRAM limits show up here too. Large scenes can force you into optimization mode pretty quickly.
I’ve also noticed that Octane can feel a bit less predictable compared to something like V-Ray. You’ll get great results fast, but dialing things in exactly the way you want can take some experimentation.
And stability… depends. Some setups run perfectly. Others, not so much.
So who is this really for?
If you want speed, real-time feedback, and high-quality visuals without spending hours tweaking settings, Octane is a strong option.
If you prefer full control and absolute consistency, it might feel a little loose around the edges.
#5. Unreal Engine
This is where things start to feel very different.
Unreal Engine isn’t just a renderer. It’s a full real-time environment. And once you step into it, you’re not just “rendering images” anymore. You’re building scenes you can walk through, animate, even interact with.
That shift is bigger than it sounds.
With Unreal, lighting, materials, and cameras all update instantly. You don’t render frames in the traditional sense. You stage them. That alone can cut hours, sometimes days, out of a project when you’re dealing with multiple revisions.
It’s also why a lot of studios are moving toward it for presentations. Instead of sending still images, they’re sending interactive walkthroughs. Clients can explore the space, change angles, experience it in real time.
Hard to go back after that.
But yeah, there’s a learning curve. A real one.
If you’re coming from V-Ray, this isn’t just a new renderer. It’s a new mindset. Scene optimization, real-time lighting tricks, asset management. It takes time before you feel comfortable, let alone fast.
And while Unreal can look incredible, getting that high-end cinematic quality isn’t automatic. You’ll need to put in the work.
So where does it make sense?
If your work involves presentations, environments, or anything interactive, Unreal opens doors that traditional renderers simply can’t.
If you just need a few perfect still images… it might be more than you actually need.
#6. Lumion, Twinmotion, and Enscape
I’m grouping these together on purpose, because they solve a very specific problem.
Speed. Not “render faster if you optimize everything” speed. Just… fast.
Tools like Lumion, Twinmotion, and Enscape are built for getting something presentable as quickly as possible. You import your model, apply materials, drop in lighting, and you’re already looking at a usable scene within minutes.
That’s why architects love them.
You don’t need to think too much about render settings. You don’t spend hours tweaking noise thresholds or sampling values. It’s more about composition, environment, and storytelling than technical perfection.
And for client work? That’s often enough.
You can walk a client through a space in real time, adjust things on the fly, and keep the conversation moving. That alone can save days of back-and-forth compared to sending static renders.
But let’s be honest about the limitations.
You’re not getting the same level of realism or control as V-Ray. Materials can feel a bit generic. Lighting, while good, doesn’t always hold up in close-up shots. And if you’re aiming for high-end marketing visuals, you’ll probably hit a ceiling.
Still, they’re not trying to replace V-Ray. That’s the wrong way to look at it.
They’re designed for a different stage of the workflow.
If you need speed, quick iterations, and smooth client presentations, these tools are incredibly effective.
If you’re chasing pixel-perfect realism… you’ll likely still need something else for the final output.
If you prefer working outside DCC tools and rely on standalone rendering, getting comfortable with GPU usage there can make a noticeable difference.
The Shift Nobody Talks About Enough
Here’s the part that doesn’t show up in most “best renderer” lists.
The real change isn’t just new engines. It’s how often you actually need them.
A couple of years ago, rendering was the bottleneck. You built your scene, hit render, and waited. That was the workflow.
Now? A lot of the heavy thinking happens before you even open a renderer.
AI tools are starting to creep into the early stages. Not for final images, not yet. But for ideation. You can generate lighting variations, material directions, even rough compositions in minutes. That used to take hours of manual setup.
And once you’ve already explored those directions, you’re not rendering blindly anymore. You’re executing something you’ve already seen.
That changes how often you rely on tools like V-Ray or even Unreal Engine.
At the same time, real-time workflows are becoming the default, not the exception.
People expect instant feedback now. Internally and from clients. Waiting for renders feels like waiting for a file to download on slow internet. You can do it… but it’s frustrating once you’ve experienced something faster.
I’ve noticed this shift especially in smaller teams and freelancers. They’re optimizing for iteration speed, not just final quality. Because in most cases, the ability to explore more ideas beats squeezing out the last 5% of realism.
Does this mean traditional renderers are going away?
No. But their role is changing.
They’re becoming the final step, not the entire process.
If your pipeline is built around Maya, the setup process has its own quirks, and it’s worth understanding them early.
The Real Bottleneck Isn’t Your Render Engine
This is the part people usually avoid.
It’s easier to blame the renderer than to admit your machine just can’t keep up.
I’ve seen artists switch from V-Ray to something like Redshift or Octane Render expecting a huge jump… and yeah, things get faster. For a while.
Then the same issues creep back in.
Scenes get heavier. Textures get larger. Deadlines get tighter. Suddenly you’re optimizing again, watching memory usage, closing background apps just to squeeze out a bit more performance.
Sound familiar?
At some point, it stops being about which renderer you use.
It becomes a hardware problem.
CPU limits. GPU limits. VRAM ceilings that you hit right when the scene gets interesting. And upgrading isn’t cheap. Especially if you’re chasing high-end GPUs just to keep up with your own projects.
The frustrating part is this:
Switching tools feels like progress. Upgrading hardware feels like a sunk cost.
So people keep switching.
But if your core issue is “my machine slows me down,” changing render engines won’t fix that. It just changes how the problem shows up.
That’s why a lot of workflows are starting to shift away from thinking “which renderer is best” to something more practical:
“How do I remove hardware as a limitation altogether?”
If you’re not just switching renderers but questioning your entire workflow, comparing Blender and 3ds Max can give you a clearer picture of what you’re actually gaining or losing.
Why Vagon Cloud Computer Makes More Sense Than Switching Again
At some point, you have to ask a slightly uncomfortable question.
What if the problem isn’t your renderer at all?
Because if your workflow feels slow, switching from V-Ray to something like Redshift or Octane Render might help… but only until you hit the next limit.
And you will.
Scenes get heavier. Expectations go up. Suddenly your “fast” setup starts feeling slow again. Then comes the upgrade cycle. New GPU, more RAM, better CPU. It never really ends.
That’s where Vagon Cloud Computer changes the conversation completely.
Instead of trying to optimize around your hardware, you remove the limitation altogether.
You log in, spin up a powerful machine, and run whatever you need. High-end GPU rendering, heavy V-Ray scenes, real-time workflows in Unreal Engine. No compromises, no “can my system handle this?” in the back of your mind.
And the flexibility is the real advantage here.
You’re not locked into one renderer because your hardware favors it. You can use the right tool for each project. Photoreal stills in V-Ray, fast iterations in something else, real-time presentations when needed.
It also changes how you approach bigger projects.
Instead of simplifying scenes to fit your machine, you just… don’t. You scale up when the project demands it, and scale down when it doesn’t. That alone can save hours of optimization work that nobody actually enjoys doing.
Of course, it’s not perfect.
You need a solid internet connection, and there’s always a small adjustment when moving your workflow to the cloud. But compared to constantly upgrading hardware or limiting your creative options, it’s a pretty easy trade to make.
At a certain point, it stops being about finding the perfect renderer.
It becomes about having the freedom to use any of them without thinking twice.
If you’ve ever thought “maybe I just need a stronger machine,” you’re not alone, and building or buying the right workstation is a bigger decision than it looks.
Should You Actually Leave V-Ray?
This is where things get a bit less black and white.
Because despite everything we just talked about, V-Ray is still incredibly good at what it does. If you’ve already invested time into learning it, that matters more than people admit.
Switching tools isn’t just installing new software. It’s weeks, sometimes months, of rebuilding your speed.
So staying with V-Ray makes perfect sense if:
You rely on high-end photorealism
You already have a solid workflow dialed in
Your projects don’t require constant rapid iteration
In those cases, V-Ray still delivers. No reason to fix what isn’t broken.
But… there are clear situations where switching starts to make more sense.
If your work involves a lot of revisions.
If clients expect faster turnaround times.
If you’re spending more time waiting on renders than actually creating.
That’s usually the tipping point.
I’ve noticed more people moving toward hybrid workflows instead of fully committing to one tool. They’ll use something fast for iteration, then switch to V-Ray for final output. Or skip traditional rendering entirely for certain projects and go fully real-time.
That flexibility is becoming normal.
So the question isn’t really “should you leave V-Ray?”
It’s more like:
Where does V-Ray still make sense in your workflow… and where does it slow you down?
Final Thoughts
A few years ago, choosing a renderer felt like a long-term commitment.
You picked one, learned it deeply, and built your entire workflow around it. That was the safe move.
That’s not really how things work anymore.
Now it’s less about loyalty and more about flexibility. Using V-Ray when you need that last bit of realism. Switching to something faster when deadlines are tight. Jumping into real-time tools when clients want to explore, not just look.
Different tools for different moments.
And honestly, that’s probably a better place to be.
FAQs
1. Is V-Ray still worth learning in 2026?
Short answer? Yes. V-Ray is still one of the best tools for high-end photorealism. If your work depends on detailed lighting, accurate materials, and polished final renders, it absolutely holds up. That said, I wouldn’t rely on it as your only tool anymore. The industry is moving toward faster, more flexible workflows. Knowing when to use V-Ray matters just as much as knowing how.
2. What is the easiest alternative to switch to from V-Ray?
Probably Corona Renderer. It feels familiar, the setup is simpler, and you can get good results quickly without constantly tweaking settings. If you want something that keeps the same general workflow but reduces complexity, this is usually the smoothest transition.
3. Which V-Ray alternative is the fastest?
If speed is your top priority, GPU renderers like Redshift and Octane Render are strong options. They give you near real-time feedback, which makes iteration much faster. But keep in mind, they come with VRAM limitations. Fast doesn’t mean unlimited.
4. Are real-time renderers good enough to replace V-Ray?
Depends on what you’re doing. Tools like Unreal Engine, Lumion, and Enscape are more than good enough for presentations, walkthroughs, and fast client work. But if you’re aiming for ultra-photoreal marketing visuals, V-Ray or similar engines still have the edge.
5. Do I need a powerful computer for these alternatives?
In most cases… yes. Especially for GPU-based tools. You’ll run into limitations pretty quickly if your hardware isn’t strong enough. That’s actually one of the main reasons people feel stuck, even after switching renderers.
6. Can I use multiple renderers in one workflow?
You probably should. A lot of professionals now mix tools depending on the stage of the project. Fast tools for iteration, heavier engines for final output. It’s more flexible and often more efficient than relying on a single renderer for everything.
7. Is cloud computing actually useful for rendering?
If hardware is slowing you down, it can make a big difference. Platforms like Vagon Cloud Computer let you run heavy scenes and high-end renderers without worrying about your local machine. It’s especially useful for larger projects or when you need extra power temporarily.
8. What’s the biggest mistake people make when switching from V-Ray?
Thinking the renderer is the main problem. Sometimes it is. But often it’s workflow, hardware, or unrealistic expectations around speed. Switching tools helps, but it doesn’t fix everything. It’s usually better to understand why you’re struggling first… then choose the tool that actually solves that problem.
Get Beyond Your Computer Performance
Run applications on your cloud computer with the latest generation hardware. No more crashes or lags.

Trial includes 1 hour usage + 7 days of storage.
Summarize with AI

Ready to focus on your creativity?
Vagon gives you the ability to create & render projects, collaborate, and stream applications with the power of the best hardware.

Vagon Blog


Run heavy applications on any device with
your personal computer on the cloud.
San Francisco, California
Solutions
Vagon Teams
Vagon Streams
Use Cases
Resources
Vagon Blog
How to Run Audacity on a Cloud Ubuntu Desktop (2026 Guide)
How to Run Darktable on a Cloud Ubuntu Desktop for RAW Photo Editing (2026 Guide)
How to Run Kdenlive on a Cloud Ubuntu Desktop (2026 Guide)
How to Run DaVinci Resolve on Linux in the Cloud (2026 Guide)
How to Run Inkscape on a Cloud Ubuntu Desktop (2026 Guide)
How to Run Krita on a Cloud Ubuntu Desktop for Digital Painting (2026 Guide)
How to Run GIMP on a Cloud Ubuntu Desktop (2026 Guide)
How to Run Jupyter on a Cloud GPU Linux Desktop (2026 Guide)
Vagon vs GitHub Codespaces: Cloud Dev Environments Compared (2026)
Vagon Blog
Run heavy applications on any device with
your personal computer on the cloud.
San Francisco, California
Solutions
Vagon Teams
Vagon Streams
Use Cases
Resources
Vagon Blog