Instant Connection for Pixel Streaming
— New Feature Automated Setup

How To Run Unity 3D On Low-End Laptop (Even Without GPU)
How To Run Unity 3D On Low-End Laptop (Even Without GPU)
GameDev
How To Run Unity 3D On Low-End Laptop (Even Without GPU)
Table of Contents
Let’s be honest. Trying to run Unity on an old laptop or a machine without a decent GPU feels like asking a scooter to tow a truck. You open the editor, move a cube around, and boom, fans start roaring like they’re about to lift off. Your mouse lags. The editor stutters. And suddenly that small project idea feels... impossible.
I’ve been there. More times than I care to admit.
Thing is, Unity’s official requirements sound friendly enough. “8 GB of RAM. Integrated graphics will do. An SSD is nice to have.” Sure — if you’re just opening a blank scene or making a super-simple mobile game. The reality? The second you start adding post-processing, lighting, or even a few fancy shaders, your machine taps out. Fast.
So if you’re here because you’re tired of watching your laptop melt while trying to move a directional light — welcome. Let’s talk about what you can actually do before giving up or spending thousands on a gaming rig.
What Unity Says You Need vs. What You Actually Need
Here’s what Unity lists as minimum requirements:
8 GB RAM (honestly, this feels optimistic)
A graphics card with DX10 capabilities (which is like... any integrated GPU from the last decade)
SSD recommended (read: you’ll cry without one)
But let me tell you what I’ve found in practice:
16 GB RAM is where Unity stops feeling like wading through mud. Even that’s tight if your project grows.
A CPU with decent single-thread performance matters more than people think. Unity’s build and compile processes lean hard on single threads. (So yeah, your dual-core i3 might outperform an old quad-core i7 in some cases.)
An SSD isn’t optional. If you’re still on a spinning drive? Save yourself the frustration and swap it out.
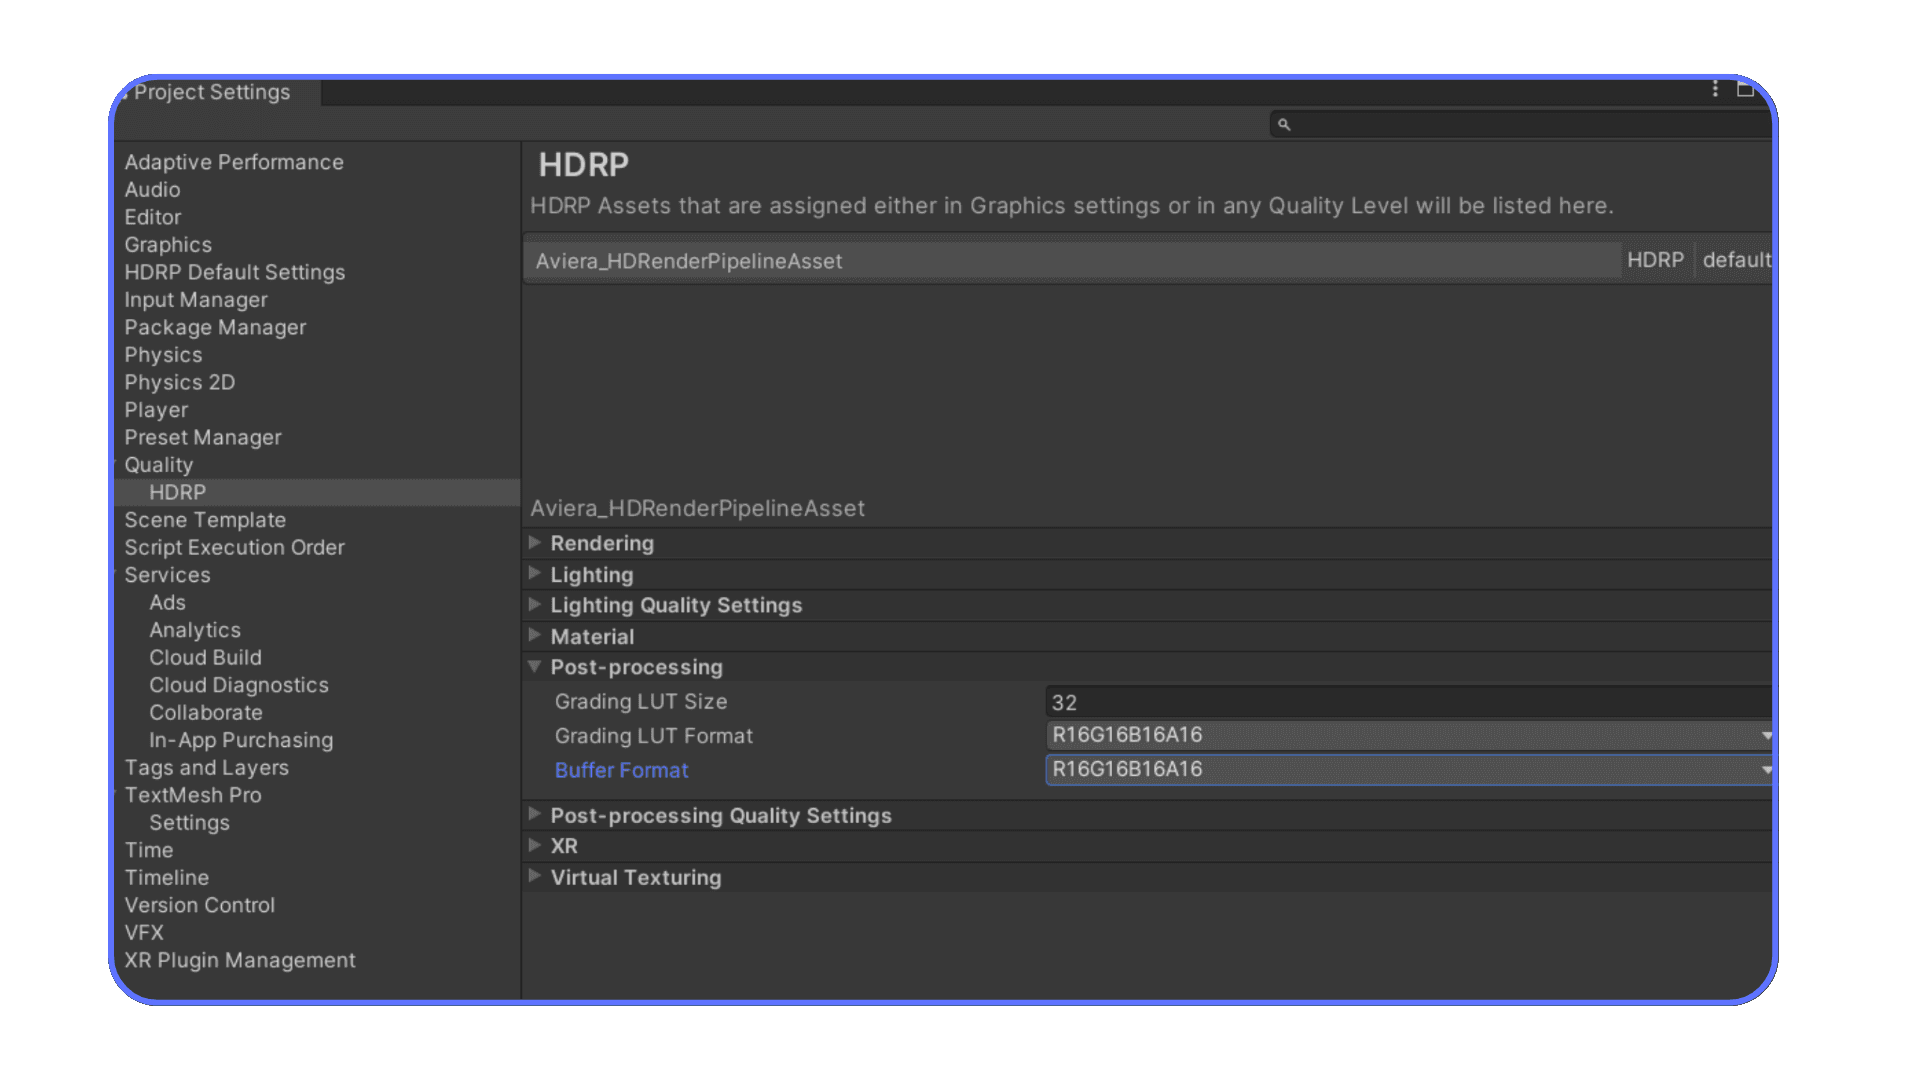
And the GPU? Honestly, if you stick to 2D, URP, or mobile-style shaders, integrated graphics can scrape by. But the second you flirt with HDRP, VR, or fancy post-processing, your integrated chip waves a little white flag.
If you’re thinking about upgrading your rig, here’s our detailed PC build guide for Unity with all the specs that actually make a difference.
I’m not going to sugarcoat it. Running Unity on a low-end machine is possible, but here’s what you’ll deal with:
Your compile times? They’ll feel endless. Every code tweak = coffee break.
The Scene view will stutter the second your scene gets mildly complex.
Real-time lighting, shadows, and post-processing? Forget about it. Your frame rate will tank.
Build times stretch from minutes to hours as your project grows.
In my experience, this is where people either (a) double down on optimization or (b) start looking at external solutions, like cloud PCs. Let's move on to the tips, that you can use for speeding up your Unity 3D.
#1: Use URP or Unlit Shaders
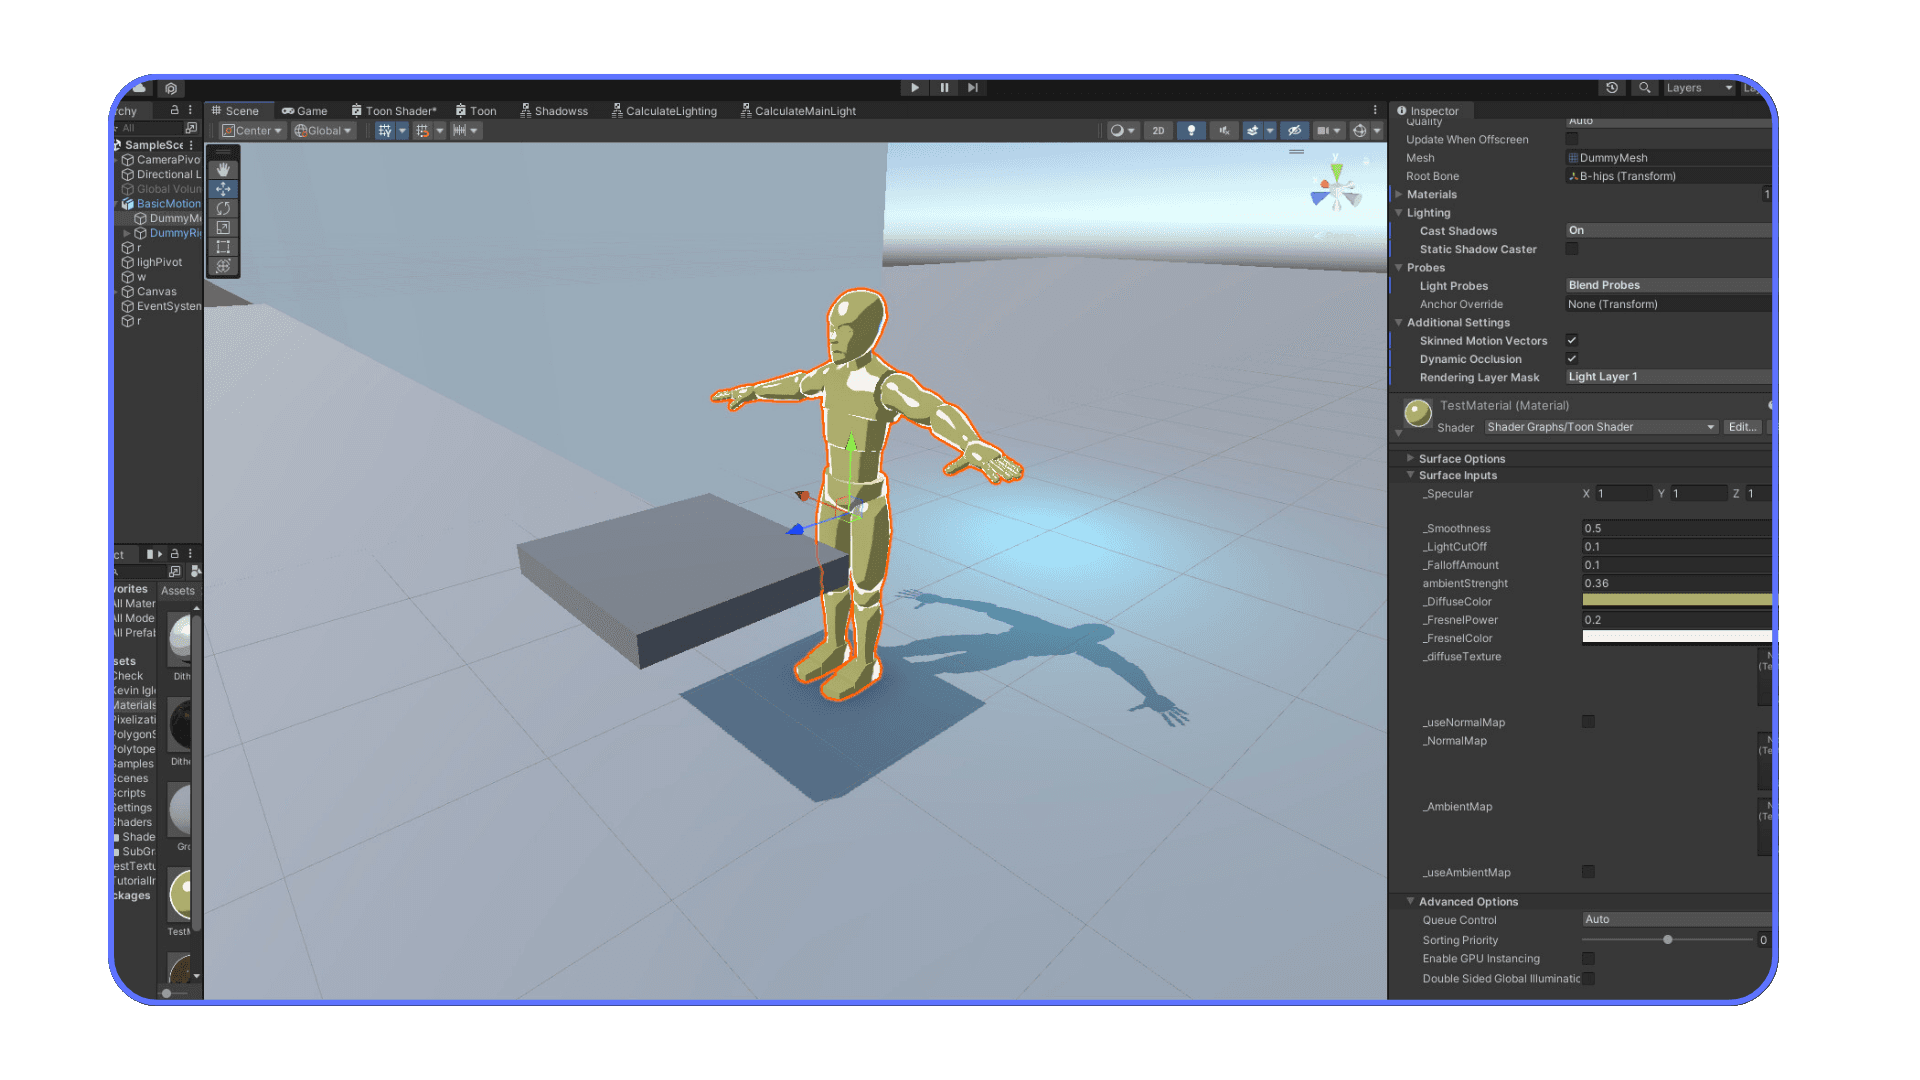
If you’re trying to squeeze Unity onto weak hardware, the first thing I tell people? Ditch HDRP. Run — don’t walk — to URP.
The Universal Render Pipeline (URP) is basically Unity’s lightweight mode. It’s built to be faster, leaner, and friendlier to machines without a big GPU. You won’t get all the fancy bells and whistles (like volumetric lighting or ultra-detailed shadows), but you will get smoother performance.
And if URP still feels heavy? Go one step further. Unlit shaders.
Unlit means exactly what it sounds like: no lighting calculations, no shadows, no fuss. It’s just flat colors or simple textures — perfect for prototyping, mobile games, or honestly, anything that doesn’t need lighting to look good.
I’ve prototyped entire gameplay loops this way on a potato laptop. Trust me — get it working first, make it pretty later.
#2: Bake Lights, Skip Real-Time Shadows

Here’s a dirty little secret: real-time lighting is expensive. Like, really expensive. Your CPU and GPU have to work overtime figuring out how light bounces, casts shadows, and interacts with every surface in your scene — every single frame.
What’s the smarter move? Bake your lights.
When you bake lighting, Unity does the hard math once, saves the results, and just reuses that info at runtime. It’s like pre-cooking a meal instead of trying to cook every ingredient on the fly. Your machine will breathe easier. Your frame rate will stop tanking. It’s a process not unlike what students experience when improving math and reading skills — once you internalize the fundamentals, everything else flows more smoothly.
Same goes for shadows. Real-time shadows on low-end hardware = sadness. Bake ‘em, or skip them entirely until you’re ready to build on a stronger machine (or the cloud).
#3: Skip Post-Processing

I get it. We all want our game to look amazing. Bloom, motion blur, depth of field — all those juicy post-processing effects make things feel polished.
But here’s the thing: post-processing is a resource hog. On a weak machine, flipping on post-processing is like strapping a 50-pound weight to your game’s framerate.
In my experience, you’re way better off faking the look. A clever texture, a baked-in effect, or even simple color grading in your textures themselves can get you 80% of the way there without the editor turning into a slideshow.
There’ll be time to add polish later. Right now? Focus on keeping your machine from melting.
#4: Lower Editor Quality Settings
Here’s a mistake I see all the time. People leave the Unity Editor’s quality settings cranked up like they’re showing off at a demo. Why? You’re not playing the game — you’re building it.
Go into your Editor preferences and drop everything to the bare minimum. Turn off anti-aliasing. Lower texture resolution in the scene view. Skip fancy lighting previews. The goal is simple: make the editor as lightweight as possible so your machine can focus on the important stuff — like compiling and running your scripts.
You can always flip things back on when it’s time to test visuals. But during development? Strip it down.
#5: Use a Single Scene View
I love being able to see top, front, and perspective views at once. It’s super helpful — when your machine can handle it. But on a low-end rig? Multiple scene views is basically inviting lag into your life.
Stick to a single view. Perspective is usually all you need 90% of the time. If you really need another angle, switch temporarily. I’ve noticed this one change alone can make a sluggish editor feel way more responsive.
#6: VS Code Over Heavy IDEs
Look, I’m a fan of big IDEs like Visual Studio or Rider when I have the horsepower. But if you’re on a weak machine? Those tools can feel like dragging a boulder behind you.
VS Code is light, fast, and gets the job done.
You’ll still get IntelliSense, error checking, and all the basics — just without the overhead that comes with a full-blown IDE. And bonus: it opens faster, so you’re not sitting there staring at a splash screen while your laptop huffs and puffs.
#7: Compress Textures Aggressively
Here’s the thing about textures: they eat memory like it’s an all-you-can-eat buffet. Especially on low-end devices.
ETC2, ASTC, PVRTC — whatever compression your target device supports, use it. And crank it up.
You don’t need pristine 4K textures in your editor while you’re figuring out gameplay. Honestly, half the time you’re zoomed out so far, you can’t even tell the difference.
I’ve made this mistake more times than I care to admit — leaving giant uncompressed textures in a prototype. The editor slows to a crawl, memory usage spikes, and you’re left wondering why moving a camera feels like swimming through syrup. Compress those textures early. You can always swap in higher-res ones later.
#8: Use Texture Atlases

If you’re loading up a bunch of little textures across tons of objects? That’s a one-way ticket to high draw calls and sluggish performance.
Texture atlases are your friend. Combine your small textures into a single bigger one, and map your UVs accordingly. That way, the GPU can batch things together instead of wasting time juggling dozens of tiny files.
On weak hardware, every draw call counts. Atlases make a real difference — both in editor performance and in your final build.
#9: Avoid High-Poly Meshes in the Editor
It’s tempting, I know. You find that gorgeous 100k poly model on Sketchfab and think, “Hey, it’s just for a placeholder — what’s the harm?”
But here’s the reality: high-poly meshes are like performance vampires.
Every time you orbit your Scene view or hit play, they suck a little more life out of your machine.
Use low-poly versions while you’re working. You can swap in the pretty ones later, when you’re closer to final art. I’ve seen this one change alone cut editor lag in half on weak machines.
Want to make your workflow smoother? We asked the community and made this list of top Unity plugins that people actually love.
#10: Use SSD instead of HDD
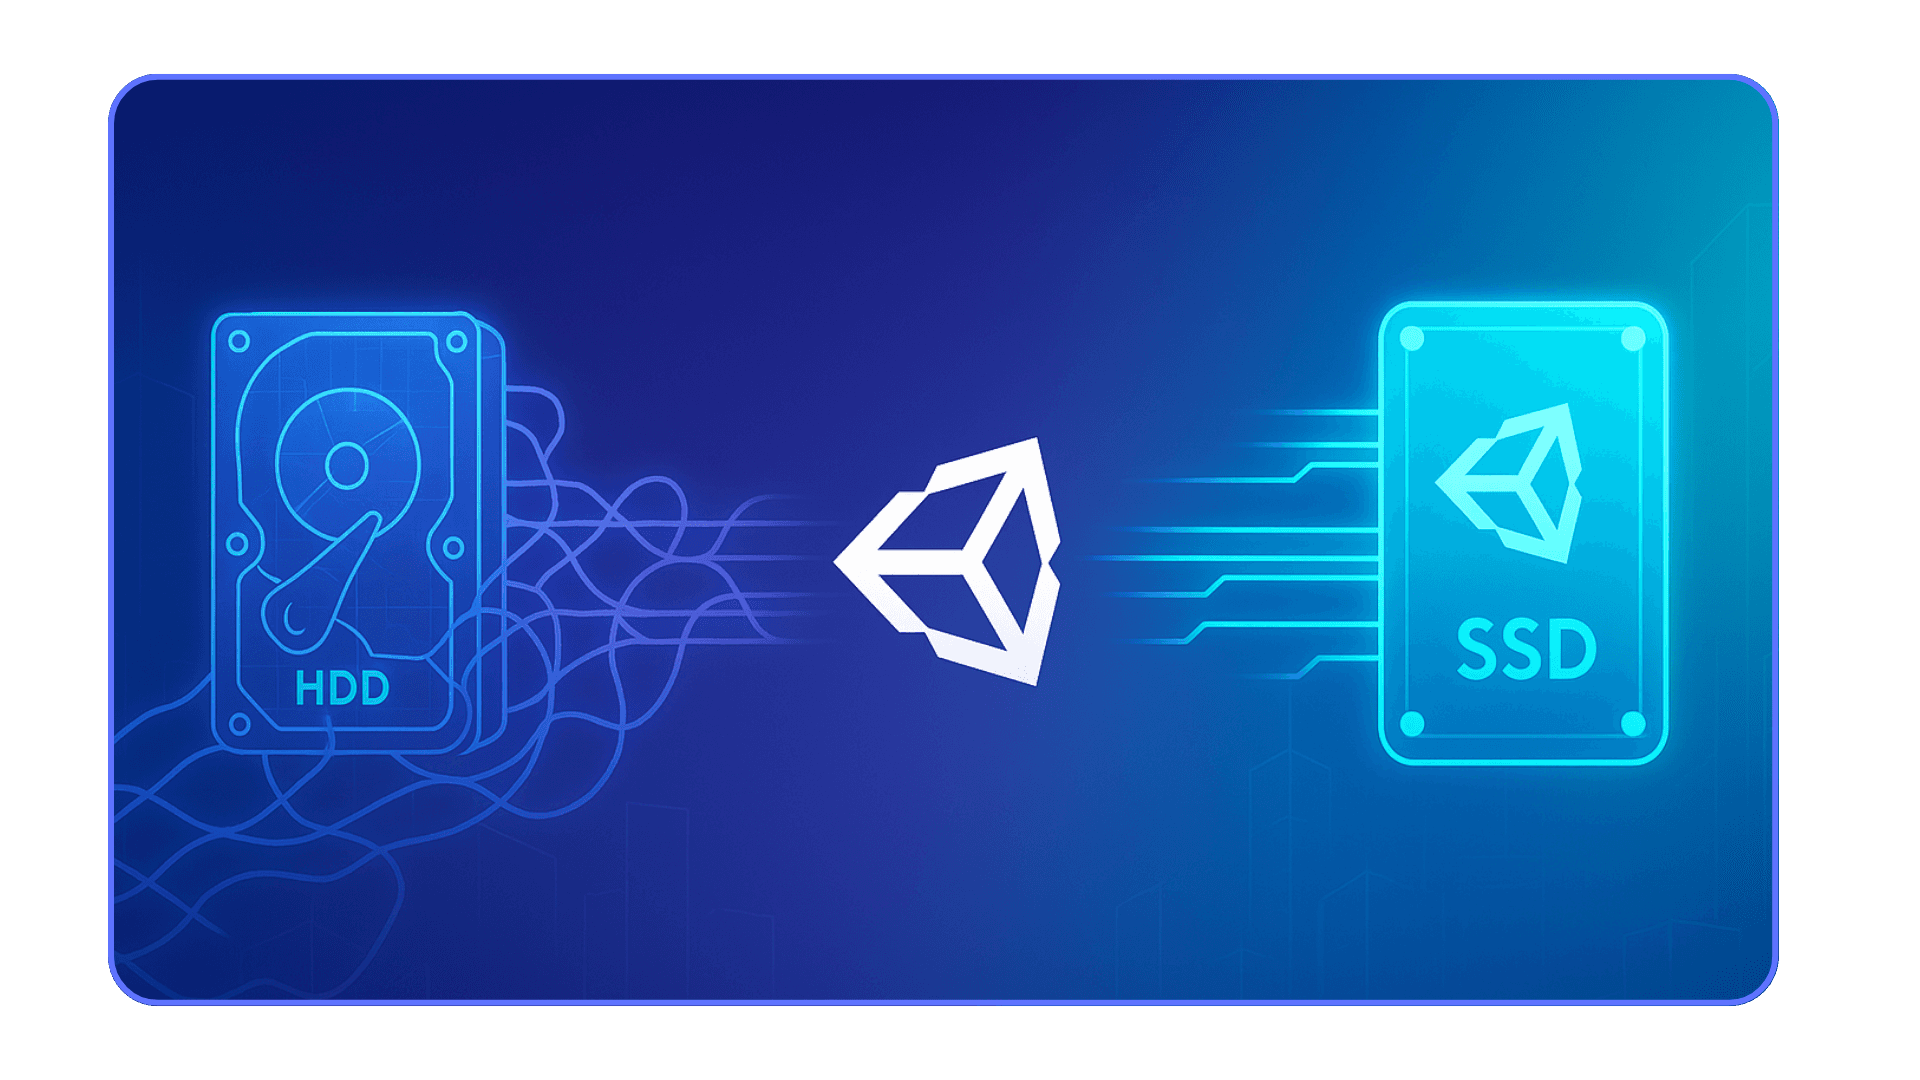
If you’re still running Unity off a spinning hard drive, I don’t even have to ask — you’re already suffering.
Switch to an SSD. Seriously.
HDDs are so slow at loading assets, scripts, and scenes that your whole workflow grinds to a halt. Unity reads and writes a ton of small files during development — and that’s where SSDs shine.
When I finally moved a project from HDD to SSD, I swear it felt like the whole editor woke up. Scene loads, script recompiles, entering Play mode — all way faster. It’s the single best upgrade for low-end rigs, hands down.
#11: Choose 16 GB of Ram At Minimum
Unity’s official minimum is 8 GB. And in theory? Yeah, it’ll open. But once your project grows beyond a few simple scenes? You’re going to feel it.
16 GB is the floor where Unity starts to feel usable. 32 GB gives you breathing room.
Especially if you’re running a browser, music, or other apps at the same time (and let’s be honest — who isn’t?).
I’ve noticed the difference most during builds and lightmap baking. With 32 GB, Unity just powers through. With 8 or even 12 GB? Swap hell. Your machine spends more time juggling memory than actually doing work.
#12: Prefer Dual-Core Fast CPU instead of Quad-Core for Unity
This one surprises people. Unity loves single-thread performance.
A fast dual-core often beats an old, slow quad-core in the editor.
Script compilation, entering Play mode, lots of editor functions — they lean heavily on one core. So clock speed matters more than sheer core count.
I learned this the hard way trying to work on an older quad-core laptop while a newer dual-core outperformed it. Build times, Play mode startup, asset imports — all faster on the dual-core with better clock speeds.
If you’re pushing your GPU to its limits — or want to get the most out of it — this Unity GPU guide breaks down what matters.
#13: Pool Objects Instead of Constant Instantiation
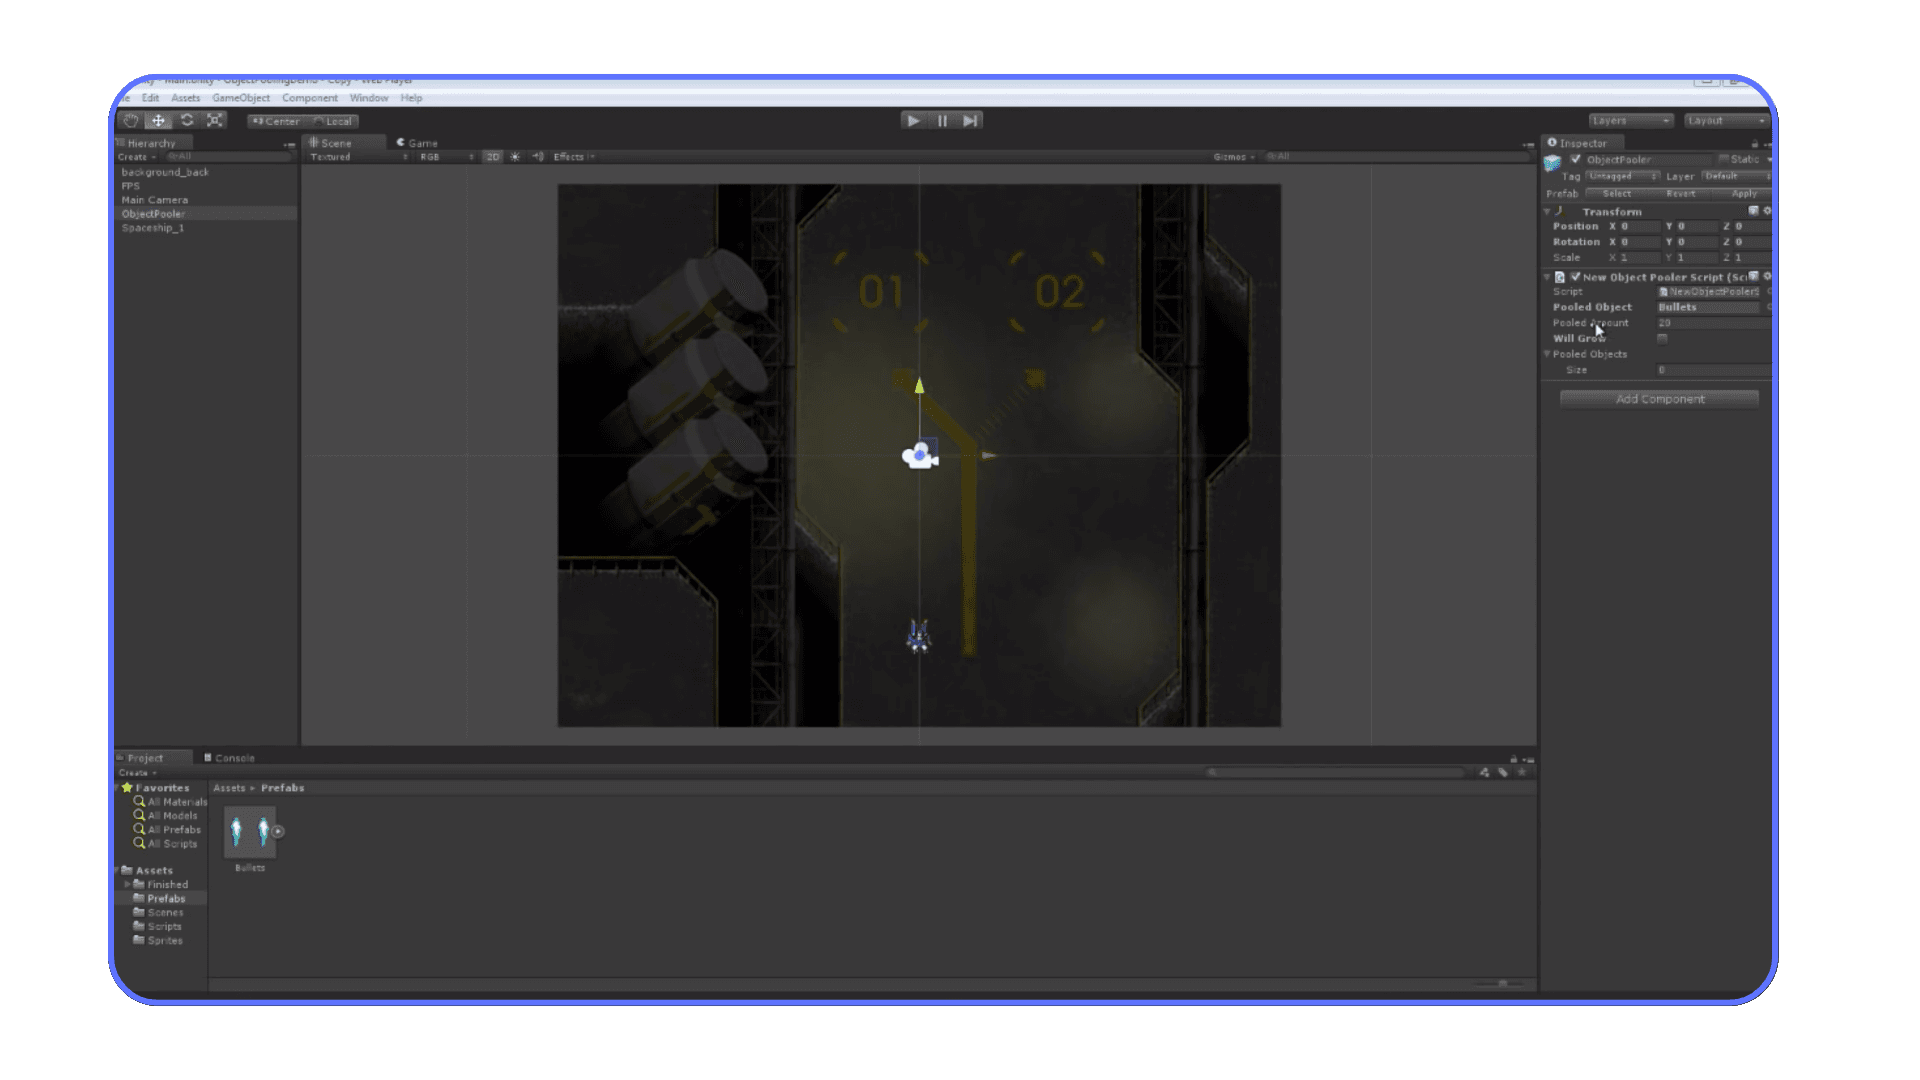
Here’s a classic Unity performance killer: spawning and destroying objects over and over at runtime.
Every time you Instantiate or Destroy, Unity does a ton of work behind the scenes — allocating memory, updating hierarchies, cleaning up. On a strong machine? You might not notice. On a low-end device? It’s lag city.
The fix? Object pooling.
Reuse objects. Set them inactive when you don’t need them, reactivate when you do. Unity even has a built-in pooling API now, so there’s no excuse not to. This one change can take you from choppy gameplay to smooth as butter.
#14: Use LODs, Batching, and Occlusion Culling
Don’t make your machine work harder than it needs to.
LODs (Levels of Detail): Swap high-detail models for simpler versions as they move further from the camera. Why render thousands of polys you can’t even see?
Batching: Combine static geometry or use dynamic batching where it makes sense. Fewer draw calls = less work for the GPU = happier framerate.
Occlusion Culling: Stop rendering what the camera can’t see. No point wasting resources on objects hidden behind walls.
These optimizations aren’t just for mobile — they’re gold for weak hardware too. I’ve seen massive gains in projects that felt “too small to matter” for these tricks. Trust me, they matter.
#15: Render Scale Controls & Dynamic Resolution
Want to squeeze out a few extra frames during intense moments? Lower your render scale.
Unity lets you adjust the resolution it renders at, independent of your actual display resolution. Drop it to 0.75 or 0.5 during heavy scenes — you’ll claw back precious performance, and on smaller screens, players might not even notice.
Bonus: add a slider so players can tweak it themselves. I’ve done this in projects where performance was tight, and it gave users more control and reduced complaints.
When Tweaks Aren’t Enough: Time To Look at Cloud PCs
Let’s be real — all the tricks in the world can only take you so far.
At some point, the project outgrows the hardware. Maybe it’s because you’ve decided to dive into HDRP (and yeah, it looks stunning). Or maybe you’re working with huge scenes, complex lighting, or VR — and your machine is just gasping for air.
That’s the breaking point.
It’s when you hit play and your editor crashes. When builds fail because you run out of memory. When your laptop’s fans sound like they’re trying to lift off, and you’re still staring at a frozen screen.
I’ll tell you my moment. I was working on a VR demo — nothing huge, but enough to push the limits. My laptop (a pretty decent one, too) just couldn’t handle it. Lag, crashes, the whole nightmare. I tried stripping stuff down, baking everything I could, disabling effects. Still no good.
In the end? I tried Vagon.
Within minutes I had a cloud machine with an RTX GPU, 32 GB of RAM, and my build was running smoother than I ever managed locally. It felt like cheating, honestly.
So yeah — if you’ve hit that wall where tweaks don’t cut it anymore, cloud PCs are worth a serious look. They let you borrow the hardware you need, without having to drop thousands on a new rig.
Vagon Cloud Computer as a Smarter Alternative
Okay — so you’ve done all the local tricks. You’ve squeezed every bit of performance out of your setup. And still... your machine’s not cutting it. This is where something like Vagon Cloud Computer can really change the game. You can find a tutorial to use Unreal Engine on cloud, it's almost same for also Unity 3D.
What I like about Vagon? It’s not trying to replace your workflow. It’s there when you need heavy lifting — like a virtual powerhouse waiting in your browser.
Here’s the all benefits:
You get RTX-level GPUs (we’re talking serious horsepower).
You can scale up CPU, GPU, and RAM on demand — no long-term commitment, no massive upfront cost.
It streams right to your screen in 4K at 60 FPS, with low latency.
And it works on basically anything — old laptops, tablets, heck, even a Chromebook if that’s what you’ve got.
✅ Why Vagon Works for Low-End Setups
No overheating, no fan noise, no lag from your local hardware.
You can use your local machine for light tasks (UI, code tweaks) and spin up Vagon for big scenes, builds, light baking, or playtests.
You only pay for what you use — no need to drop $2,000+ on a rig that might be overkill 90% of the time.
👉 In my experience? It’s a lifesaver when your machine just can’t keep up — and way easier than stressing over hardware upgrades.
If you’re curious, you can check it out at vagon.io/cloud-computer.
And it works on basically anything — old laptops, tablets, even a Chromebook. If you’re curious about using Unity on an iPad or tablet, check out our guide here.
Final Thoughts
I’ve been in the trenches trying to get Unity to run on machines that probably had no business opening the Editor in the first place. It’s frustrating. It’s slow. Sometimes it makes you want to toss your laptop out the window.
But here’s the good news: with the right tweaks, some smart compromises, and a little creative thinking, you can absolutely build awesome stuff on a low-end setup. You just have to pick your battles — simplify where it counts, and focus on what really matters early on.
And when you do hit that wall where no amount of tweaking helps? Cloud tools like Vagon are there to back you up. It’s kind of incredible that we can rent desktop-class power in a browser now — that used to be pure sci-fi.
So yeah. Don’t give up just because your machine’s struggling. There’s always a way forward.
Frequently Asked Questions (FAQs)
Can Unity run without a GPU?
Yes — but with limits. Unity can run on integrated graphics (like Intel UHD or AMD Vega graphics) if you stick to 2D projects, mobile shaders, or lightweight pipelines like URP. Just don’t expect smooth performance for complex 3D, HDRP, or VR projects.
What is the minimum RAM for Unity 3D?
Unity’s official minimum is 8 GB, but in reality, 16 GB is where things start feeling usable. If you can, go for 32 GB — it helps with large scenes, baking, and faster build times.
Can Unity run on a low-end laptop?
Yes! Unity can run on low-end laptops if you optimize your project — use URP, unlit shaders, bake lights, compress textures, and avoid post-processing. For heavier work, cloud PCs like Vagon can give you a boost without needing a high-end machine.
Is an SSD important for Unity development?
Absolutely. An SSD dramatically speeds up scene loads, asset imports, and build times. If you’re still on an HDD, upgrading to SSD is one of the best ways to improve Unity’s performance on any machine.
Which Unity render pipeline is best for weak hardware?
URP (Universal Render Pipeline) is your best bet. It’s designed for performance and works great on low-end hardware and mobile devices. HDRP (High Definition Render Pipeline) is meant for high-end machines and will struggle without a good GPU.
How can I make Unity run faster on my PC?
If you’re wondering how to make Unity run faster on your PC, there are several proven tricks that can make a big difference. First, switch to URP (Universal Render Pipeline) or use unlit shaders to reduce the load on your graphics hardware. Bake your lighting and disable real-time shadows — this takes a huge burden off both your CPU and GPU during gameplay and in the editor. You should also compress textures and use texture atlases to cut down on memory use and draw calls. Instead of constantly creating and destroying objects at runtime, pool objects and reuse them — it’s much more efficient. Don’t forget to lower your editor quality settings; you don’t need high visuals while you’re building. Moving your project to an SSD instead of a hard drive will speed up loads, imports, and builds. And finally, close unnecessary background apps so your system can dedicate more resources to Unity.
Is Unity cloud-based?
Unity itself isn’t cloud-based, but you can use cloud PCs (like Vagon) to run Unity on powerful remote hardware and stream it to your device. This lets you work on complex projects from a low-end laptop, tablet, or even a Chromebook.
Can I use Unity on a Chromebook?
Not locally — Chrome OS doesn’t support Unity directly. But you can use cloud PC services (like Vagon) to run Unity on powerful hardware and stream the editor to your Chromebook.
Let’s be honest. Trying to run Unity on an old laptop or a machine without a decent GPU feels like asking a scooter to tow a truck. You open the editor, move a cube around, and boom, fans start roaring like they’re about to lift off. Your mouse lags. The editor stutters. And suddenly that small project idea feels... impossible.
I’ve been there. More times than I care to admit.
Thing is, Unity’s official requirements sound friendly enough. “8 GB of RAM. Integrated graphics will do. An SSD is nice to have.” Sure — if you’re just opening a blank scene or making a super-simple mobile game. The reality? The second you start adding post-processing, lighting, or even a few fancy shaders, your machine taps out. Fast.
So if you’re here because you’re tired of watching your laptop melt while trying to move a directional light — welcome. Let’s talk about what you can actually do before giving up or spending thousands on a gaming rig.
What Unity Says You Need vs. What You Actually Need
Here’s what Unity lists as minimum requirements:
8 GB RAM (honestly, this feels optimistic)
A graphics card with DX10 capabilities (which is like... any integrated GPU from the last decade)
SSD recommended (read: you’ll cry without one)
But let me tell you what I’ve found in practice:
16 GB RAM is where Unity stops feeling like wading through mud. Even that’s tight if your project grows.
A CPU with decent single-thread performance matters more than people think. Unity’s build and compile processes lean hard on single threads. (So yeah, your dual-core i3 might outperform an old quad-core i7 in some cases.)
An SSD isn’t optional. If you’re still on a spinning drive? Save yourself the frustration and swap it out.
And the GPU? Honestly, if you stick to 2D, URP, or mobile-style shaders, integrated graphics can scrape by. But the second you flirt with HDRP, VR, or fancy post-processing, your integrated chip waves a little white flag.
If you’re thinking about upgrading your rig, here’s our detailed PC build guide for Unity with all the specs that actually make a difference.
I’m not going to sugarcoat it. Running Unity on a low-end machine is possible, but here’s what you’ll deal with:
Your compile times? They’ll feel endless. Every code tweak = coffee break.
The Scene view will stutter the second your scene gets mildly complex.
Real-time lighting, shadows, and post-processing? Forget about it. Your frame rate will tank.
Build times stretch from minutes to hours as your project grows.
In my experience, this is where people either (a) double down on optimization or (b) start looking at external solutions, like cloud PCs. Let's move on to the tips, that you can use for speeding up your Unity 3D.
#1: Use URP or Unlit Shaders
If you’re trying to squeeze Unity onto weak hardware, the first thing I tell people? Ditch HDRP. Run — don’t walk — to URP.
The Universal Render Pipeline (URP) is basically Unity’s lightweight mode. It’s built to be faster, leaner, and friendlier to machines without a big GPU. You won’t get all the fancy bells and whistles (like volumetric lighting or ultra-detailed shadows), but you will get smoother performance.
And if URP still feels heavy? Go one step further. Unlit shaders.
Unlit means exactly what it sounds like: no lighting calculations, no shadows, no fuss. It’s just flat colors or simple textures — perfect for prototyping, mobile games, or honestly, anything that doesn’t need lighting to look good.
I’ve prototyped entire gameplay loops this way on a potato laptop. Trust me — get it working first, make it pretty later.
#2: Bake Lights, Skip Real-Time Shadows
Here’s a dirty little secret: real-time lighting is expensive. Like, really expensive. Your CPU and GPU have to work overtime figuring out how light bounces, casts shadows, and interacts with every surface in your scene — every single frame.
What’s the smarter move? Bake your lights.
When you bake lighting, Unity does the hard math once, saves the results, and just reuses that info at runtime. It’s like pre-cooking a meal instead of trying to cook every ingredient on the fly. Your machine will breathe easier. Your frame rate will stop tanking. It’s a process not unlike what students experience when improving math and reading skills — once you internalize the fundamentals, everything else flows more smoothly.
Same goes for shadows. Real-time shadows on low-end hardware = sadness. Bake ‘em, or skip them entirely until you’re ready to build on a stronger machine (or the cloud).
#3: Skip Post-Processing
I get it. We all want our game to look amazing. Bloom, motion blur, depth of field — all those juicy post-processing effects make things feel polished.
But here’s the thing: post-processing is a resource hog. On a weak machine, flipping on post-processing is like strapping a 50-pound weight to your game’s framerate.
In my experience, you’re way better off faking the look. A clever texture, a baked-in effect, or even simple color grading in your textures themselves can get you 80% of the way there without the editor turning into a slideshow.
There’ll be time to add polish later. Right now? Focus on keeping your machine from melting.
#4: Lower Editor Quality Settings
Here’s a mistake I see all the time. People leave the Unity Editor’s quality settings cranked up like they’re showing off at a demo. Why? You’re not playing the game — you’re building it.
Go into your Editor preferences and drop everything to the bare minimum. Turn off anti-aliasing. Lower texture resolution in the scene view. Skip fancy lighting previews. The goal is simple: make the editor as lightweight as possible so your machine can focus on the important stuff — like compiling and running your scripts.
You can always flip things back on when it’s time to test visuals. But during development? Strip it down.
#5: Use a Single Scene View
I love being able to see top, front, and perspective views at once. It’s super helpful — when your machine can handle it. But on a low-end rig? Multiple scene views is basically inviting lag into your life.
Stick to a single view. Perspective is usually all you need 90% of the time. If you really need another angle, switch temporarily. I’ve noticed this one change alone can make a sluggish editor feel way more responsive.
#6: VS Code Over Heavy IDEs
Look, I’m a fan of big IDEs like Visual Studio or Rider when I have the horsepower. But if you’re on a weak machine? Those tools can feel like dragging a boulder behind you.
VS Code is light, fast, and gets the job done.
You’ll still get IntelliSense, error checking, and all the basics — just without the overhead that comes with a full-blown IDE. And bonus: it opens faster, so you’re not sitting there staring at a splash screen while your laptop huffs and puffs.
#7: Compress Textures Aggressively
Here’s the thing about textures: they eat memory like it’s an all-you-can-eat buffet. Especially on low-end devices.
ETC2, ASTC, PVRTC — whatever compression your target device supports, use it. And crank it up.
You don’t need pristine 4K textures in your editor while you’re figuring out gameplay. Honestly, half the time you’re zoomed out so far, you can’t even tell the difference.
I’ve made this mistake more times than I care to admit — leaving giant uncompressed textures in a prototype. The editor slows to a crawl, memory usage spikes, and you’re left wondering why moving a camera feels like swimming through syrup. Compress those textures early. You can always swap in higher-res ones later.
#8: Use Texture Atlases
If you’re loading up a bunch of little textures across tons of objects? That’s a one-way ticket to high draw calls and sluggish performance.
Texture atlases are your friend. Combine your small textures into a single bigger one, and map your UVs accordingly. That way, the GPU can batch things together instead of wasting time juggling dozens of tiny files.
On weak hardware, every draw call counts. Atlases make a real difference — both in editor performance and in your final build.
#9: Avoid High-Poly Meshes in the Editor
It’s tempting, I know. You find that gorgeous 100k poly model on Sketchfab and think, “Hey, it’s just for a placeholder — what’s the harm?”
But here’s the reality: high-poly meshes are like performance vampires.
Every time you orbit your Scene view or hit play, they suck a little more life out of your machine.
Use low-poly versions while you’re working. You can swap in the pretty ones later, when you’re closer to final art. I’ve seen this one change alone cut editor lag in half on weak machines.
Want to make your workflow smoother? We asked the community and made this list of top Unity plugins that people actually love.
#10: Use SSD instead of HDD
If you’re still running Unity off a spinning hard drive, I don’t even have to ask — you’re already suffering.
Switch to an SSD. Seriously.
HDDs are so slow at loading assets, scripts, and scenes that your whole workflow grinds to a halt. Unity reads and writes a ton of small files during development — and that’s where SSDs shine.
When I finally moved a project from HDD to SSD, I swear it felt like the whole editor woke up. Scene loads, script recompiles, entering Play mode — all way faster. It’s the single best upgrade for low-end rigs, hands down.
#11: Choose 16 GB of Ram At Minimum
Unity’s official minimum is 8 GB. And in theory? Yeah, it’ll open. But once your project grows beyond a few simple scenes? You’re going to feel it.
16 GB is the floor where Unity starts to feel usable. 32 GB gives you breathing room.
Especially if you’re running a browser, music, or other apps at the same time (and let’s be honest — who isn’t?).
I’ve noticed the difference most during builds and lightmap baking. With 32 GB, Unity just powers through. With 8 or even 12 GB? Swap hell. Your machine spends more time juggling memory than actually doing work.
#12: Prefer Dual-Core Fast CPU instead of Quad-Core for Unity
This one surprises people. Unity loves single-thread performance.
A fast dual-core often beats an old, slow quad-core in the editor.
Script compilation, entering Play mode, lots of editor functions — they lean heavily on one core. So clock speed matters more than sheer core count.
I learned this the hard way trying to work on an older quad-core laptop while a newer dual-core outperformed it. Build times, Play mode startup, asset imports — all faster on the dual-core with better clock speeds.
If you’re pushing your GPU to its limits — or want to get the most out of it — this Unity GPU guide breaks down what matters.
#13: Pool Objects Instead of Constant Instantiation
Here’s a classic Unity performance killer: spawning and destroying objects over and over at runtime.
Every time you Instantiate or Destroy, Unity does a ton of work behind the scenes — allocating memory, updating hierarchies, cleaning up. On a strong machine? You might not notice. On a low-end device? It’s lag city.
The fix? Object pooling.
Reuse objects. Set them inactive when you don’t need them, reactivate when you do. Unity even has a built-in pooling API now, so there’s no excuse not to. This one change can take you from choppy gameplay to smooth as butter.
#14: Use LODs, Batching, and Occlusion Culling
Don’t make your machine work harder than it needs to.
LODs (Levels of Detail): Swap high-detail models for simpler versions as they move further from the camera. Why render thousands of polys you can’t even see?
Batching: Combine static geometry or use dynamic batching where it makes sense. Fewer draw calls = less work for the GPU = happier framerate.
Occlusion Culling: Stop rendering what the camera can’t see. No point wasting resources on objects hidden behind walls.
These optimizations aren’t just for mobile — they’re gold for weak hardware too. I’ve seen massive gains in projects that felt “too small to matter” for these tricks. Trust me, they matter.
#15: Render Scale Controls & Dynamic Resolution
Want to squeeze out a few extra frames during intense moments? Lower your render scale.
Unity lets you adjust the resolution it renders at, independent of your actual display resolution. Drop it to 0.75 or 0.5 during heavy scenes — you’ll claw back precious performance, and on smaller screens, players might not even notice.
Bonus: add a slider so players can tweak it themselves. I’ve done this in projects where performance was tight, and it gave users more control and reduced complaints.
When Tweaks Aren’t Enough: Time To Look at Cloud PCs
Let’s be real — all the tricks in the world can only take you so far.
At some point, the project outgrows the hardware. Maybe it’s because you’ve decided to dive into HDRP (and yeah, it looks stunning). Or maybe you’re working with huge scenes, complex lighting, or VR — and your machine is just gasping for air.
That’s the breaking point.
It’s when you hit play and your editor crashes. When builds fail because you run out of memory. When your laptop’s fans sound like they’re trying to lift off, and you’re still staring at a frozen screen.
I’ll tell you my moment. I was working on a VR demo — nothing huge, but enough to push the limits. My laptop (a pretty decent one, too) just couldn’t handle it. Lag, crashes, the whole nightmare. I tried stripping stuff down, baking everything I could, disabling effects. Still no good.
In the end? I tried Vagon.
Within minutes I had a cloud machine with an RTX GPU, 32 GB of RAM, and my build was running smoother than I ever managed locally. It felt like cheating, honestly.
So yeah — if you’ve hit that wall where tweaks don’t cut it anymore, cloud PCs are worth a serious look. They let you borrow the hardware you need, without having to drop thousands on a new rig.
Vagon Cloud Computer as a Smarter Alternative
Okay — so you’ve done all the local tricks. You’ve squeezed every bit of performance out of your setup. And still... your machine’s not cutting it. This is where something like Vagon Cloud Computer can really change the game. You can find a tutorial to use Unreal Engine on cloud, it's almost same for also Unity 3D.
What I like about Vagon? It’s not trying to replace your workflow. It’s there when you need heavy lifting — like a virtual powerhouse waiting in your browser.
Here’s the all benefits:
You get RTX-level GPUs (we’re talking serious horsepower).
You can scale up CPU, GPU, and RAM on demand — no long-term commitment, no massive upfront cost.
It streams right to your screen in 4K at 60 FPS, with low latency.
And it works on basically anything — old laptops, tablets, heck, even a Chromebook if that’s what you’ve got.
✅ Why Vagon Works for Low-End Setups
No overheating, no fan noise, no lag from your local hardware.
You can use your local machine for light tasks (UI, code tweaks) and spin up Vagon for big scenes, builds, light baking, or playtests.
You only pay for what you use — no need to drop $2,000+ on a rig that might be overkill 90% of the time.
👉 In my experience? It’s a lifesaver when your machine just can’t keep up — and way easier than stressing over hardware upgrades.
If you’re curious, you can check it out at vagon.io/cloud-computer.
And it works on basically anything — old laptops, tablets, even a Chromebook. If you’re curious about using Unity on an iPad or tablet, check out our guide here.
Final Thoughts
I’ve been in the trenches trying to get Unity to run on machines that probably had no business opening the Editor in the first place. It’s frustrating. It’s slow. Sometimes it makes you want to toss your laptop out the window.
But here’s the good news: with the right tweaks, some smart compromises, and a little creative thinking, you can absolutely build awesome stuff on a low-end setup. You just have to pick your battles — simplify where it counts, and focus on what really matters early on.
And when you do hit that wall where no amount of tweaking helps? Cloud tools like Vagon are there to back you up. It’s kind of incredible that we can rent desktop-class power in a browser now — that used to be pure sci-fi.
So yeah. Don’t give up just because your machine’s struggling. There’s always a way forward.
Frequently Asked Questions (FAQs)
Can Unity run without a GPU?
Yes — but with limits. Unity can run on integrated graphics (like Intel UHD or AMD Vega graphics) if you stick to 2D projects, mobile shaders, or lightweight pipelines like URP. Just don’t expect smooth performance for complex 3D, HDRP, or VR projects.
What is the minimum RAM for Unity 3D?
Unity’s official minimum is 8 GB, but in reality, 16 GB is where things start feeling usable. If you can, go for 32 GB — it helps with large scenes, baking, and faster build times.
Can Unity run on a low-end laptop?
Yes! Unity can run on low-end laptops if you optimize your project — use URP, unlit shaders, bake lights, compress textures, and avoid post-processing. For heavier work, cloud PCs like Vagon can give you a boost without needing a high-end machine.
Is an SSD important for Unity development?
Absolutely. An SSD dramatically speeds up scene loads, asset imports, and build times. If you’re still on an HDD, upgrading to SSD is one of the best ways to improve Unity’s performance on any machine.
Which Unity render pipeline is best for weak hardware?
URP (Universal Render Pipeline) is your best bet. It’s designed for performance and works great on low-end hardware and mobile devices. HDRP (High Definition Render Pipeline) is meant for high-end machines and will struggle without a good GPU.
How can I make Unity run faster on my PC?
If you’re wondering how to make Unity run faster on your PC, there are several proven tricks that can make a big difference. First, switch to URP (Universal Render Pipeline) or use unlit shaders to reduce the load on your graphics hardware. Bake your lighting and disable real-time shadows — this takes a huge burden off both your CPU and GPU during gameplay and in the editor. You should also compress textures and use texture atlases to cut down on memory use and draw calls. Instead of constantly creating and destroying objects at runtime, pool objects and reuse them — it’s much more efficient. Don’t forget to lower your editor quality settings; you don’t need high visuals while you’re building. Moving your project to an SSD instead of a hard drive will speed up loads, imports, and builds. And finally, close unnecessary background apps so your system can dedicate more resources to Unity.
Is Unity cloud-based?
Unity itself isn’t cloud-based, but you can use cloud PCs (like Vagon) to run Unity on powerful remote hardware and stream it to your device. This lets you work on complex projects from a low-end laptop, tablet, or even a Chromebook.
Can I use Unity on a Chromebook?
Not locally — Chrome OS doesn’t support Unity directly. But you can use cloud PC services (like Vagon) to run Unity on powerful hardware and stream the editor to your Chromebook.
Get Beyond Your Computer Performance
Run applications on your cloud computer with the latest generation hardware. No more crashes or lags.

Trial includes 1 hour usage + 7 days of storage.
Summarize with AI

Ready to focus on your creativity?
Vagon gives you the ability to create & render projects, collaborate, and stream applications with the power of the best hardware.

Vagon Blog


Run heavy applications on any device with
your personal computer on the cloud.
San Francisco, California
Solutions
Vagon Teams
Vagon Streams
Use Cases
Resources
Vagon Blog
How to Run Inkscape on a Cloud Ubuntu Desktop (2026 Guide)
How to Run Krita on a Cloud Ubuntu Desktop for Digital Painting (2026 Guide)
How to Run GIMP on a Cloud Ubuntu Desktop (2026 Guide)
How to Run Jupyter on a Cloud GPU Linux Desktop (2026 Guide)
Vagon vs GitHub Codespaces: Cloud Dev Environments Compared (2026)
Vagon vs RunPod: Which Cloud GPU Is Right for You? (2026 Comparison)
How to Watch Your AI Agent Work on a Cloud Ubuntu Desktop (2026 Guide)
How to Run a Local LLM on Ubuntu in the Cloud (2026 Guide)
How to Run Blender on a Cloud GPU (Ubuntu): The Complete 2026 Guide
Vagon Blog
Run heavy applications on any device with
your personal computer on the cloud.
San Francisco, California
Solutions
Vagon Teams
Vagon Streams
Use Cases
Resources
Vagon Blog