Instant Connection for Pixel Streaming
— New Feature Automated Setup

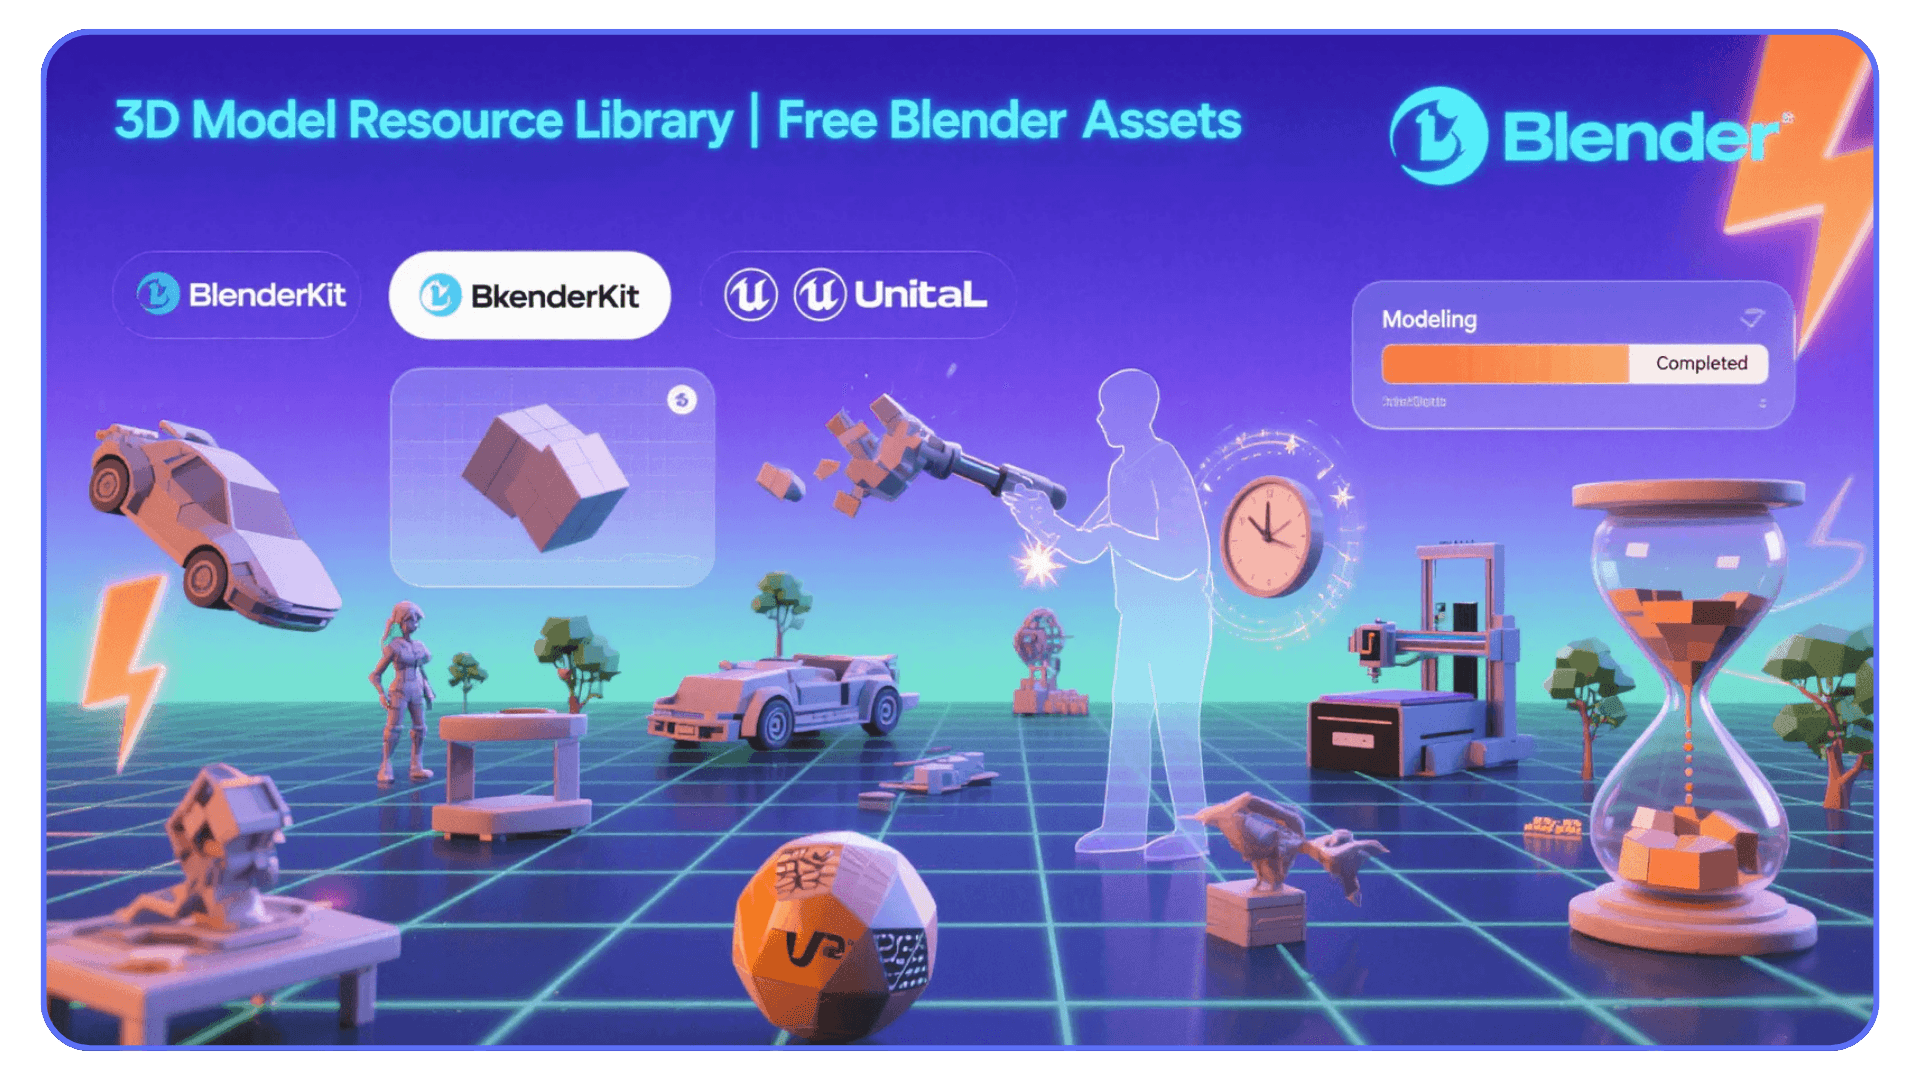
Best AI Tools for Blender 3D Model Generation in 2026
Best AI Tools for Blender 3D Model Generation in 2026
DigitalArt
Best AI Tools for Blender 3D Model Generation in 2026
Table of Contents
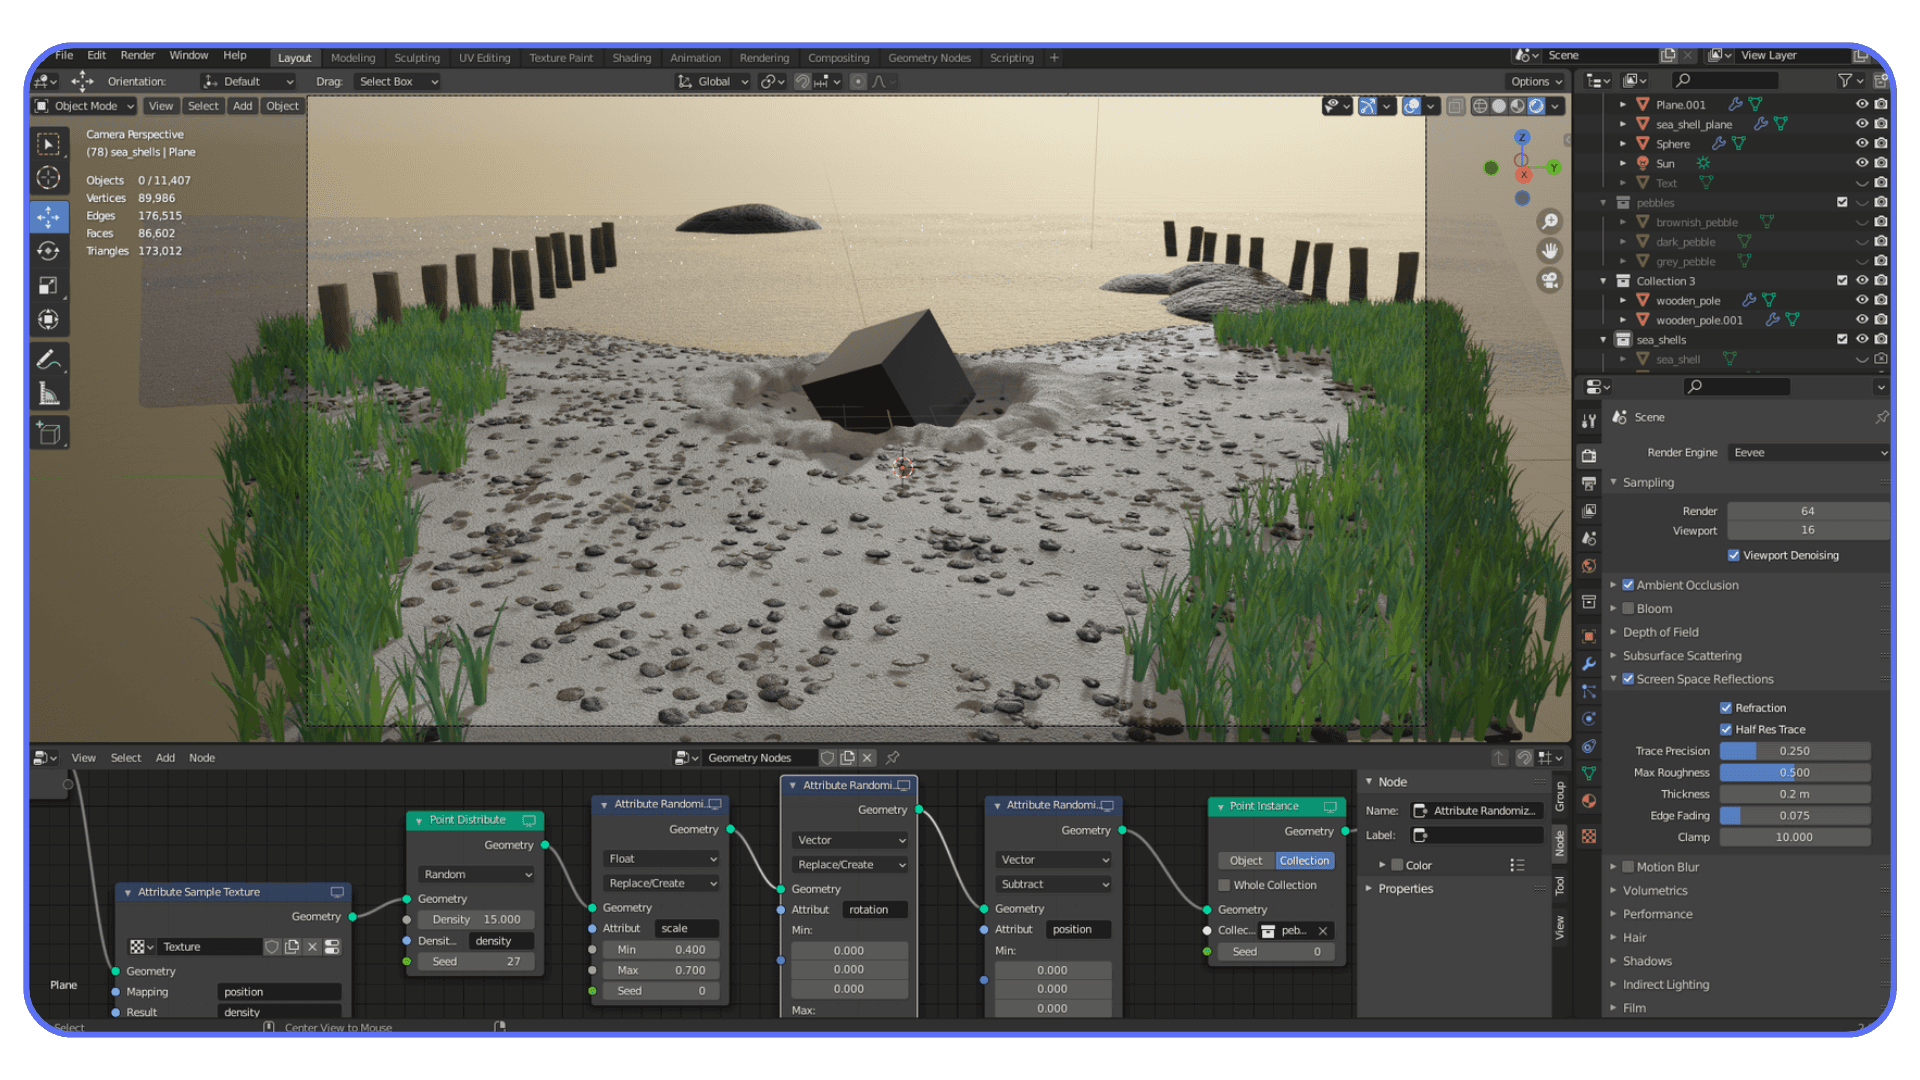
I’ve lost track of how many times I’ve opened Blender, stared at an empty viewport, and started modeling a “temporary” object just to get going. A box, a chair, a random prop that was never meant to survive past the blockout stage. Somehow, those placeholders always ate more time than they deserved.
That’s where AI actually earns its place. Not as a magic button for finished assets, but as a way to break the blank canvas and get momentum back fast.
The Honest Reality of AI 3D in Blender
AI model generation can be genuinely useful in Blender, but only if you go in with the right expectations. These tools aren’t here to replace modeling skills or produce clean, production-ready assets on demand. What they do offer is speed, especially at the very start of a project.
The biggest advantage is getting something into your scene quickly. A rough prop, a background element, a shape that helps you understand scale and composition. Instead of spending time building placeholders by hand, you can move forward sooner and start making real creative decisions.
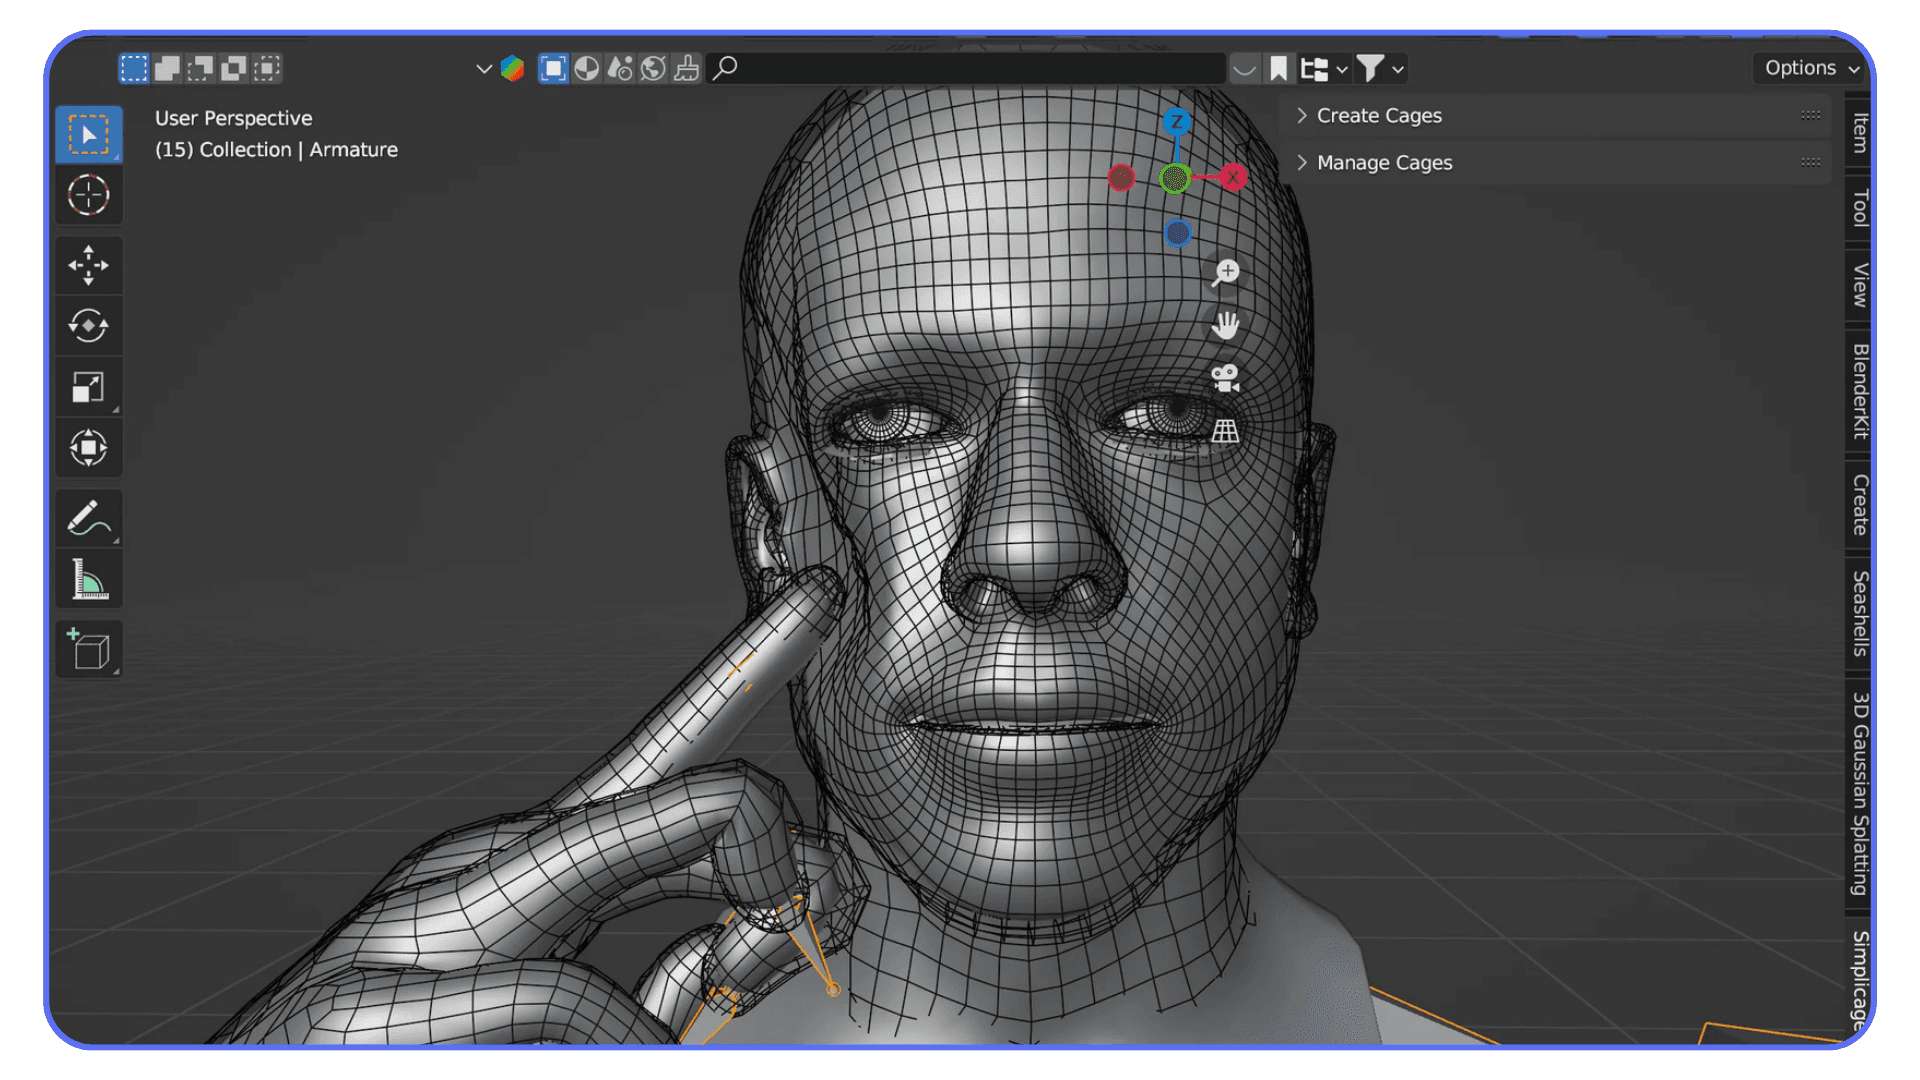
Where things start to fall apart is precision. Topology is usually dense and uneven. Edge flow rarely works for deformation. UVs can be unpredictable. Models often look acceptable at a distance and fall apart when you zoom in or change the lighting. If you rely on wireframe view, the limitations are obvious.
This is why cleanup in Blender is part of the process, not a workaround. You still need to fix scale, correct normals, simplify geometry, and rebuild materials when necessary. That work hasn’t disappeared. It’s just happening later, after the first draft exists.
And that’s not a bad thing. Blender has always been about control and refinement. AI shifts the starting line, not the finish line. You spend less time on basic shapes and more time on the parts that actually define the look and feel of your scene.
If you treat AI-generated models as rough sketches rather than final assets, the workflow makes sense very quickly.
If you’re working away from a traditional desktop setup, running Blender in the cloud also makes it possible to work comfortably from an iPad without sacrificing performance.
Before Choosing a Tool, Choose Your Input
Most people compare AI tools first. In practice, that’s backwards. The way you start a model has a much bigger impact on the result than which logo is on the website.
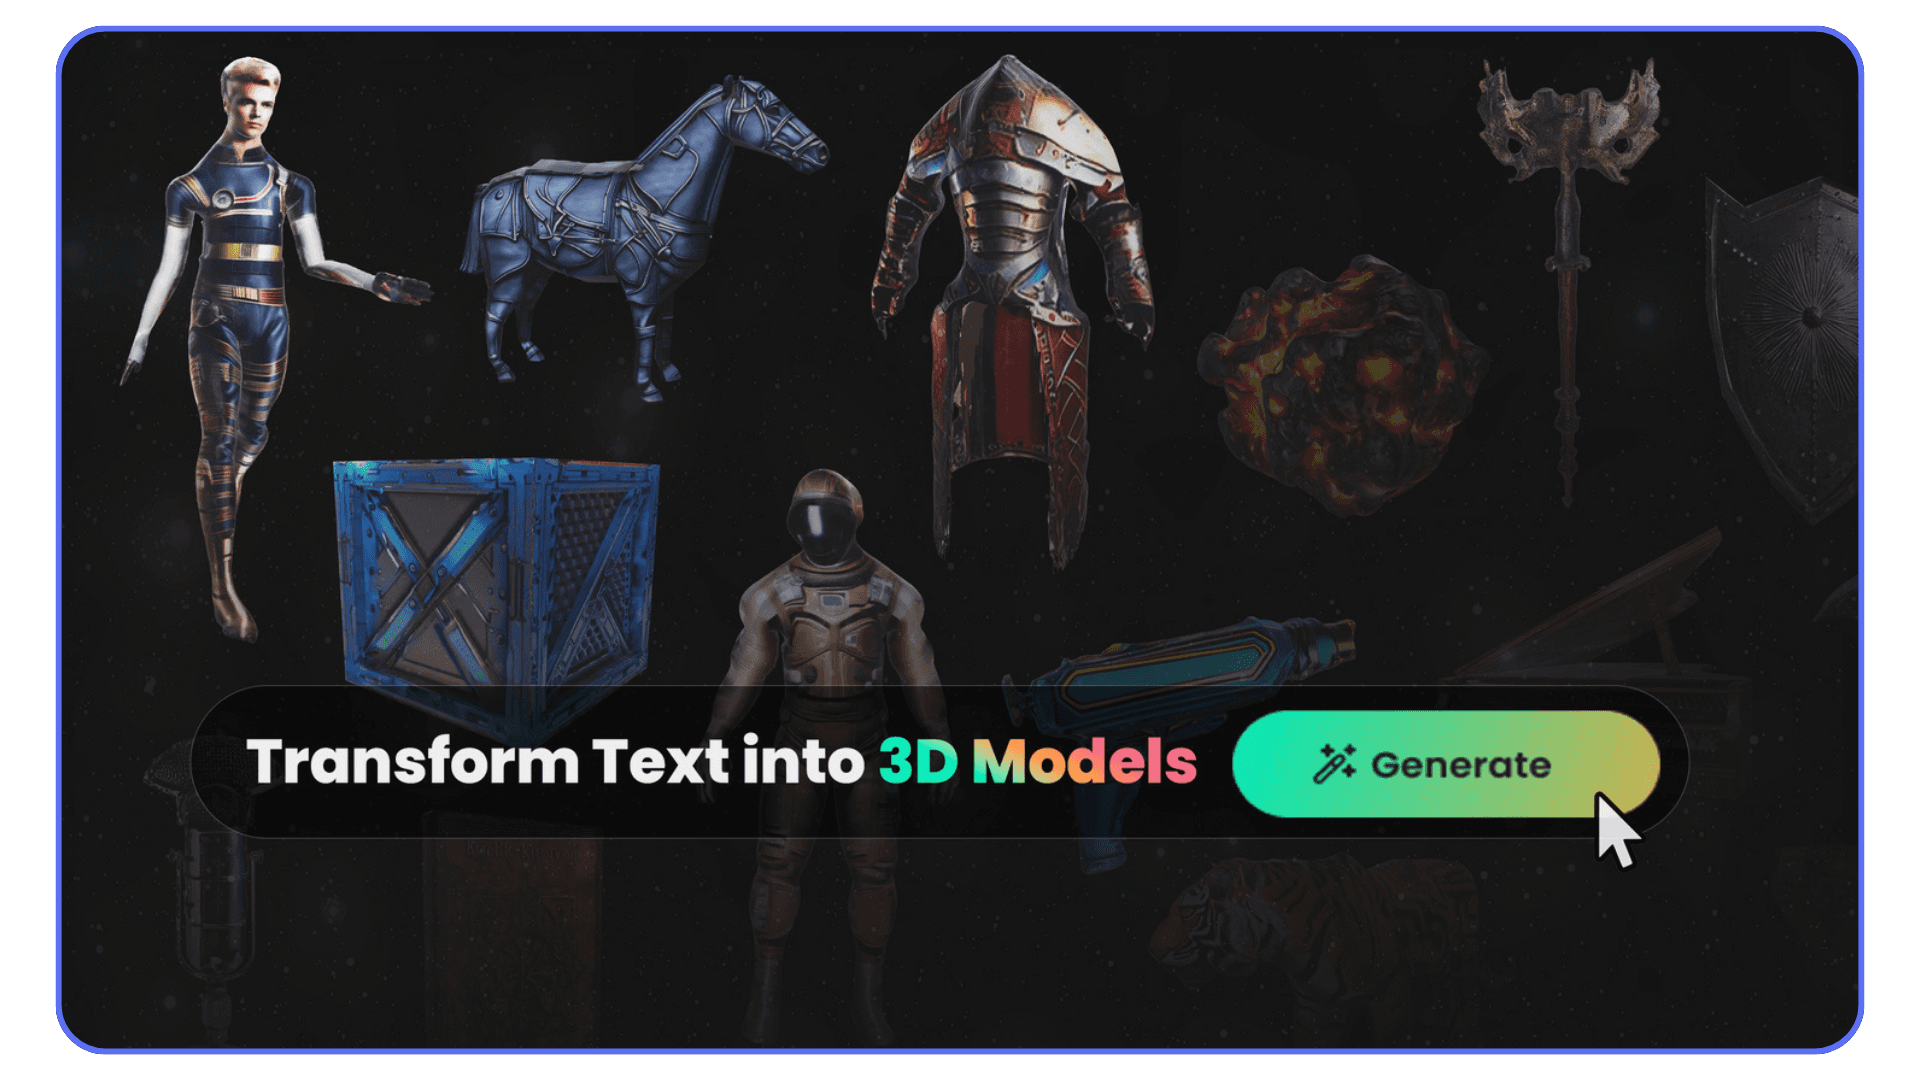
Text-to-3D is all about speed. You describe an idea and get a rough form back almost immediately. This works best when you’re exploring concepts, blocking out props, or filling space so a scene doesn’t feel empty. It’s loose by nature. You trade precision for momentum, and that’s usually the right trade early on.
Image-to-3D sits in the middle. When you already have a reference, a sketch, or concept art, starting from an image gives you more predictable shapes. Silhouettes tend to be closer to what you expect, and the overall form usually makes more sense in Blender. You still need cleanup, but you’re starting from something more intentional.
Photo or video-based capture is about realism, not exploration. These approaches are best when you want real-world detail and believable surfaces. The downside is heavy geometry and less flexibility. You’re capturing something that exists, not inventing something new. Blender cleanup is almost guaranteed, but the visual payoff can be worth it.
Once you’re clear on how you want to start, choosing a tool becomes much easier. With that in mind, let’s look at the text-to-3D options that actually fit into real Blender workflows, starting with one of the most commonly used tools right now.
If you are combining AI-generated assets with 2D animation in Blender, maintaining clean geometry and consistent materials becomes even more important for timing and visual clarity.
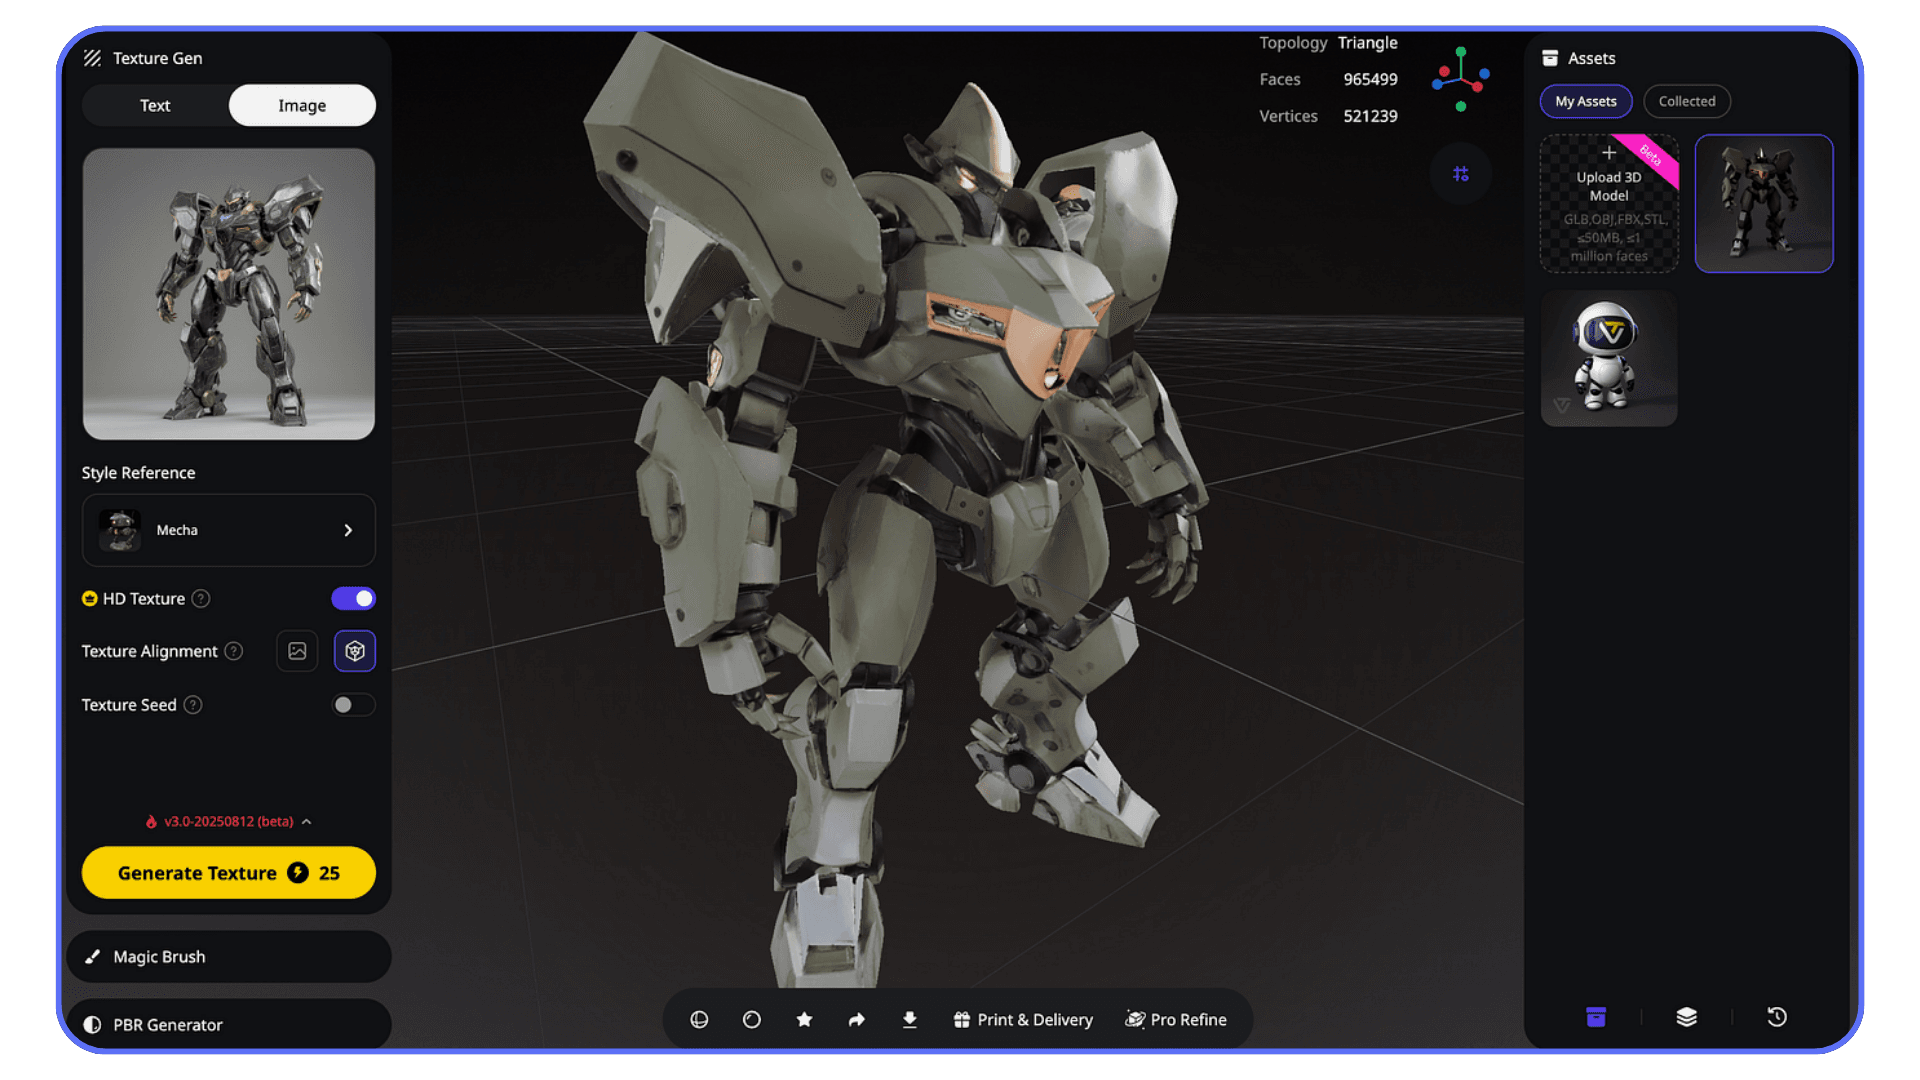
#1. Meshy
Meshy is popular because it usually gives you something usable without a fight. You type a prompt, wait a moment, and the result generally has a readable silhouette and sensible proportions. You’re not guessing what the object is supposed to be, which already puts it ahead of many text-to-3D tools.
In a Blender workflow, Meshy works best at the very beginning. It’s a way to get a rough asset into the scene so you can judge scale, composition, and camera angles. The Blender plugin helps keep that flow intact, especially when you’re generating multiple variations and don’t want to juggle exports.
The tradeoff is precision. Topology is usually dense and uneven. Edge flow isn’t suitable for deformation, and UVs are hit or miss. Cleanup in Blender is expected, not optional. That said, the cleanup is predictable, which matters. You’re fixing known issues, not rescuing a broken mesh.
Meshy tends to work best for a specific type of user and task:
Early-stage props and environment assets
Blockouts and placeholders you plan to refine
Concept exploration where speed matters
Blender users comfortable with basic cleanup and retopology
Used this way, Meshy doesn’t replace modeling. It replaces wasted time.
#2. Luma AI Genie
Luma AI Genie is one of those tools that feels almost unreal the first time you use it. You type a short prompt, hit generate, and within seconds you’re looking at a fully formed 3D object. No long waits, no complex settings. It’s fast in a way that makes most other tools feel slow.
That speed is Genie’s biggest strength, and also its biggest weakness. When it works, it’s great for quick ideation and visual exploration. You can throw rough ideas at it and see something take shape immediately. For early concept work or fast placeholders, that can be incredibly freeing.
The problem shows up once you bring those models into Blender. Control is limited. You don’t get much say over topology, structure, or consistency. Some results import cleanly enough to be useful. Others look fine in shaded view and fall apart the moment you start inspecting geometry or adjusting lighting. It can feel a bit like rolling dice.
Genie makes the most sense when you’re very clear about how you plan to use it:
Rapid concept sketches rather than refined assets
Visual exploration before committing to a direction
Background elements that won’t be closely inspected
Situations where speed matters more than precision
If you try to push Luma AI Genie toward production-ready work, it will fight you. If you treat it as a fast idea generator and nothing more, it can be a powerful way to jumpstart a scene.
#3. Sloyd
Sloyd takes a very different approach from most text-to-3D tools. Instead of leaning heavily on open-ended prompts, it focuses on structured generation. That means fewer wild surprises and more predictable results, which is often exactly what you want inside a Blender workflow.
The real appeal of Sloyd is control. You’re not just asking for an object and hoping it comes out right. You’re working with parameters and predefined logic that shape the result. This makes it much easier to generate variations that stay consistent in scale, proportion, and overall style.
When you bring Sloyd assets into Blender, they tend to behave more reasonably than fully free-form AI meshes. Geometry is still not perfect, but it’s usually cleaner and easier to manage. You spend less time figuring out what went wrong and more time making small adjustments that move the asset toward your goal.
Sloyd works best in situations like these:
Asset families that need consistent proportions
Props that will be reused across scenes
Early production work where predictability matters
Workflows where you want fewer surprises and faster refinement
If you like the idea of AI helping you move faster but still want to feel in control of the outcome, Sloyd sits in a comfortable middle ground. It doesn’t try to impress you with randomness. It tries to stay useful.
#4. Rodin / Hyper3D
Rodin and Hyper3D aim a bit higher than most instant text-to-3D tools. The promise here is better surface detail, more convincing shapes, and results that feel closer to something you could actually build on, not just sketch with.
When they work well, the output can look impressive at first glance. Forms are more refined, textures are more intentional, and the overall result feels less “generated.” For certain prompts, this can save a lot of early modeling time.
The downside is consistency. Results can vary widely depending on the prompt and subject matter. One generation might be perfectly usable, while the next needs heavy cleanup or a complete rethink. That unpredictability makes these tools better for experimentation than for repeatable workflows.
Rodin and Hyper3D make the most sense in situations like this:
Testing higher-quality drafts before committing to manual work
Exploring detailed props or hero assets at the concept stage
Experimenting with visual direction rather than final production
Users comfortable discarding results that don’t work
If you approach these tools expecting reliable output every time, they’ll frustrate you. If you treat them as experimental tools for chasing better first drafts, they’re worth exploring.
#5. Masterpiece X
Masterpiece X is clearly built with accessibility in mind. The interface is simple, the learning curve is low, and you can get a 3D model out of it without spending much time tweaking settings or prompts. For many users, that alone makes it appealing.
The tradeoff is depth. The models you get from Masterpiece X tend to be serviceable but basic. They work well for rough concepts, previews, and early-stage ideas, but they rarely hold up without additional work once you bring them into Blender. Geometry is usually dense, UVs are inconsistent, and materials often need to be rebuilt.
Where Masterpiece X fits best is at the very start of a project, when you’re trying to visualize an idea rather than finalize an asset. It helps you get something on screen quickly, especially if you’re not deeply technical or just want to test a direction.
It tends to make sense for workflows like these:
Quick concept visualization
Early blockouts for scenes or characters
Non-technical creators exploring 3D ideas
Projects where assets won’t be closely inspected
If you expect production-ready results, Masterpiece X will disappoint you. If you treat it as a fast way to externalize ideas and then refine them in Blender, it does its job well.
#6. Tripo AI and Polycam
Image-driven tools feel very different from text-to-3D, and that’s usually a good thing. When you already have a reference image, a sketch, or even a rough concept render, starting from visuals gives you far more predictable shapes. You’re not asking the model to imagine everything from scratch.
Tripo AI leans into speed and visual appeal. It often produces models with decent textures right out of the gate, which can make the first import into Blender feel surprisingly complete. For quick props or background assets, that’s a big win. The catch shows up once you inspect the mesh. Geometry is often messy, with uneven density and little regard for edge flow. Cleanup is expected.
Polycam takes a more grounded approach. Because it’s often driven by real images or captures, scale and proportions tend to make more sense. This is especially useful for real-world objects and environment pieces. The downside is heavier meshes and less flexibility. You’re refining something that already exists rather than shaping a new idea.
In practice, both tools shine and struggle in predictable ways:
Image-to-3D excels at silhouette accuracy and visual consistency
Textures are often better than pure text-based generation
Geometry usually needs simplification or retopology in Blender
Assets work best for props, environments, and non-deforming objects
If you already have strong visual references, image-to-3D tools can save a lot of time. Just don’t assume the mesh is ready for production. Blender still does the final pass, as always.
AI Model Generation Isn’t Just About the Mesh
It’s easy to judge AI tools by the mesh alone, but that’s only part of the story. In real Blender projects, geometry is just one piece of a much bigger puzzle.
Materials are often the first hidden problem. AI-generated textures can look fine under default lighting and completely fall apart once you start dialing in your scene. Roughness values behave strangely. Normal maps don’t always react the way you expect. What looked decent at first suddenly feels flat or noisy when you push the lighting.
Scale and consistency are another quiet issue. Assets from different tools rarely agree with each other. One model comes in massive, another tiny. Texel density jumps all over the place. If you don’t catch this early, scenes start to feel off even if every individual asset looks okay on its own.
Then there’s performance. Dense meshes, high-resolution textures, and unnecessary detail add up fast. A few AI-generated assets can turn a responsive Blender scene into something sluggish, especially once modifiers, lighting, and effects enter the picture.
This is why Blender still does the heavy lifting. AI can give you a starting point, but Blender is where assets get normalized, optimized, and made consistent with the rest of the project. That part hasn’t changed. What’s changed is how quickly you can get something worth refining in the first place.
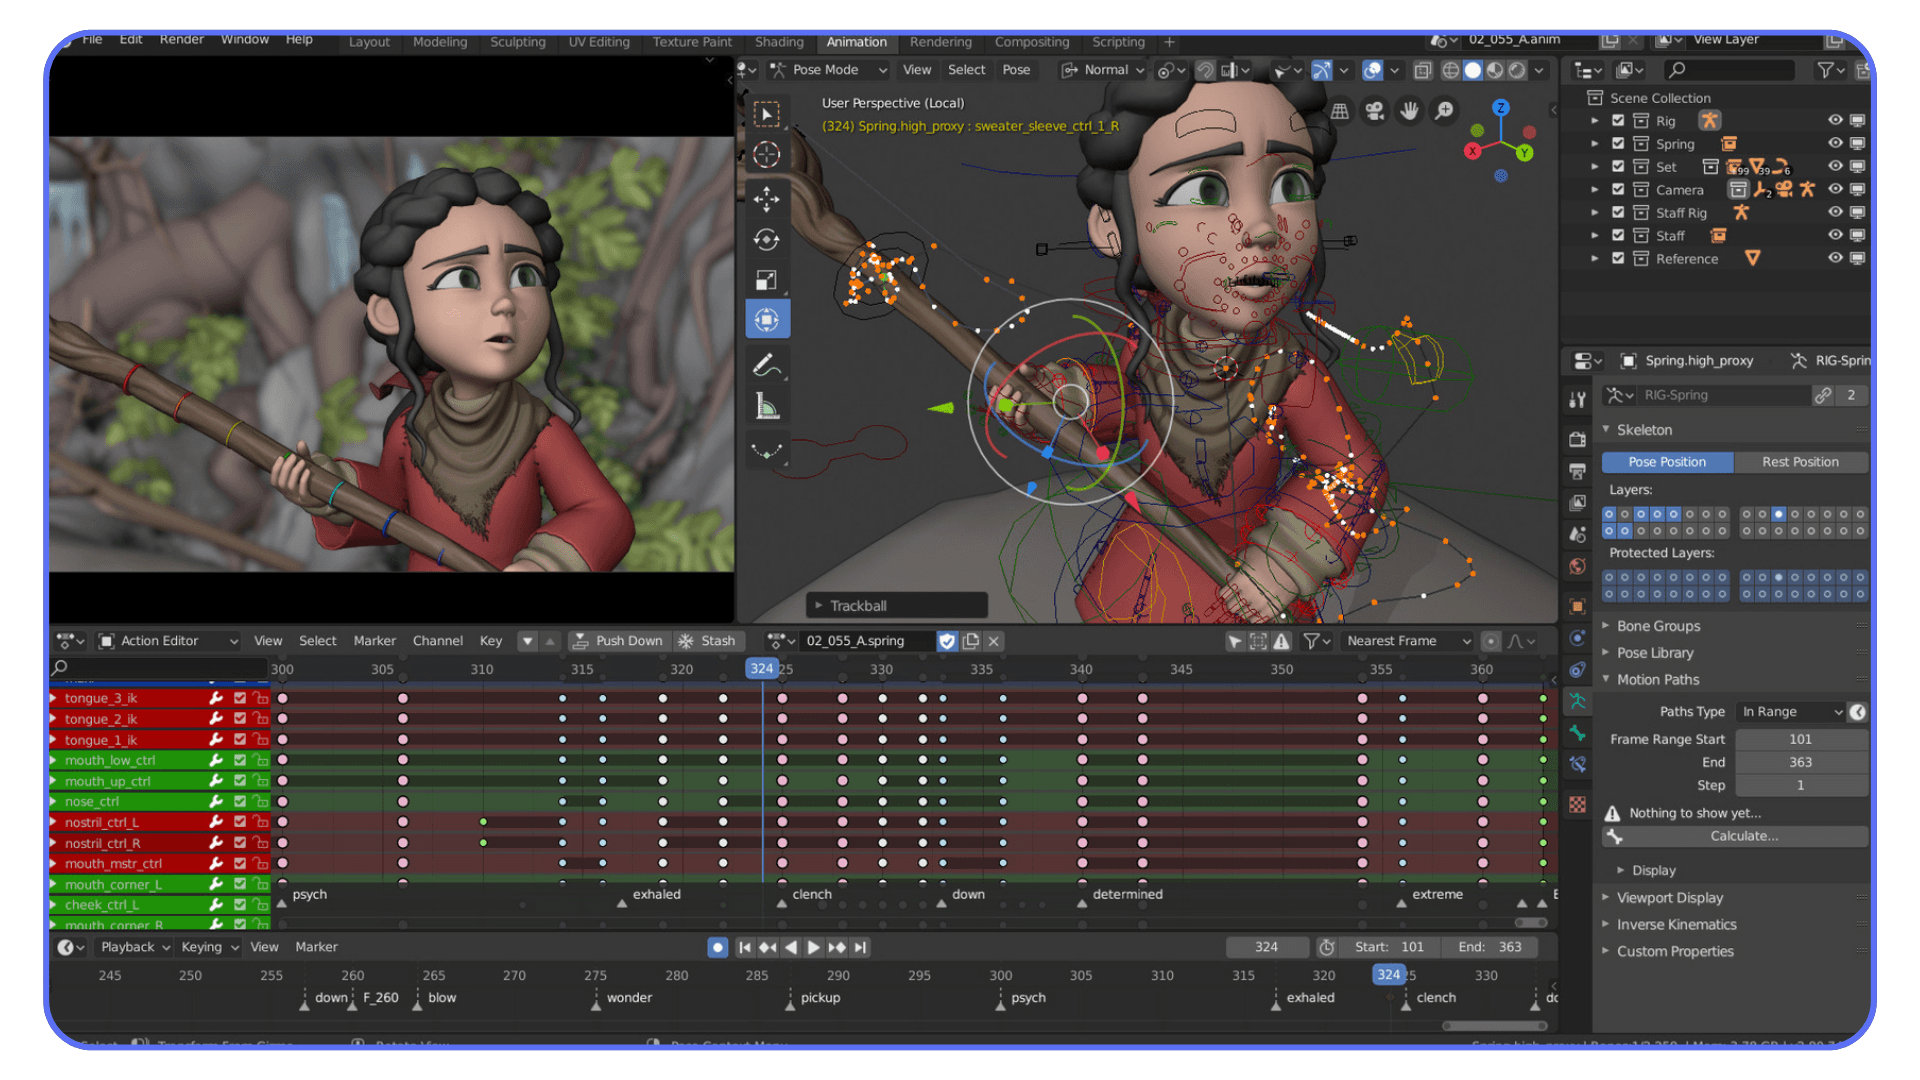
The AI-to-Blender Cleanup Reality
No matter which AI tool you use, there’s a moment where the model lands in Blender and you have to decide how much work it really needs. This step is unavoidable, and it’s also where a lot of time is either saved or wasted.
The first pass is always about basics. Check scale, rotation, and origin points. AI models often come in rotated oddly or sized in ways that don’t match your scene. Fixing this early prevents a lot of downstream annoyance.
Next comes shading and normals. Many AI meshes look fine until you add proper lighting. Shading artifacts, broken normals, and strange smoothing behavior are common. A quick cleanup here can dramatically change how usable the asset feels.
Then you make the big call. Decimation or retopology. For background props and non-deforming objects, decimation is often enough. You reduce complexity, clean up the silhouette, and move on. For anything that needs to deform, animate, or hold up under close inspection, proper retopology is usually unavoidable.
Materials almost always need attention. AI-generated textures tend to be inconsistent, either too noisy, too flat, or tuned for a very specific lighting setup. Rebuilding materials inside Blender gives you predictable results and keeps assets consistent across scenes.
This cleanup phase is where the real quality is decided. AI gets you to a rough draft quickly, but Blender is where that draft becomes something you can actually ship. Once you accept that division of labor, the workflow stops feeling like a compromise and starts feeling efficient.
If you are pushing AI-generated models into final scenes, dialing in the right render settings for Blender often has a bigger impact on the result than the original mesh quality.
Common Mistakes That Slow People Down
Most frustrations with AI-generated models don’t come from the tools themselves. They come from how people use them. These mistakes show up again and again, especially when AI starts to feel “good enough” too early in the process.
1. Overtrusting AI Output
This is the fastest way to lose time. An AI-generated model can look decent at first glance, especially in shaded view, but that doesn’t mean it’s ready to use. Treating the output as finished without checking topology, scale, or materials usually leads to rework later, when changes are more expensive.
AI models should be assumed guilty until proven otherwise. A quick inspection early saves hours down the line.
2. Ignoring Performance Early
Dense geometry and oversized textures don’t feel like a problem at first. Then you add a few more assets, some lighting, maybe modifiers, and suddenly the scene feels heavy. Performance issues compound quietly, especially with AI-generated content.
Keeping an eye on polycount and texture size from the start makes iteration smoother and avoids painful optimization passes later.
3. Skipping Cleanup Until It’s Too Late
Delaying cleanup feels productive in the moment. You keep moving, keep adding assets, and tell yourself you’ll fix things later. That “later” usually turns into a much bigger job, especially once assets are duplicated or linked across scenes.
Cleaning up early keeps your project flexible. It’s easier to make changes when the foundation isn’t already messy.
If you are spending time cleaning up AI-generated assets, knowing essential Blender shortcuts and hotkeys can save more time than switching between AI tools.
When Performance Becomes the Bottleneck
This is the part that sneaks up on people.
AI-generated assets don’t usually break a Blender scene right away. One model imports fine. Then another. Then a few more. At some point, viewport performance drops, navigation feels sluggish, and simple edits take longer than they should. That’s when performance stops being an abstract concern and starts affecting how you work.
The main issue is density. AI tools tend to produce more geometry than you actually need, especially for background assets. Combine that with high-resolution textures and suddenly your scene is doing a lot of unnecessary work. Add modifiers, lighting, and effects on top, and even a decent machine can start to struggle.
What makes this worse is iteration. AI workflows encourage experimentation, which is great creatively, but it also means scenes grow fast. Assets get duplicated, variations pile up, and cleanup gets postponed. Performance issues compound quietly until they’re impossible to ignore.
At this stage, raw hardware matters less than workflow discipline. Optimizing assets early, keeping polycount in check, and being intentional about what stays in the scene makes a real difference. The goal isn’t just to make Blender run smoothly. It’s to keep iteration fast enough that you don’t hesitate to try new ideas.
If you are working on lighter hardware, cloud-based workflows make it practical to run Blender on a Chromebook without being limited by local performance.
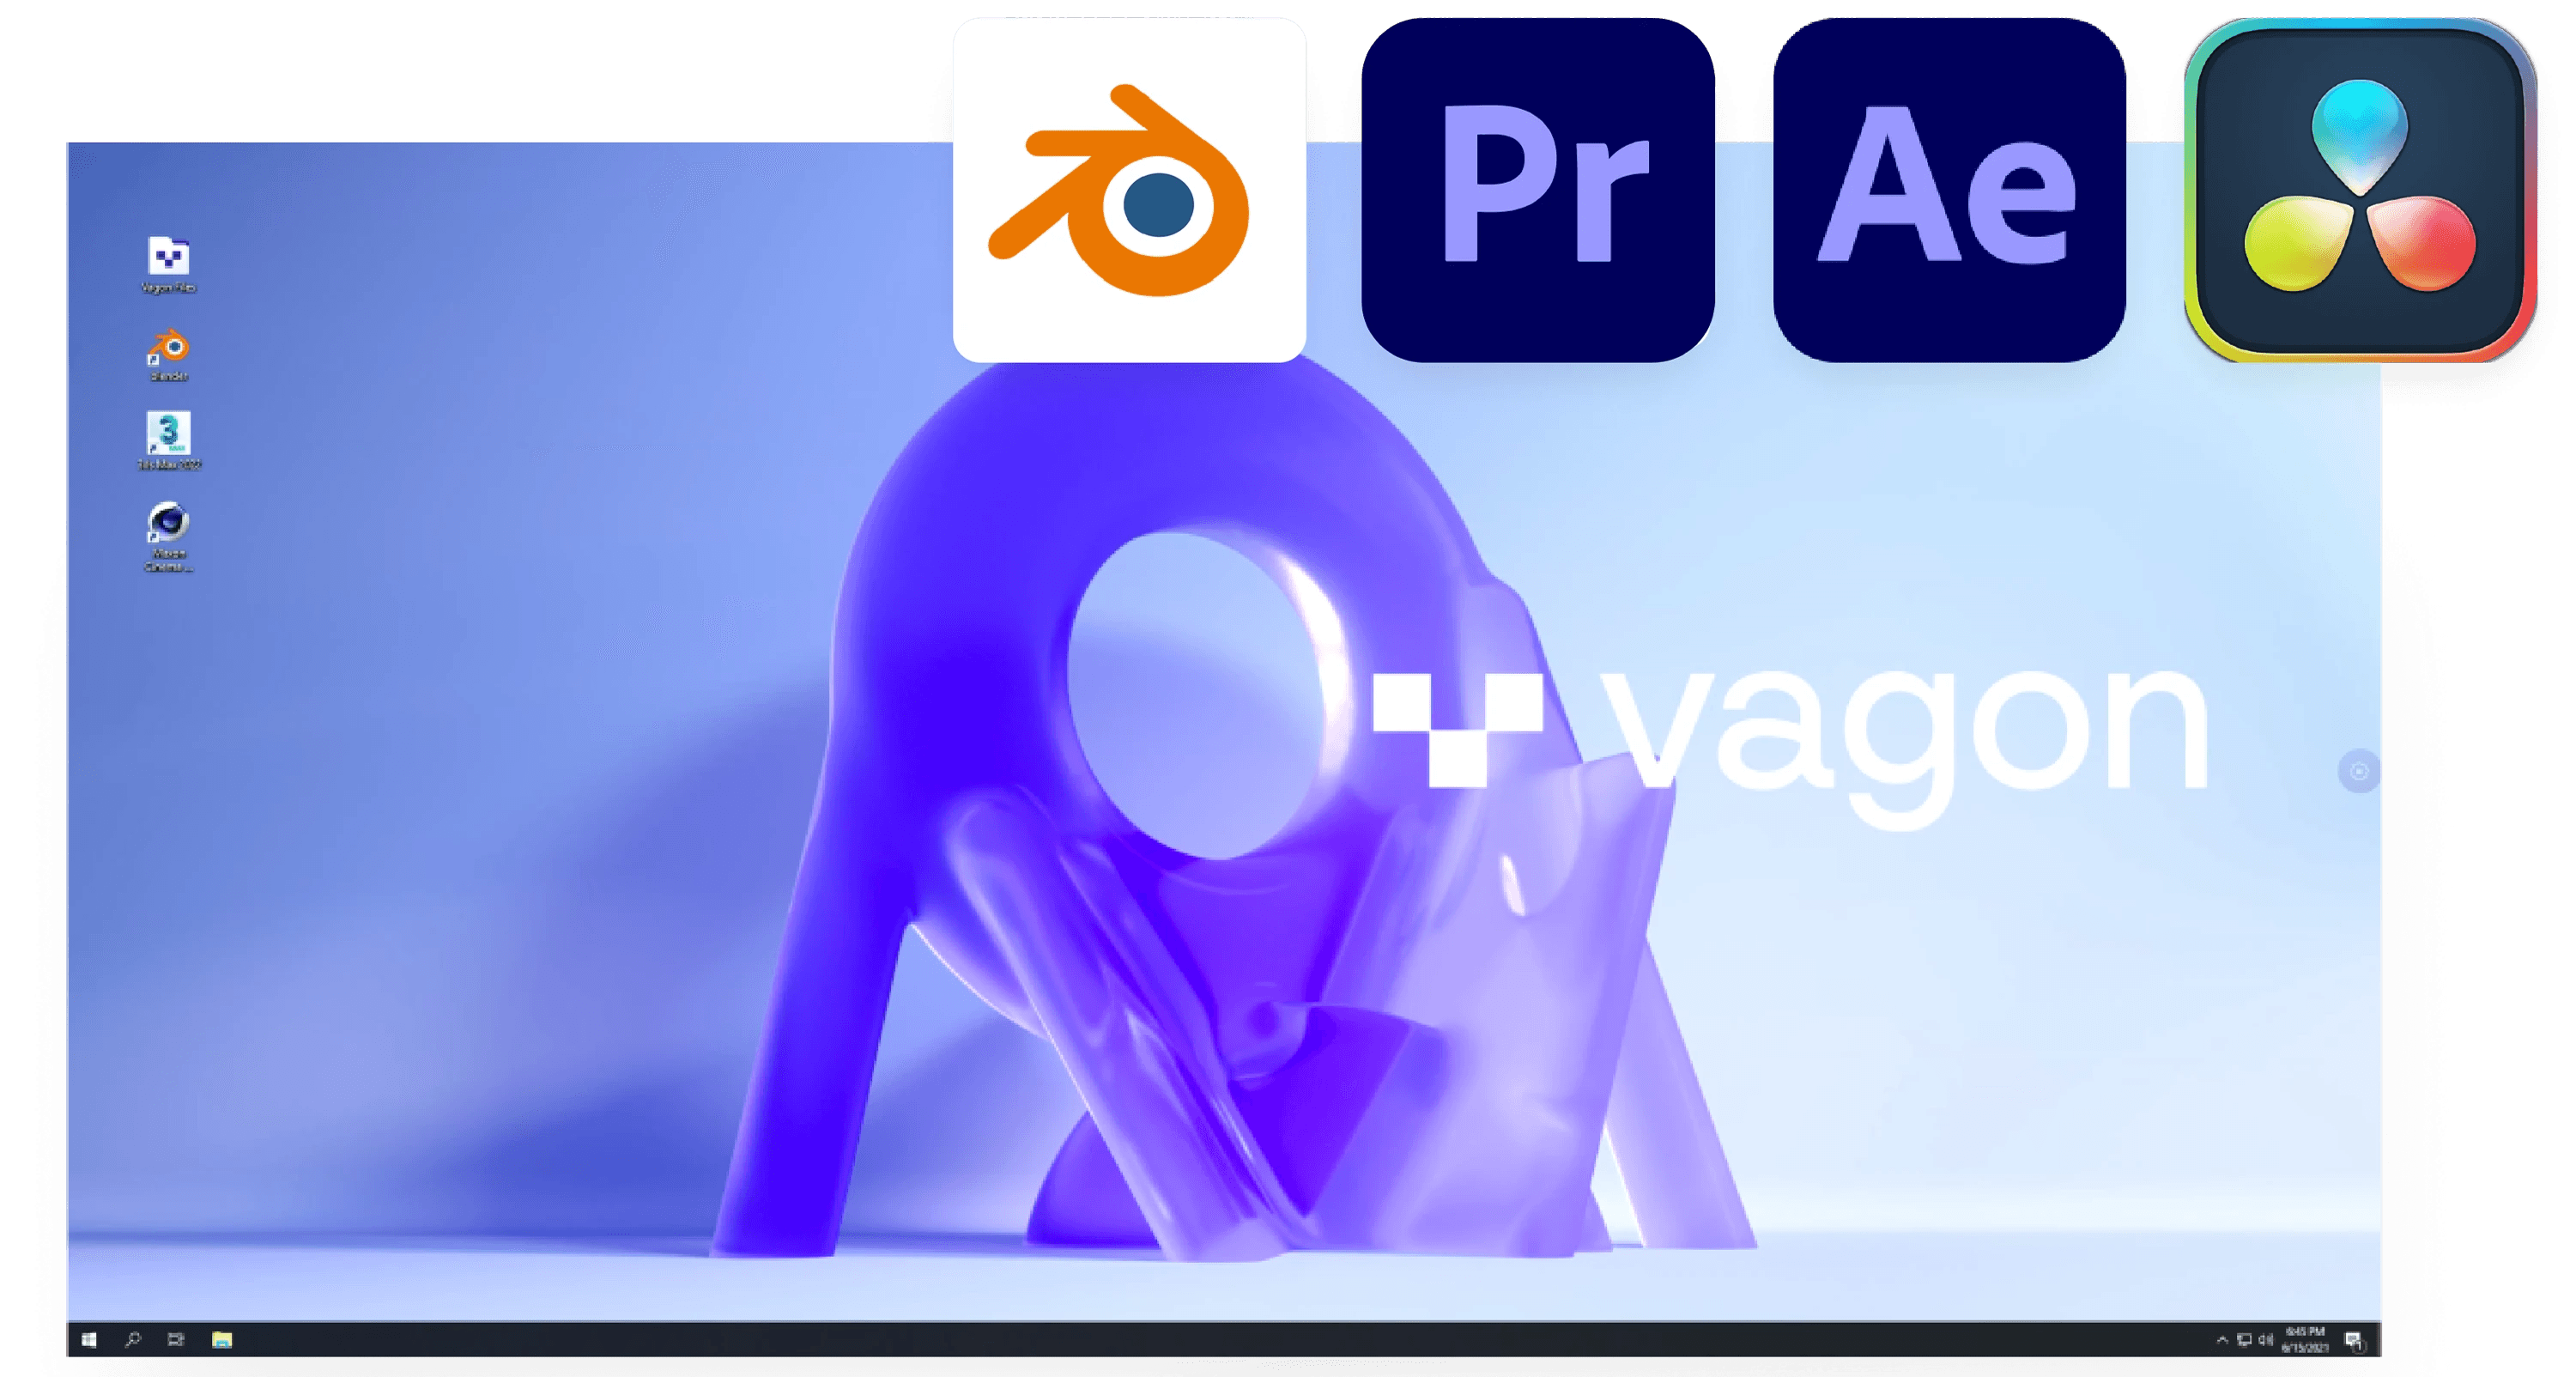
Using Vagon Cloud Computer for AI-Powered Blender Workflows
When AI-generated assets start piling up, performance becomes less of a Blender problem and more of a hardware one. Dense meshes, large textures, and constant iteration can slow things down fast, even on solid local machines.
This is where Vagon Cloud Computer comes in directly.
Instead of trying to squeeze heavy Blender scenes and AI workflows into your own setup, Vagon lets you run everything on a powerful cloud machine built for this kind of load. More GPU headroom, more memory, and far fewer compromises just to keep the viewport responsive. You work the same way you always do, just without the constant friction.
Vagon is especially useful when you’re experimenting a lot. Generating multiple AI models, importing variations, testing lighting setups, and refining assets adds up quickly. Running Blender in the cloud keeps iteration fast, which matters more than raw specs when you’re exploring ideas.
Sharing is another big part of the picture. Instead of exporting files, worrying about compatibility, or hoping someone else’s machine can handle the scene, you can simply share access to the same environment. Teammates, clients, or end users see exactly what you see, with the same performance and setup.
This isn’t about replacing local workflows entirely. It’s about having an option when AI-driven Blender projects push past what your hardware comfortably handles. For many people, that flexibility is what keeps the creative process moving instead of slowing it down.
Final Thoughts
AI tools for 3D model generation are not a shortcut to finished work. They don’t replace Blender skills, and they don’t remove the need for cleanup, judgment, or taste. What they do replace is a lot of wasted effort at the very beginning of a project.
If you use them as a way to break the blank canvas, explore ideas faster, and reduce time spent on placeholders, they fit naturally into Blender workflows. The key is knowing when to trust them and when to take control back inside Blender.
As these tools improve, the gap between rough draft and usable asset will continue to shrink. But the role of the artist doesn’t disappear. It shifts. Less time on repetitive setup, more time on decisions that actually shape the final result.
Used thoughtfully, AI becomes another tool in the kit. Not the star of the show, but a useful way to keep momentum high and focus on the work that matters.
FAQs
1. Do AI-generated models replace manual modeling in Blender?
No. They replace the early, repetitive parts of modeling, not the skill itself. AI is best used for blockouts, placeholders, and concept drafts. Clean topology, proper UVs, and final polish still happen in Blender.
2. Are AI-generated models production-ready?
Most of the time, no. Some models may look usable at first glance, but they usually need cleanup. Expect to fix scale, normals, materials, and often topology before using them in a real project.
3. Which AI tools work best with Blender?
Tools that allow easy export and predictable results work best. Meshy and Sloyd tend to fit Blender workflows more naturally, especially when you treat their output as a starting point rather than a final asset.
4. Is text-to-3D better than image-to-3D?
It depends on your goal. Text-to-3D is faster and better for exploration. Image-to-3D gives you more control over shape and style when you already have references. Neither replaces cleanup inside Blender.
5. Do I still need to know topology and UVs?
Yes. AI doesn’t remove the need for core 3D knowledge. Understanding topology, UV mapping, and materials is what turns an AI-generated mesh into something usable.
6. Why do AI-generated models feel heavy in Blender?
AI tools often produce dense geometry and high-resolution textures by default. This can impact viewport performance quickly, especially when multiple assets are involved. Optimization is still an important part of the workflow.
7. When does using a cloud computer make sense for Blender?
When scenes become heavy enough that performance slows iteration. AI-driven workflows encourage experimentation, which can push hardware limits faster than traditional modeling. A cloud setup helps when local resources become a bottleneck.
8. Is AI model generation useful for beginners?
Yes, but with caution. It can help beginners visualize ideas faster, but relying on AI too early can hide important fundamentals. Blender skills still matter, regardless of experience level.
I’ve lost track of how many times I’ve opened Blender, stared at an empty viewport, and started modeling a “temporary” object just to get going. A box, a chair, a random prop that was never meant to survive past the blockout stage. Somehow, those placeholders always ate more time than they deserved.
That’s where AI actually earns its place. Not as a magic button for finished assets, but as a way to break the blank canvas and get momentum back fast.
The Honest Reality of AI 3D in Blender
AI model generation can be genuinely useful in Blender, but only if you go in with the right expectations. These tools aren’t here to replace modeling skills or produce clean, production-ready assets on demand. What they do offer is speed, especially at the very start of a project.
The biggest advantage is getting something into your scene quickly. A rough prop, a background element, a shape that helps you understand scale and composition. Instead of spending time building placeholders by hand, you can move forward sooner and start making real creative decisions.
Where things start to fall apart is precision. Topology is usually dense and uneven. Edge flow rarely works for deformation. UVs can be unpredictable. Models often look acceptable at a distance and fall apart when you zoom in or change the lighting. If you rely on wireframe view, the limitations are obvious.
This is why cleanup in Blender is part of the process, not a workaround. You still need to fix scale, correct normals, simplify geometry, and rebuild materials when necessary. That work hasn’t disappeared. It’s just happening later, after the first draft exists.
And that’s not a bad thing. Blender has always been about control and refinement. AI shifts the starting line, not the finish line. You spend less time on basic shapes and more time on the parts that actually define the look and feel of your scene.
If you treat AI-generated models as rough sketches rather than final assets, the workflow makes sense very quickly.
If you’re working away from a traditional desktop setup, running Blender in the cloud also makes it possible to work comfortably from an iPad without sacrificing performance.
Before Choosing a Tool, Choose Your Input
Most people compare AI tools first. In practice, that’s backwards. The way you start a model has a much bigger impact on the result than which logo is on the website.
Text-to-3D is all about speed. You describe an idea and get a rough form back almost immediately. This works best when you’re exploring concepts, blocking out props, or filling space so a scene doesn’t feel empty. It’s loose by nature. You trade precision for momentum, and that’s usually the right trade early on.
Image-to-3D sits in the middle. When you already have a reference, a sketch, or concept art, starting from an image gives you more predictable shapes. Silhouettes tend to be closer to what you expect, and the overall form usually makes more sense in Blender. You still need cleanup, but you’re starting from something more intentional.
Photo or video-based capture is about realism, not exploration. These approaches are best when you want real-world detail and believable surfaces. The downside is heavy geometry and less flexibility. You’re capturing something that exists, not inventing something new. Blender cleanup is almost guaranteed, but the visual payoff can be worth it.
Once you’re clear on how you want to start, choosing a tool becomes much easier. With that in mind, let’s look at the text-to-3D options that actually fit into real Blender workflows, starting with one of the most commonly used tools right now.
If you are combining AI-generated assets with 2D animation in Blender, maintaining clean geometry and consistent materials becomes even more important for timing and visual clarity.
#1. Meshy
Meshy is popular because it usually gives you something usable without a fight. You type a prompt, wait a moment, and the result generally has a readable silhouette and sensible proportions. You’re not guessing what the object is supposed to be, which already puts it ahead of many text-to-3D tools.
In a Blender workflow, Meshy works best at the very beginning. It’s a way to get a rough asset into the scene so you can judge scale, composition, and camera angles. The Blender plugin helps keep that flow intact, especially when you’re generating multiple variations and don’t want to juggle exports.
The tradeoff is precision. Topology is usually dense and uneven. Edge flow isn’t suitable for deformation, and UVs are hit or miss. Cleanup in Blender is expected, not optional. That said, the cleanup is predictable, which matters. You’re fixing known issues, not rescuing a broken mesh.
Meshy tends to work best for a specific type of user and task:
Early-stage props and environment assets
Blockouts and placeholders you plan to refine
Concept exploration where speed matters
Blender users comfortable with basic cleanup and retopology
Used this way, Meshy doesn’t replace modeling. It replaces wasted time.
#2. Luma AI Genie
Luma AI Genie is one of those tools that feels almost unreal the first time you use it. You type a short prompt, hit generate, and within seconds you’re looking at a fully formed 3D object. No long waits, no complex settings. It’s fast in a way that makes most other tools feel slow.
That speed is Genie’s biggest strength, and also its biggest weakness. When it works, it’s great for quick ideation and visual exploration. You can throw rough ideas at it and see something take shape immediately. For early concept work or fast placeholders, that can be incredibly freeing.
The problem shows up once you bring those models into Blender. Control is limited. You don’t get much say over topology, structure, or consistency. Some results import cleanly enough to be useful. Others look fine in shaded view and fall apart the moment you start inspecting geometry or adjusting lighting. It can feel a bit like rolling dice.
Genie makes the most sense when you’re very clear about how you plan to use it:
Rapid concept sketches rather than refined assets
Visual exploration before committing to a direction
Background elements that won’t be closely inspected
Situations where speed matters more than precision
If you try to push Luma AI Genie toward production-ready work, it will fight you. If you treat it as a fast idea generator and nothing more, it can be a powerful way to jumpstart a scene.
#3. Sloyd
Sloyd takes a very different approach from most text-to-3D tools. Instead of leaning heavily on open-ended prompts, it focuses on structured generation. That means fewer wild surprises and more predictable results, which is often exactly what you want inside a Blender workflow.
The real appeal of Sloyd is control. You’re not just asking for an object and hoping it comes out right. You’re working with parameters and predefined logic that shape the result. This makes it much easier to generate variations that stay consistent in scale, proportion, and overall style.
When you bring Sloyd assets into Blender, they tend to behave more reasonably than fully free-form AI meshes. Geometry is still not perfect, but it’s usually cleaner and easier to manage. You spend less time figuring out what went wrong and more time making small adjustments that move the asset toward your goal.
Sloyd works best in situations like these:
Asset families that need consistent proportions
Props that will be reused across scenes
Early production work where predictability matters
Workflows where you want fewer surprises and faster refinement
If you like the idea of AI helping you move faster but still want to feel in control of the outcome, Sloyd sits in a comfortable middle ground. It doesn’t try to impress you with randomness. It tries to stay useful.
#4. Rodin / Hyper3D
Rodin and Hyper3D aim a bit higher than most instant text-to-3D tools. The promise here is better surface detail, more convincing shapes, and results that feel closer to something you could actually build on, not just sketch with.
When they work well, the output can look impressive at first glance. Forms are more refined, textures are more intentional, and the overall result feels less “generated.” For certain prompts, this can save a lot of early modeling time.
The downside is consistency. Results can vary widely depending on the prompt and subject matter. One generation might be perfectly usable, while the next needs heavy cleanup or a complete rethink. That unpredictability makes these tools better for experimentation than for repeatable workflows.
Rodin and Hyper3D make the most sense in situations like this:
Testing higher-quality drafts before committing to manual work
Exploring detailed props or hero assets at the concept stage
Experimenting with visual direction rather than final production
Users comfortable discarding results that don’t work
If you approach these tools expecting reliable output every time, they’ll frustrate you. If you treat them as experimental tools for chasing better first drafts, they’re worth exploring.
#5. Masterpiece X
Masterpiece X is clearly built with accessibility in mind. The interface is simple, the learning curve is low, and you can get a 3D model out of it without spending much time tweaking settings or prompts. For many users, that alone makes it appealing.
The tradeoff is depth. The models you get from Masterpiece X tend to be serviceable but basic. They work well for rough concepts, previews, and early-stage ideas, but they rarely hold up without additional work once you bring them into Blender. Geometry is usually dense, UVs are inconsistent, and materials often need to be rebuilt.
Where Masterpiece X fits best is at the very start of a project, when you’re trying to visualize an idea rather than finalize an asset. It helps you get something on screen quickly, especially if you’re not deeply technical or just want to test a direction.
It tends to make sense for workflows like these:
Quick concept visualization
Early blockouts for scenes or characters
Non-technical creators exploring 3D ideas
Projects where assets won’t be closely inspected
If you expect production-ready results, Masterpiece X will disappoint you. If you treat it as a fast way to externalize ideas and then refine them in Blender, it does its job well.
#6. Tripo AI and Polycam
Image-driven tools feel very different from text-to-3D, and that’s usually a good thing. When you already have a reference image, a sketch, or even a rough concept render, starting from visuals gives you far more predictable shapes. You’re not asking the model to imagine everything from scratch.
Tripo AI leans into speed and visual appeal. It often produces models with decent textures right out of the gate, which can make the first import into Blender feel surprisingly complete. For quick props or background assets, that’s a big win. The catch shows up once you inspect the mesh. Geometry is often messy, with uneven density and little regard for edge flow. Cleanup is expected.
Polycam takes a more grounded approach. Because it’s often driven by real images or captures, scale and proportions tend to make more sense. This is especially useful for real-world objects and environment pieces. The downside is heavier meshes and less flexibility. You’re refining something that already exists rather than shaping a new idea.
In practice, both tools shine and struggle in predictable ways:
Image-to-3D excels at silhouette accuracy and visual consistency
Textures are often better than pure text-based generation
Geometry usually needs simplification or retopology in Blender
Assets work best for props, environments, and non-deforming objects
If you already have strong visual references, image-to-3D tools can save a lot of time. Just don’t assume the mesh is ready for production. Blender still does the final pass, as always.
AI Model Generation Isn’t Just About the Mesh
It’s easy to judge AI tools by the mesh alone, but that’s only part of the story. In real Blender projects, geometry is just one piece of a much bigger puzzle.
Materials are often the first hidden problem. AI-generated textures can look fine under default lighting and completely fall apart once you start dialing in your scene. Roughness values behave strangely. Normal maps don’t always react the way you expect. What looked decent at first suddenly feels flat or noisy when you push the lighting.
Scale and consistency are another quiet issue. Assets from different tools rarely agree with each other. One model comes in massive, another tiny. Texel density jumps all over the place. If you don’t catch this early, scenes start to feel off even if every individual asset looks okay on its own.
Then there’s performance. Dense meshes, high-resolution textures, and unnecessary detail add up fast. A few AI-generated assets can turn a responsive Blender scene into something sluggish, especially once modifiers, lighting, and effects enter the picture.
This is why Blender still does the heavy lifting. AI can give you a starting point, but Blender is where assets get normalized, optimized, and made consistent with the rest of the project. That part hasn’t changed. What’s changed is how quickly you can get something worth refining in the first place.
The AI-to-Blender Cleanup Reality
No matter which AI tool you use, there’s a moment where the model lands in Blender and you have to decide how much work it really needs. This step is unavoidable, and it’s also where a lot of time is either saved or wasted.
The first pass is always about basics. Check scale, rotation, and origin points. AI models often come in rotated oddly or sized in ways that don’t match your scene. Fixing this early prevents a lot of downstream annoyance.
Next comes shading and normals. Many AI meshes look fine until you add proper lighting. Shading artifacts, broken normals, and strange smoothing behavior are common. A quick cleanup here can dramatically change how usable the asset feels.
Then you make the big call. Decimation or retopology. For background props and non-deforming objects, decimation is often enough. You reduce complexity, clean up the silhouette, and move on. For anything that needs to deform, animate, or hold up under close inspection, proper retopology is usually unavoidable.
Materials almost always need attention. AI-generated textures tend to be inconsistent, either too noisy, too flat, or tuned for a very specific lighting setup. Rebuilding materials inside Blender gives you predictable results and keeps assets consistent across scenes.
This cleanup phase is where the real quality is decided. AI gets you to a rough draft quickly, but Blender is where that draft becomes something you can actually ship. Once you accept that division of labor, the workflow stops feeling like a compromise and starts feeling efficient.
If you are pushing AI-generated models into final scenes, dialing in the right render settings for Blender often has a bigger impact on the result than the original mesh quality.
Common Mistakes That Slow People Down
Most frustrations with AI-generated models don’t come from the tools themselves. They come from how people use them. These mistakes show up again and again, especially when AI starts to feel “good enough” too early in the process.
1. Overtrusting AI Output
This is the fastest way to lose time. An AI-generated model can look decent at first glance, especially in shaded view, but that doesn’t mean it’s ready to use. Treating the output as finished without checking topology, scale, or materials usually leads to rework later, when changes are more expensive.
AI models should be assumed guilty until proven otherwise. A quick inspection early saves hours down the line.
2. Ignoring Performance Early
Dense geometry and oversized textures don’t feel like a problem at first. Then you add a few more assets, some lighting, maybe modifiers, and suddenly the scene feels heavy. Performance issues compound quietly, especially with AI-generated content.
Keeping an eye on polycount and texture size from the start makes iteration smoother and avoids painful optimization passes later.
3. Skipping Cleanup Until It’s Too Late
Delaying cleanup feels productive in the moment. You keep moving, keep adding assets, and tell yourself you’ll fix things later. That “later” usually turns into a much bigger job, especially once assets are duplicated or linked across scenes.
Cleaning up early keeps your project flexible. It’s easier to make changes when the foundation isn’t already messy.
If you are spending time cleaning up AI-generated assets, knowing essential Blender shortcuts and hotkeys can save more time than switching between AI tools.
When Performance Becomes the Bottleneck
This is the part that sneaks up on people.
AI-generated assets don’t usually break a Blender scene right away. One model imports fine. Then another. Then a few more. At some point, viewport performance drops, navigation feels sluggish, and simple edits take longer than they should. That’s when performance stops being an abstract concern and starts affecting how you work.
The main issue is density. AI tools tend to produce more geometry than you actually need, especially for background assets. Combine that with high-resolution textures and suddenly your scene is doing a lot of unnecessary work. Add modifiers, lighting, and effects on top, and even a decent machine can start to struggle.
What makes this worse is iteration. AI workflows encourage experimentation, which is great creatively, but it also means scenes grow fast. Assets get duplicated, variations pile up, and cleanup gets postponed. Performance issues compound quietly until they’re impossible to ignore.
At this stage, raw hardware matters less than workflow discipline. Optimizing assets early, keeping polycount in check, and being intentional about what stays in the scene makes a real difference. The goal isn’t just to make Blender run smoothly. It’s to keep iteration fast enough that you don’t hesitate to try new ideas.
If you are working on lighter hardware, cloud-based workflows make it practical to run Blender on a Chromebook without being limited by local performance.
Using Vagon Cloud Computer for AI-Powered Blender Workflows
When AI-generated assets start piling up, performance becomes less of a Blender problem and more of a hardware one. Dense meshes, large textures, and constant iteration can slow things down fast, even on solid local machines.
This is where Vagon Cloud Computer comes in directly.
Instead of trying to squeeze heavy Blender scenes and AI workflows into your own setup, Vagon lets you run everything on a powerful cloud machine built for this kind of load. More GPU headroom, more memory, and far fewer compromises just to keep the viewport responsive. You work the same way you always do, just without the constant friction.
Vagon is especially useful when you’re experimenting a lot. Generating multiple AI models, importing variations, testing lighting setups, and refining assets adds up quickly. Running Blender in the cloud keeps iteration fast, which matters more than raw specs when you’re exploring ideas.
Sharing is another big part of the picture. Instead of exporting files, worrying about compatibility, or hoping someone else’s machine can handle the scene, you can simply share access to the same environment. Teammates, clients, or end users see exactly what you see, with the same performance and setup.
This isn’t about replacing local workflows entirely. It’s about having an option when AI-driven Blender projects push past what your hardware comfortably handles. For many people, that flexibility is what keeps the creative process moving instead of slowing it down.
Final Thoughts
AI tools for 3D model generation are not a shortcut to finished work. They don’t replace Blender skills, and they don’t remove the need for cleanup, judgment, or taste. What they do replace is a lot of wasted effort at the very beginning of a project.
If you use them as a way to break the blank canvas, explore ideas faster, and reduce time spent on placeholders, they fit naturally into Blender workflows. The key is knowing when to trust them and when to take control back inside Blender.
As these tools improve, the gap between rough draft and usable asset will continue to shrink. But the role of the artist doesn’t disappear. It shifts. Less time on repetitive setup, more time on decisions that actually shape the final result.
Used thoughtfully, AI becomes another tool in the kit. Not the star of the show, but a useful way to keep momentum high and focus on the work that matters.
FAQs
1. Do AI-generated models replace manual modeling in Blender?
No. They replace the early, repetitive parts of modeling, not the skill itself. AI is best used for blockouts, placeholders, and concept drafts. Clean topology, proper UVs, and final polish still happen in Blender.
2. Are AI-generated models production-ready?
Most of the time, no. Some models may look usable at first glance, but they usually need cleanup. Expect to fix scale, normals, materials, and often topology before using them in a real project.
3. Which AI tools work best with Blender?
Tools that allow easy export and predictable results work best. Meshy and Sloyd tend to fit Blender workflows more naturally, especially when you treat their output as a starting point rather than a final asset.
4. Is text-to-3D better than image-to-3D?
It depends on your goal. Text-to-3D is faster and better for exploration. Image-to-3D gives you more control over shape and style when you already have references. Neither replaces cleanup inside Blender.
5. Do I still need to know topology and UVs?
Yes. AI doesn’t remove the need for core 3D knowledge. Understanding topology, UV mapping, and materials is what turns an AI-generated mesh into something usable.
6. Why do AI-generated models feel heavy in Blender?
AI tools often produce dense geometry and high-resolution textures by default. This can impact viewport performance quickly, especially when multiple assets are involved. Optimization is still an important part of the workflow.
7. When does using a cloud computer make sense for Blender?
When scenes become heavy enough that performance slows iteration. AI-driven workflows encourage experimentation, which can push hardware limits faster than traditional modeling. A cloud setup helps when local resources become a bottleneck.
8. Is AI model generation useful for beginners?
Yes, but with caution. It can help beginners visualize ideas faster, but relying on AI too early can hide important fundamentals. Blender skills still matter, regardless of experience level.
Get Beyond Your Computer Performance
Run applications on your cloud computer with the latest generation hardware. No more crashes or lags.

Trial includes 1 hour usage + 7 days of storage.
Summarize with AI

Ready to focus on your creativity?
Vagon gives you the ability to create & render projects, collaborate, and stream applications with the power of the best hardware.

Vagon Blog


Run heavy applications on any device with
your personal computer on the cloud.
San Francisco, California
Solutions
Vagon Teams
Vagon Streams
Use Cases
Resources
Vagon Blog
How to Run Ollama in the Cloud on a GPU Ubuntu Desktop (2026 Guide)
How to Run Ubuntu on an iPad (That Actually Works in 2026)
How to Get an Ubuntu Desktop in the Cloud (GPU Optional): The Complete 2026 Guide
What Slows Down After Effects Projects?
The First 30 Minutes in Blender 3D: A Practical Workflow Guide
What’s New in Godot 4.7? Key Features, Upgrades, and Workflow Improvements
What Slows Down Blender 3D Projects?
What Slows Down Adobe Photoshop Projects?
The First 30 Minutes in Adobe Photoshop: A Practical Workflow Guide
Vagon Blog
Run heavy applications on any device with
your personal computer on the cloud.
San Francisco, California
Solutions
Vagon Teams
Vagon Streams
Use Cases
Resources
Vagon Blog