Instant Connection for Pixel Streaming
— New Feature Automated Setup
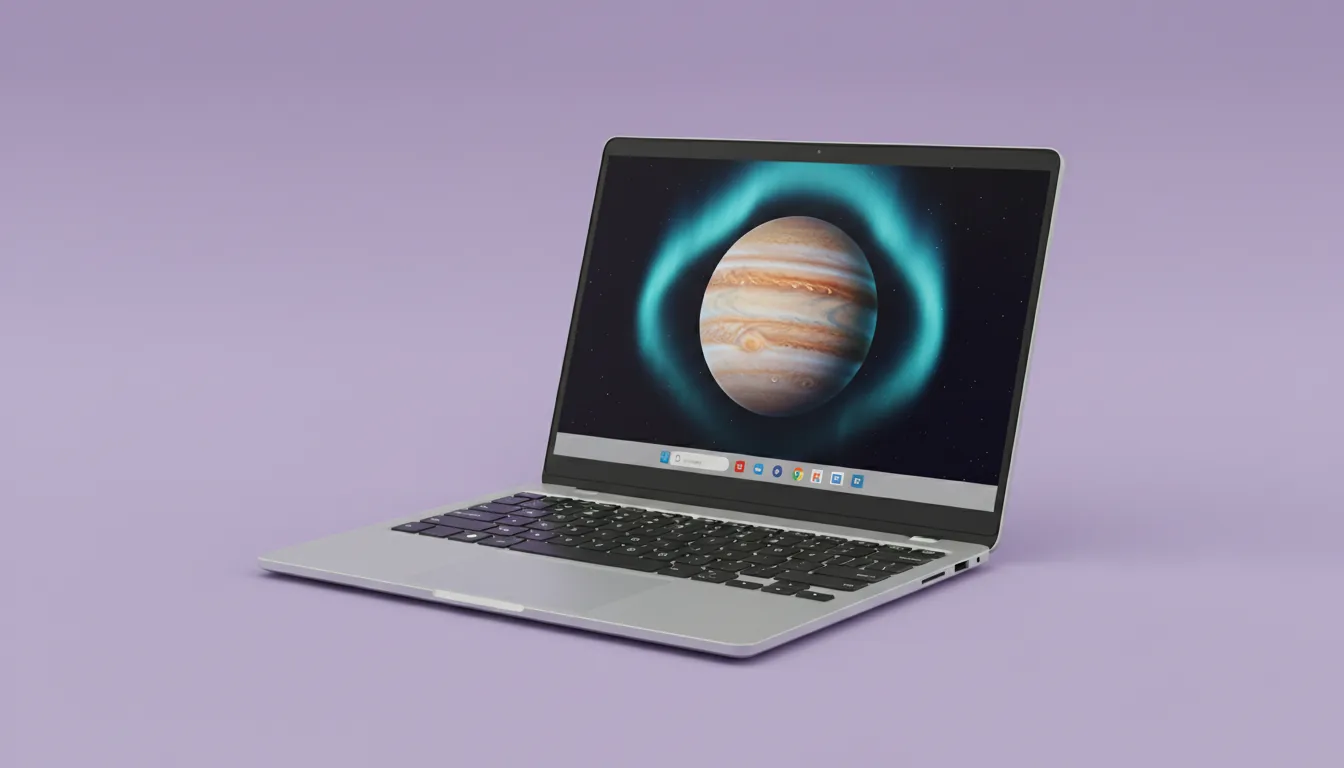
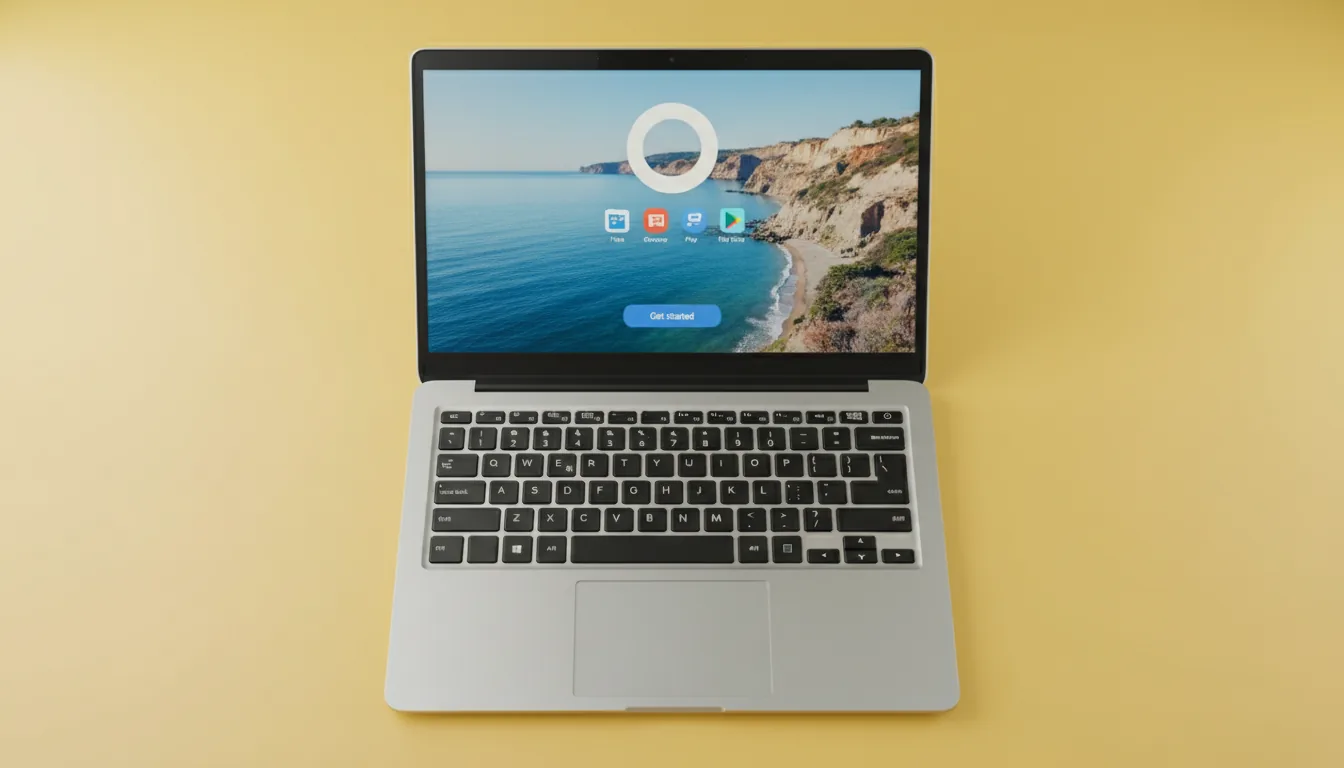
How to Install Windows on a Chromebook
How to Install Windows on a Chromebook
ComputerPerformance
How to Install Windows on a Chromebook
Table of Contents
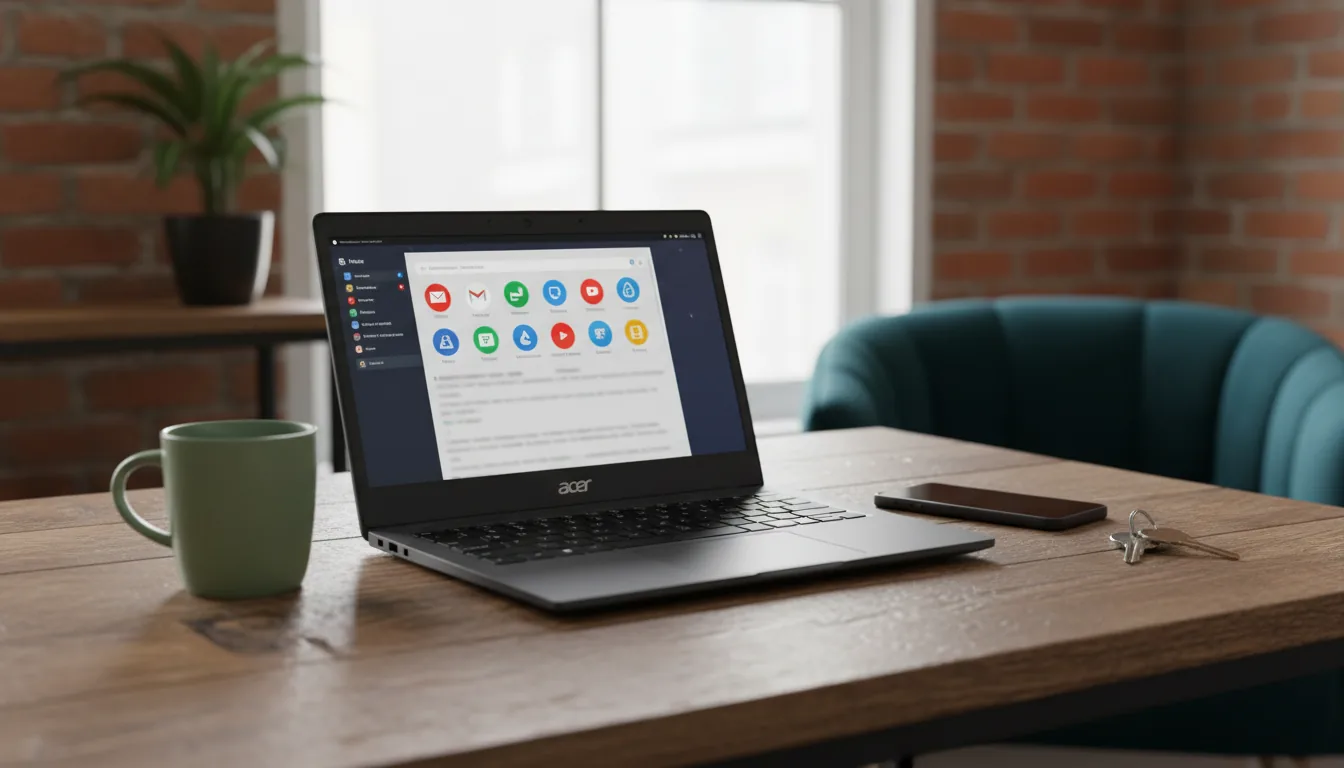
You bought a Chromebook for its price and simplicity. Fast boot times, light design, long battery life. Perfect, right? Until that one day when you try to run the one piece of software you actually need, and it’s Windows-only.
That’s when the frustration kicks in. You start wondering: can I just put Windows on this thing? I’ve been down that rabbit hole myself, and let me tell you, the curiosity is natural, but the answers aren’t always straightforward.
Here’s the truth: yes, you can install Windows on some Chromebooks. But it’s not as simple as clicking “install.” There are firmware locks, hardware quirks, missing drivers, and a whole lot of trial-and-error involved. For some people, it’s a fun project. For others, it’s a fast track to bricking their laptop.
This post will walk you through the reality of getting Windows on a Chromebook: what’s possible, what’s not, and the headaches in between. I’ll also share safer alternatives (including cloud-based Windows machines) for when you want the functionality without tearing your Chromebook apart.
Why Installing Windows on a Chromebook Is Tricky
On paper, it sounds simple: download Windows, plug in a USB stick, and install. In reality? Chromebooks don’t make it that easy.
Here’s why:
#1. Hardware differences
Not all Chromebooks are created equal. Some run Intel or AMD processors (the kind Windows actually supports). Others run ARM chips from MediaTek or Qualcomm. If you’ve got one of the ARM models, you can stop here, Windows just won’t boot.
#2. Firmware locks and security features
Google designed Chromebooks around Chrome OS security. That means locked bootloaders, verified boot, and a write-protected firmware. Great for keeping malware out. Not so great when you’re trying to slip a whole new operating system in.
#3. Drivers (or the lack of them)
Even if you get Windows installed, the work doesn’t end there. Your Wi-Fi card, trackpad, sound system, they all need Windows drivers. And many don’t exist officially. You’ll be relying on community-made drivers or workarounds, and not everything will work perfectly.
#4. Performance tradeoffs
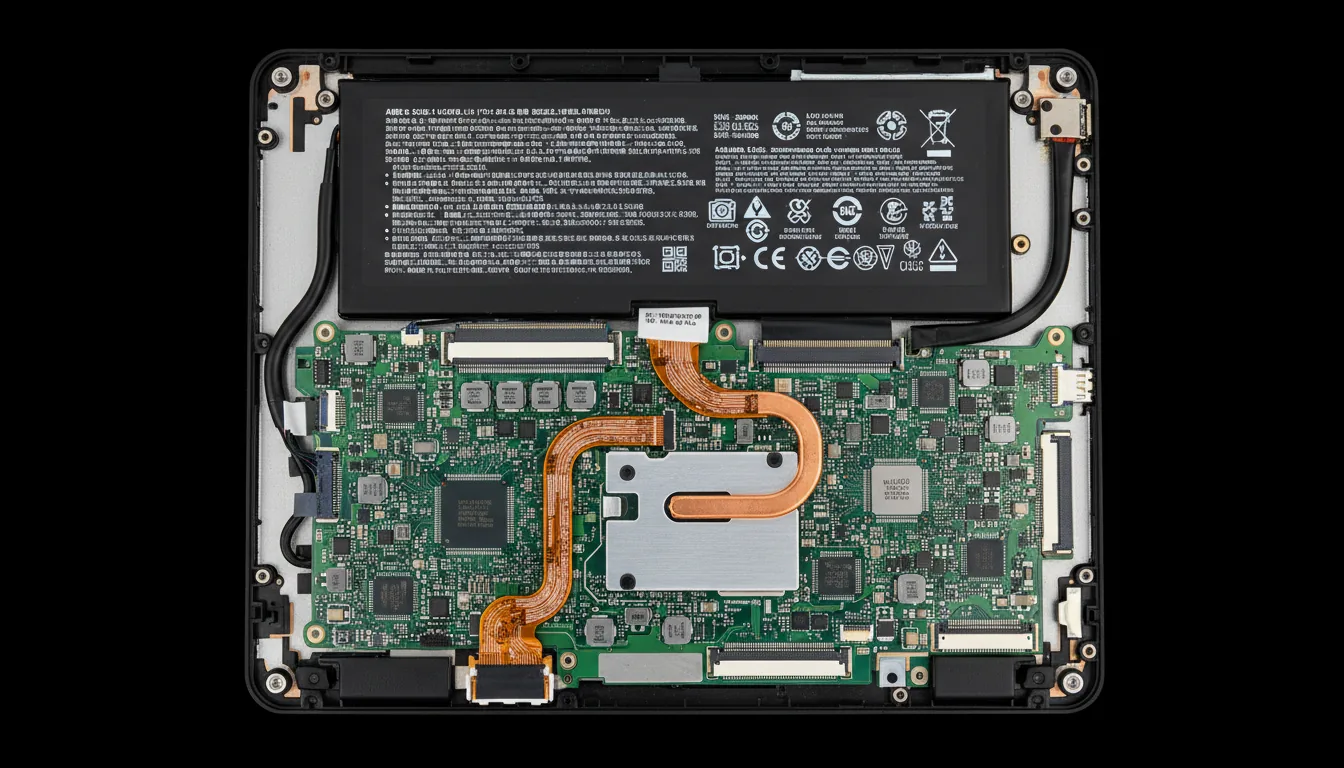
Chromebooks are lightweight by design. Most ship with 4GB or 8GB of RAM and minimal storage. Enough for Chrome OS, but Windows is hungrier. I’ve seen people get Windows running, only to watch apps crawl and battery life tank.
#5. Warranty and risk
To make all of this possible, you’ll likely need to flash custom firmware. That usually voids your warranty. And yes, there’s always a chance of bricking the device.
So yes, installing Windows is possible. But it’s not “plug and play.” It’s a project.
Compatibility Checklist (Before You Begin)
Before you start tearing your Chromebook apart (literally, in some cases), you need to know if it even can run Windows. A lot of people skip this step, and that’s usually where the trouble begins.
#1. CPU Type
First thing: is your Chromebook running an Intel or AMD processor? If yes, you’ve got a chance. If it’s powered by an ARM chip (like MediaTek or Qualcomm Snapdragon), Windows is a no-go. There’s no workaround here, ARM Chromebooks simply can’t boot standard Windows.
How to check:
Press
Ctrl + Alt + Tto open Crosh (the Chrome OS shell).Type
uname -mor check system info in Settings → About ChromeOS.
#2. RAM and Storage
Windows 11 officially requires 4GB RAM and 64GB storage. That’s the bare minimum. In my experience, you’ll want at least 8GB RAM and 128GB storage if you don’t want to pull your hair out waiting for apps to load.

#3. Model Support
Not every Chromebook with Intel/AMD is equally friendly. Some models are supported by community projects like MrChromebox (which provides custom firmware). Others… not so much. Search your exact model name + “MrChromebox” or “UEFI firmware” to see if people have succeeded.

#4. Write Protection
Most Chromebooks ship with a write-protection screw or jumper on the motherboard. You’ll have to disable this before flashing new firmware. That means unscrewing the back of your laptop. If that already makes you nervous, you might want to reconsider.

#5. Backup Everything
Switching to Developer Mode and replacing firmware wipes your entire system. Save your files to Google Drive or an external drive. Once you flip that switch, there’s no “oops” button.

Full Installation Guide: Windows on Chromebook
⚠️ Warning: This process is not for everyone. It will wipe your Chromebook, may void your warranty, and carries the risk of bricking your device. If you’re not comfortable opening hardware or flashing firmware, you might want to skip ahead to the alternatives section.
That said, if you’re still reading, here’s how to do it.
Step 1: Backup Everything
Before touching anything, save all your files.
Move school/work documents to Google Drive.
Copy downloads or personal files to an external USB.
Assume your Chromebook will be wiped clean, because it will.
Step 2: Enable Developer Mode
Chromebooks don’t let you just overwrite Chrome OS. You’ll need to unlock Developer Mode.
Turn off your Chromebook.
Hold Esc + Refresh + Power.
At the recovery screen, press Ctrl + D.
Confirm, and let it reboot.
This process factory resets your device, so don’t skip Step 1.

Step 3: Disable Write Protection
Here’s where things get real. Most Chromebooks ship with a write-protection screw or jumper on the motherboard. You’ll need to open the back panel, find it, and remove or disable it.
Tools: a precision screwdriver set and patience.
How: search your exact Chromebook model with “write protection screw” on Google or YouTube, guides exist for most models.
Once it’s gone, your firmware is writable.
Step 4: Flash Custom Firmware
Stock Chromebook firmware isn’t built to boot Windows. That’s where MrChromebox comes in.
Boot into Chrome OS Developer Shell (
Ctrl + Alt + T).Type
shelland hit Enter.Run the firmware utility script from MrChromebox’s website.
Flash a UEFI-compatible firmware.
This step essentially replaces Google’s locked firmware with something more flexible.
Step 5: Create a Windows USB Installer
You’ll need another computer for this.
Download the Windows ISO from Microsoft (Windows 10 or 11).
Use a tool like Rufus (Windows) or Balena Etcher (Mac/Linux) to make a bootable USB.
Choose GPT partition scheme and UEFI target system when setting it up.
Plug this USB into your Chromebook once ready.

Step 6: Install Windows
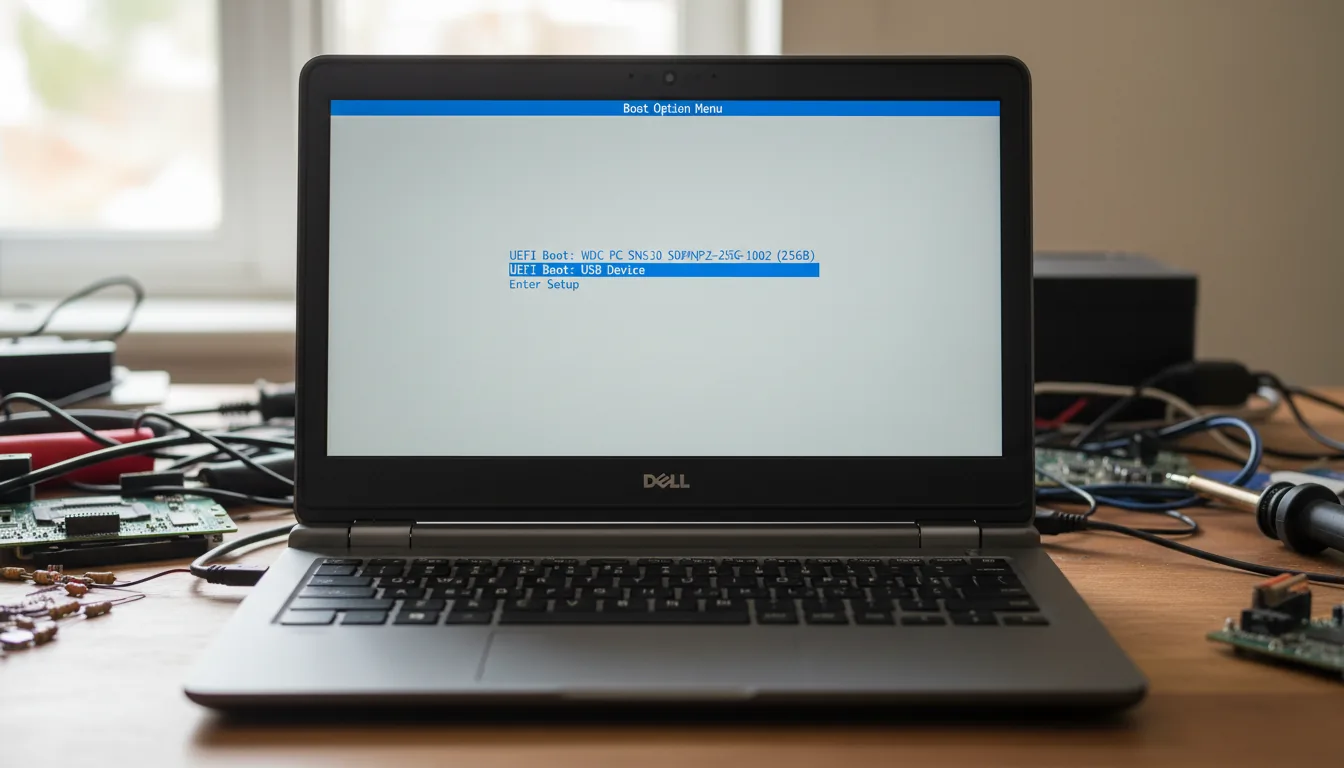
Turn on your Chromebook and press Esc or Ctrl + L to open the boot menu.
Select the USB drive.
Follow the Windows installer prompts.
Delete Chrome OS partitions and install Windows on the empty space.
This part feels familiar if you’ve ever installed Windows on a PC, except now it’s on a Chromebook.
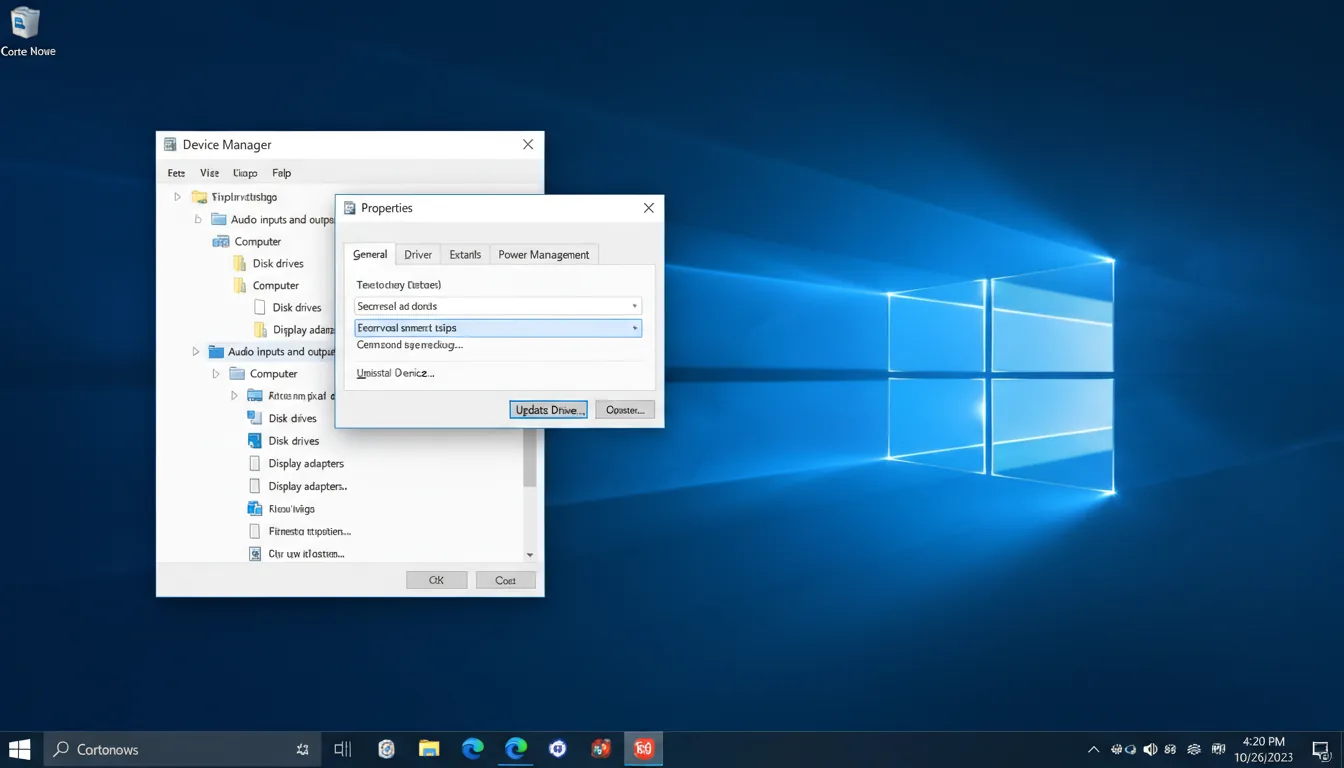
Step 7: Install Drivers
Here’s where most people hit snags. After the Windows install, a lot of hardware won’t work out of the box.
Wi-Fi: often needs community-made drivers.
Trackpad & sound: sometimes unreliable without patched drivers.
Fix: check GitHub projects and Chromebook forums for your exact model’s driver packs.
Pro tip: have a USB Ethernet adapter handy, so you can get online to download drivers even if Wi-Fi doesn’t work.
Step 8: Troubleshooting
No bootable device error: firmware didn’t flash correctly, retry MrChromebox.
Installer won’t start: reformat USB in Rufus with different settings.
Sluggish performance: disable unnecessary startup apps in Windows, and don’t expect miracles on a 4GB Chromebook.
Easier Alternatives (If Full Install Feels Too Risky)
If that installation guide made you sweat a little, you’re not alone. Installing Windows directly on a Chromebook is a project. And sometimes, it’s just not worth the risk. Luckily, there are easier ways to get Windows apps or even a full Windows desktop running without flashing firmware.
Run Windows Apps with CrossOver
CrossOver by CodeWeavers lets you run certain Windows programs directly on Chrome OS — and if that sounds like magic, here’s a detailed guide on running .exe files on Chromebooks that breaks it down step by step. It’s not perfect, and not every app works, but I’ve seen people run Office, older Adobe apps, even some games this way. The big win? No firmware hacking required.
Use Virtual Machines (if supported)
If your Chromebook supports Linux (Crostini), you might be able to spin up a lightweight virtual machine. From there, you can run Windows in a VM. Performance isn’t amazing unless you’ve got a higher-end device, but it’s an option.
Remote Desktop Into a Windows PC
Got a Windows PC at home or at the office? You can connect to it from your Chromebook using Chrome Remote Desktop or Microsoft’s Remote Desktop client. This way, your Chromebook is just the screen and keyboard, while the heavy lifting happens on the Windows machine elsewhere.
Use a Cloud Windows Desktop
This is where things get really practical. Cloud services let you “rent” a full Windows computer that you can access through your browser. No firmware hacks, no bricked laptops, no warranty headaches.
You just log in and boom, full Windows, with all the apps you need. For creative work or resource-heavy tools, this can be a game changer because performance scales with the cloud hardware, not your Chromebook’s limited specs.
Introducing Vagon Cloud Computer
By now, you can probably tell: installing Windows on a Chromebook is not exactly a weekend hobby for everyone. Even if you manage to pull it off, you’re left juggling firmware changes, missing drivers, and sluggish performance on hardware that wasn’t designed for Windows in the first place.
That’s where Vagon Cloud Computer comes in. Instead of forcing your Chromebook to be something it isn’t, you can spin up a powerful Windows machine in the cloud and access it straight from your browser. No screwdrivers. No firmware flashing. No warranty voids.
Why It Works Better Than Forcing Windows
Instant access → Log in, click, and you’re inside a full Windows desktop within seconds.
Scalable performance → Whether you’re running Microsoft Office or hammering through Blender, you can scale the specs of your cloud machine to match.
Hardware-agnostic → It doesn’t matter if your Chromebook is a budget model with 4GB RAM or a higher-end device. All the heavy lifting happens on Vagon’s servers.
Safe and reversible → Close the browser tab, and your Chromebook is still your Chromebook. No permanent modifications.
Real-World Use Cases
I’ve seen students who only needed Windows for a few specific apps (AutoCAD, Photoshop, SolidWorks). Instead of tearing their Chromebooks apart, they launched those apps in a Vagon Cloud Computer session. Creatives do the same for Adobe tools — and even 3D software like Blender, which surprisingly works on Chrome OS too (yep, we even covered how to use Blender on a Chromebook without losing your mind). Developers use it for Windows-only compilers.
It’s the difference between tinkering with your laptop’s internals versus getting the job done right away.
When You Shouldn’t Install Windows
I know the temptation. Turning a lightweight Chromebook into a full-on Windows laptop sounds like beating the system. But here’s the reality: for a lot of users, forcing Windows onto a Chromebook is more pain than payoff. If you fall into any of these categories, I’d think twice.
Your Chromebook Runs on ARM
Most people don’t realize this upfront, but ARM-based Chromebooks (the ones with MediaTek or Qualcomm Snapdragon processors) simply can’t boot Windows. Microsoft doesn’t support them the way it does Intel and AMD chips. And no, there isn’t some hidden hack on Reddit that changes that. I’ve seen people waste hours trying, only to learn their hardware was never compatible in the first place.
You’re Stuck with Entry-Level Specs
A lot of budget Chromebooks ship with 4GB of RAM and 32GB of storage. That’s barely enough for Chrome OS, let alone Windows. Technically, the installer might run, and you’ll see the Windows desktop, but once you open apps, it’s game over. Think constant freezing, random crashes, and apps taking minutes to load. I’ve watched someone try to run Excel on a low-end Chromebook with Windows, and honestly? It was painful to watch.
You Actually Value Chrome OS Features
One of the biggest mistakes people make is underestimating what they’ll lose. Chrome OS gives you lightning-fast boot times, automatic updates, strong built-in security, and crazy-good battery life. When you replace it with Windows, all of that goes away. Your battery will drain faster, updates become manual, and suddenly you’re back to dealing with viruses and patches. If you rely on those Chrome OS perks daily, you’ll probably regret the switch.
You Don’t Want to Risk Breaking It
Installing Windows on a Chromebook isn’t just “click and install.” It’s opening the back panel, removing write-protection screws, flashing custom firmware, and juggling driver installations. There’s always a chance something goes wrong, and if it does, your Chromebook might never boot again. If you’re not comfortable with screwdriver-in-hand tinkering, or if this is your only computer, the risk just isn’t worth it.
The Cost–Benefit Equation Doesn’t Add Up
Here’s the kicker: sometimes, the time, stress, and risk you spend on this project outweigh the reward. If you really need Windows full-time, a budget Windows laptop might serve you better. Or, if you just need occasional access to Windows apps, a cloud computer gives you everything without the mess. I’ve seen too many people spend days trying to “make it work,” when the smarter play was to just grab a ready-to-go solution.
👉 Bottom line? Installing Windows on a Chromebook is fun if you’re the kind of person who enjoys tinkering and doesn’t mind the risks. But for everyday users, there are usually better, faster, and safer paths.
My Perspective
I’ll be honest: the idea of turning a Chromebook into a full-fledged Windows machine is exciting the first time you think about it. I remember going through the motions, checking my device’s processor, digging through forums, even grabbing a precision screwdriver to pop off the back cover. It felt like a fun challenge.
But here’s the thing: after the firmware flashing, the driver hunts, and the endless reboots, I realized something. Yes, it works… technically. But it’s far from smooth. Wi-Fi didn’t connect properly at first. The trackpad felt janky. Battery life dropped like a rock. And half the time, I was more worried about whether the next restart would even boot than actually getting work done.
In my opinion, this process is best suited for tinkerers, people who genuinely enjoy experimenting with hardware and don’t mind spending weekends on troubleshooting. If that’s you, then sure, go for it. You’ll learn a lot, and maybe even end up with a quirky Franken-laptop that runs Windows.
But if you’re like most Chromebook users, students, remote workers, creatives who just need a reliable device, the hassle outweighs the reward. There are smoother, safer paths to running Windows software, whether that’s through a budget Windows laptop or a cloud computer like Vagon. I wish I’d known that before I sank hours into forcing something my Chromebook was never designed to do.
Final Thoughts
So, can you install Windows on a Chromebook? Yes. Should you? That depends on who you are.
If you’re a tinkerer, the kind of person who loves flashing firmware and troubleshooting drivers at 2AM, then sure, give it a shot. It’s a fun project, and you’ll learn a lot in the process. Just be ready for a fair amount of trial, error, and maybe even a few headaches along the way.
But if you bought a Chromebook for what it is — a lightweight, affordable, simple laptop — trying to bend it into a Windows machine often feels like swimming upstream. The performance isn’t great on low-end models, you’ll lose Chrome OS perks like long battery life and automatic updates, and the risk of bricking your device is always there.
That’s why I usually point friends and readers toward safer routes. If you truly need Windows every day, a budget Windows laptop will serve you better. If you only need it occasionally, spinning up a cloud Windows computer like Vagon gives you the full Windows experience without risking your hardware. You get the apps you need, the power you want, and you can still keep your Chromebook exactly as it is.
At the end of the day, the best choice comes down to how much you value your time, patience, and device. Sometimes the smartest move isn’t the most complicated one, it’s the one that lets you get work done without turning your laptop into a science experiment.
FAQs
Can you dual boot Chrome OS and Windows?
Not really. Chromebooks aren’t designed for dual boot like a traditional PC. Once you flash new firmware and install Windows, Chrome OS is usually gone for good. There are experimental workarounds, but they’re unstable and not worth relying on.
Does Microsoft officially support Windows on Chromebooks?
No. Microsoft only certifies Windows for PCs built with proper drivers. Chromebooks don’t get official Windows support, which is why you end up digging around for community drivers to make Wi-Fi or sound work.
Can I install Windows 11 on any Chromebook?
No. Only Chromebooks with Intel or AMD processors (and enough RAM/storage) can run Windows. ARM-based models are out of the question. And even then, not every Intel/AMD Chromebook is supported.
What happens if I mess up flashing firmware?
Worst-case scenario: your Chromebook won’t boot at all. Sometimes you can recover by reflashing the original firmware, but it’s not guaranteed. This is why backing up and knowing your exact model’s compatibility is critical before starting.
Is there a way to run Windows apps without replacing Chrome OS?
Yes. You can try CrossOver for running certain Windows apps, remote desktop into a Windows PC, or use a cloud computer like Vagon to get full Windows access without touching your Chromebook’s firmware.
Will installing Windows void my warranty?
Almost always, yes. Opening the back panel, removing write-protection screws, and flashing custom firmware typically voids manufacturer warranty.
Isn’t it easier to just buy a cheap Windows laptop?
In many cases, yes. A budget Windows laptop often costs less (and runs better) than spending hours trying to force Windows onto a Chromebook. If you only need Windows occasionally, a cloud Windows machine is even simpler.
You bought a Chromebook for its price and simplicity. Fast boot times, light design, long battery life. Perfect, right? Until that one day when you try to run the one piece of software you actually need, and it’s Windows-only.
That’s when the frustration kicks in. You start wondering: can I just put Windows on this thing? I’ve been down that rabbit hole myself, and let me tell you, the curiosity is natural, but the answers aren’t always straightforward.
Here’s the truth: yes, you can install Windows on some Chromebooks. But it’s not as simple as clicking “install.” There are firmware locks, hardware quirks, missing drivers, and a whole lot of trial-and-error involved. For some people, it’s a fun project. For others, it’s a fast track to bricking their laptop.
This post will walk you through the reality of getting Windows on a Chromebook: what’s possible, what’s not, and the headaches in between. I’ll also share safer alternatives (including cloud-based Windows machines) for when you want the functionality without tearing your Chromebook apart.
Why Installing Windows on a Chromebook Is Tricky
On paper, it sounds simple: download Windows, plug in a USB stick, and install. In reality? Chromebooks don’t make it that easy.
Here’s why:
#1. Hardware differences
Not all Chromebooks are created equal. Some run Intel or AMD processors (the kind Windows actually supports). Others run ARM chips from MediaTek or Qualcomm. If you’ve got one of the ARM models, you can stop here, Windows just won’t boot.
#2. Firmware locks and security features
Google designed Chromebooks around Chrome OS security. That means locked bootloaders, verified boot, and a write-protected firmware. Great for keeping malware out. Not so great when you’re trying to slip a whole new operating system in.
#3. Drivers (or the lack of them)
Even if you get Windows installed, the work doesn’t end there. Your Wi-Fi card, trackpad, sound system, they all need Windows drivers. And many don’t exist officially. You’ll be relying on community-made drivers or workarounds, and not everything will work perfectly.
#4. Performance tradeoffs
Chromebooks are lightweight by design. Most ship with 4GB or 8GB of RAM and minimal storage. Enough for Chrome OS, but Windows is hungrier. I’ve seen people get Windows running, only to watch apps crawl and battery life tank.
#5. Warranty and risk
To make all of this possible, you’ll likely need to flash custom firmware. That usually voids your warranty. And yes, there’s always a chance of bricking the device.
So yes, installing Windows is possible. But it’s not “plug and play.” It’s a project.
Compatibility Checklist (Before You Begin)
Before you start tearing your Chromebook apart (literally, in some cases), you need to know if it even can run Windows. A lot of people skip this step, and that’s usually where the trouble begins.
#1. CPU Type
First thing: is your Chromebook running an Intel or AMD processor? If yes, you’ve got a chance. If it’s powered by an ARM chip (like MediaTek or Qualcomm Snapdragon), Windows is a no-go. There’s no workaround here, ARM Chromebooks simply can’t boot standard Windows.
How to check:
Press
Ctrl + Alt + Tto open Crosh (the Chrome OS shell).Type
uname -mor check system info in Settings → About ChromeOS.
#2. RAM and Storage
Windows 11 officially requires 4GB RAM and 64GB storage. That’s the bare minimum. In my experience, you’ll want at least 8GB RAM and 128GB storage if you don’t want to pull your hair out waiting for apps to load.
#3. Model Support
Not every Chromebook with Intel/AMD is equally friendly. Some models are supported by community projects like MrChromebox (which provides custom firmware). Others… not so much. Search your exact model name + “MrChromebox” or “UEFI firmware” to see if people have succeeded.
#4. Write Protection
Most Chromebooks ship with a write-protection screw or jumper on the motherboard. You’ll have to disable this before flashing new firmware. That means unscrewing the back of your laptop. If that already makes you nervous, you might want to reconsider.
#5. Backup Everything
Switching to Developer Mode and replacing firmware wipes your entire system. Save your files to Google Drive or an external drive. Once you flip that switch, there’s no “oops” button.
Full Installation Guide: Windows on Chromebook
⚠️ Warning: This process is not for everyone. It will wipe your Chromebook, may void your warranty, and carries the risk of bricking your device. If you’re not comfortable opening hardware or flashing firmware, you might want to skip ahead to the alternatives section.
That said, if you’re still reading, here’s how to do it.
Step 1: Backup Everything
Before touching anything, save all your files.
Move school/work documents to Google Drive.
Copy downloads or personal files to an external USB.
Assume your Chromebook will be wiped clean, because it will.
Step 2: Enable Developer Mode
Chromebooks don’t let you just overwrite Chrome OS. You’ll need to unlock Developer Mode.
Turn off your Chromebook.
Hold Esc + Refresh + Power.
At the recovery screen, press Ctrl + D.
Confirm, and let it reboot.
This process factory resets your device, so don’t skip Step 1.
Step 3: Disable Write Protection
Here’s where things get real. Most Chromebooks ship with a write-protection screw or jumper on the motherboard. You’ll need to open the back panel, find it, and remove or disable it.
Tools: a precision screwdriver set and patience.
How: search your exact Chromebook model with “write protection screw” on Google or YouTube, guides exist for most models.
Once it’s gone, your firmware is writable.
Step 4: Flash Custom Firmware
Stock Chromebook firmware isn’t built to boot Windows. That’s where MrChromebox comes in.
Boot into Chrome OS Developer Shell (
Ctrl + Alt + T).Type
shelland hit Enter.Run the firmware utility script from MrChromebox’s website.
Flash a UEFI-compatible firmware.
This step essentially replaces Google’s locked firmware with something more flexible.
Step 5: Create a Windows USB Installer
You’ll need another computer for this.
Download the Windows ISO from Microsoft (Windows 10 or 11).
Use a tool like Rufus (Windows) or Balena Etcher (Mac/Linux) to make a bootable USB.
Choose GPT partition scheme and UEFI target system when setting it up.
Plug this USB into your Chromebook once ready.
Step 6: Install Windows
Turn on your Chromebook and press Esc or Ctrl + L to open the boot menu.
Select the USB drive.
Follow the Windows installer prompts.
Delete Chrome OS partitions and install Windows on the empty space.
This part feels familiar if you’ve ever installed Windows on a PC, except now it’s on a Chromebook.
Step 7: Install Drivers
Here’s where most people hit snags. After the Windows install, a lot of hardware won’t work out of the box.
Wi-Fi: often needs community-made drivers.
Trackpad & sound: sometimes unreliable without patched drivers.
Fix: check GitHub projects and Chromebook forums for your exact model’s driver packs.
Pro tip: have a USB Ethernet adapter handy, so you can get online to download drivers even if Wi-Fi doesn’t work.
Step 8: Troubleshooting
No bootable device error: firmware didn’t flash correctly, retry MrChromebox.
Installer won’t start: reformat USB in Rufus with different settings.
Sluggish performance: disable unnecessary startup apps in Windows, and don’t expect miracles on a 4GB Chromebook.
Easier Alternatives (If Full Install Feels Too Risky)
If that installation guide made you sweat a little, you’re not alone. Installing Windows directly on a Chromebook is a project. And sometimes, it’s just not worth the risk. Luckily, there are easier ways to get Windows apps or even a full Windows desktop running without flashing firmware.
Run Windows Apps with CrossOver
CrossOver by CodeWeavers lets you run certain Windows programs directly on Chrome OS — and if that sounds like magic, here’s a detailed guide on running .exe files on Chromebooks that breaks it down step by step. It’s not perfect, and not every app works, but I’ve seen people run Office, older Adobe apps, even some games this way. The big win? No firmware hacking required.
Use Virtual Machines (if supported)
If your Chromebook supports Linux (Crostini), you might be able to spin up a lightweight virtual machine. From there, you can run Windows in a VM. Performance isn’t amazing unless you’ve got a higher-end device, but it’s an option.
Remote Desktop Into a Windows PC
Got a Windows PC at home or at the office? You can connect to it from your Chromebook using Chrome Remote Desktop or Microsoft’s Remote Desktop client. This way, your Chromebook is just the screen and keyboard, while the heavy lifting happens on the Windows machine elsewhere.
Use a Cloud Windows Desktop
This is where things get really practical. Cloud services let you “rent” a full Windows computer that you can access through your browser. No firmware hacks, no bricked laptops, no warranty headaches.
You just log in and boom, full Windows, with all the apps you need. For creative work or resource-heavy tools, this can be a game changer because performance scales with the cloud hardware, not your Chromebook’s limited specs.
Introducing Vagon Cloud Computer
By now, you can probably tell: installing Windows on a Chromebook is not exactly a weekend hobby for everyone. Even if you manage to pull it off, you’re left juggling firmware changes, missing drivers, and sluggish performance on hardware that wasn’t designed for Windows in the first place.
That’s where Vagon Cloud Computer comes in. Instead of forcing your Chromebook to be something it isn’t, you can spin up a powerful Windows machine in the cloud and access it straight from your browser. No screwdrivers. No firmware flashing. No warranty voids.
Why It Works Better Than Forcing Windows
Instant access → Log in, click, and you’re inside a full Windows desktop within seconds.
Scalable performance → Whether you’re running Microsoft Office or hammering through Blender, you can scale the specs of your cloud machine to match.
Hardware-agnostic → It doesn’t matter if your Chromebook is a budget model with 4GB RAM or a higher-end device. All the heavy lifting happens on Vagon’s servers.
Safe and reversible → Close the browser tab, and your Chromebook is still your Chromebook. No permanent modifications.
Real-World Use Cases
I’ve seen students who only needed Windows for a few specific apps (AutoCAD, Photoshop, SolidWorks). Instead of tearing their Chromebooks apart, they launched those apps in a Vagon Cloud Computer session. Creatives do the same for Adobe tools — and even 3D software like Blender, which surprisingly works on Chrome OS too (yep, we even covered how to use Blender on a Chromebook without losing your mind). Developers use it for Windows-only compilers.
It’s the difference between tinkering with your laptop’s internals versus getting the job done right away.
When You Shouldn’t Install Windows
I know the temptation. Turning a lightweight Chromebook into a full-on Windows laptop sounds like beating the system. But here’s the reality: for a lot of users, forcing Windows onto a Chromebook is more pain than payoff. If you fall into any of these categories, I’d think twice.
Your Chromebook Runs on ARM
Most people don’t realize this upfront, but ARM-based Chromebooks (the ones with MediaTek or Qualcomm Snapdragon processors) simply can’t boot Windows. Microsoft doesn’t support them the way it does Intel and AMD chips. And no, there isn’t some hidden hack on Reddit that changes that. I’ve seen people waste hours trying, only to learn their hardware was never compatible in the first place.
You’re Stuck with Entry-Level Specs
A lot of budget Chromebooks ship with 4GB of RAM and 32GB of storage. That’s barely enough for Chrome OS, let alone Windows. Technically, the installer might run, and you’ll see the Windows desktop, but once you open apps, it’s game over. Think constant freezing, random crashes, and apps taking minutes to load. I’ve watched someone try to run Excel on a low-end Chromebook with Windows, and honestly? It was painful to watch.
You Actually Value Chrome OS Features
One of the biggest mistakes people make is underestimating what they’ll lose. Chrome OS gives you lightning-fast boot times, automatic updates, strong built-in security, and crazy-good battery life. When you replace it with Windows, all of that goes away. Your battery will drain faster, updates become manual, and suddenly you’re back to dealing with viruses and patches. If you rely on those Chrome OS perks daily, you’ll probably regret the switch.
You Don’t Want to Risk Breaking It
Installing Windows on a Chromebook isn’t just “click and install.” It’s opening the back panel, removing write-protection screws, flashing custom firmware, and juggling driver installations. There’s always a chance something goes wrong, and if it does, your Chromebook might never boot again. If you’re not comfortable with screwdriver-in-hand tinkering, or if this is your only computer, the risk just isn’t worth it.
The Cost–Benefit Equation Doesn’t Add Up
Here’s the kicker: sometimes, the time, stress, and risk you spend on this project outweigh the reward. If you really need Windows full-time, a budget Windows laptop might serve you better. Or, if you just need occasional access to Windows apps, a cloud computer gives you everything without the mess. I’ve seen too many people spend days trying to “make it work,” when the smarter play was to just grab a ready-to-go solution.
👉 Bottom line? Installing Windows on a Chromebook is fun if you’re the kind of person who enjoys tinkering and doesn’t mind the risks. But for everyday users, there are usually better, faster, and safer paths.
My Perspective
I’ll be honest: the idea of turning a Chromebook into a full-fledged Windows machine is exciting the first time you think about it. I remember going through the motions, checking my device’s processor, digging through forums, even grabbing a precision screwdriver to pop off the back cover. It felt like a fun challenge.
But here’s the thing: after the firmware flashing, the driver hunts, and the endless reboots, I realized something. Yes, it works… technically. But it’s far from smooth. Wi-Fi didn’t connect properly at first. The trackpad felt janky. Battery life dropped like a rock. And half the time, I was more worried about whether the next restart would even boot than actually getting work done.
In my opinion, this process is best suited for tinkerers, people who genuinely enjoy experimenting with hardware and don’t mind spending weekends on troubleshooting. If that’s you, then sure, go for it. You’ll learn a lot, and maybe even end up with a quirky Franken-laptop that runs Windows.
But if you’re like most Chromebook users, students, remote workers, creatives who just need a reliable device, the hassle outweighs the reward. There are smoother, safer paths to running Windows software, whether that’s through a budget Windows laptop or a cloud computer like Vagon. I wish I’d known that before I sank hours into forcing something my Chromebook was never designed to do.
Final Thoughts
So, can you install Windows on a Chromebook? Yes. Should you? That depends on who you are.
If you’re a tinkerer, the kind of person who loves flashing firmware and troubleshooting drivers at 2AM, then sure, give it a shot. It’s a fun project, and you’ll learn a lot in the process. Just be ready for a fair amount of trial, error, and maybe even a few headaches along the way.
But if you bought a Chromebook for what it is — a lightweight, affordable, simple laptop — trying to bend it into a Windows machine often feels like swimming upstream. The performance isn’t great on low-end models, you’ll lose Chrome OS perks like long battery life and automatic updates, and the risk of bricking your device is always there.
That’s why I usually point friends and readers toward safer routes. If you truly need Windows every day, a budget Windows laptop will serve you better. If you only need it occasionally, spinning up a cloud Windows computer like Vagon gives you the full Windows experience without risking your hardware. You get the apps you need, the power you want, and you can still keep your Chromebook exactly as it is.
At the end of the day, the best choice comes down to how much you value your time, patience, and device. Sometimes the smartest move isn’t the most complicated one, it’s the one that lets you get work done without turning your laptop into a science experiment.
FAQs
Can you dual boot Chrome OS and Windows?
Not really. Chromebooks aren’t designed for dual boot like a traditional PC. Once you flash new firmware and install Windows, Chrome OS is usually gone for good. There are experimental workarounds, but they’re unstable and not worth relying on.
Does Microsoft officially support Windows on Chromebooks?
No. Microsoft only certifies Windows for PCs built with proper drivers. Chromebooks don’t get official Windows support, which is why you end up digging around for community drivers to make Wi-Fi or sound work.
Can I install Windows 11 on any Chromebook?
No. Only Chromebooks with Intel or AMD processors (and enough RAM/storage) can run Windows. ARM-based models are out of the question. And even then, not every Intel/AMD Chromebook is supported.
What happens if I mess up flashing firmware?
Worst-case scenario: your Chromebook won’t boot at all. Sometimes you can recover by reflashing the original firmware, but it’s not guaranteed. This is why backing up and knowing your exact model’s compatibility is critical before starting.
Is there a way to run Windows apps without replacing Chrome OS?
Yes. You can try CrossOver for running certain Windows apps, remote desktop into a Windows PC, or use a cloud computer like Vagon to get full Windows access without touching your Chromebook’s firmware.
Will installing Windows void my warranty?
Almost always, yes. Opening the back panel, removing write-protection screws, and flashing custom firmware typically voids manufacturer warranty.
Isn’t it easier to just buy a cheap Windows laptop?
In many cases, yes. A budget Windows laptop often costs less (and runs better) than spending hours trying to force Windows onto a Chromebook. If you only need Windows occasionally, a cloud Windows machine is even simpler.
Get Beyond Your Computer Performance
Run applications on your cloud computer with the latest generation hardware. No more crashes or lags.

Trial includes 1 hour usage + 7 days of storage.
Summarize with AI

Ready to focus on your creativity?
Vagon gives you the ability to create & render projects, collaborate, and stream applications with the power of the best hardware.

Vagon Blog


Run heavy applications on any device with
your personal computer on the cloud.
San Francisco, California
Solutions
Vagon Teams
Vagon Streams
Use Cases
Resources
Vagon Blog
How to Run Audacity on a Cloud Ubuntu Desktop (2026 Guide)
How to Run Darktable on a Cloud Ubuntu Desktop for RAW Photo Editing (2026 Guide)
How to Run Kdenlive on a Cloud Ubuntu Desktop (2026 Guide)
How to Run DaVinci Resolve on Linux in the Cloud (2026 Guide)
How to Run Inkscape on a Cloud Ubuntu Desktop (2026 Guide)
How to Run Krita on a Cloud Ubuntu Desktop for Digital Painting (2026 Guide)
How to Run GIMP on a Cloud Ubuntu Desktop (2026 Guide)
How to Run Jupyter on a Cloud GPU Linux Desktop (2026 Guide)
Vagon vs GitHub Codespaces: Cloud Dev Environments Compared (2026)
Vagon Blog
Run heavy applications on any device with
your personal computer on the cloud.
San Francisco, California
Solutions
Vagon Teams
Vagon Streams
Use Cases
Resources
Vagon Blog